Merry Christmas (part 3)
ktuli — Fri, 12/24/2010 - 13:19
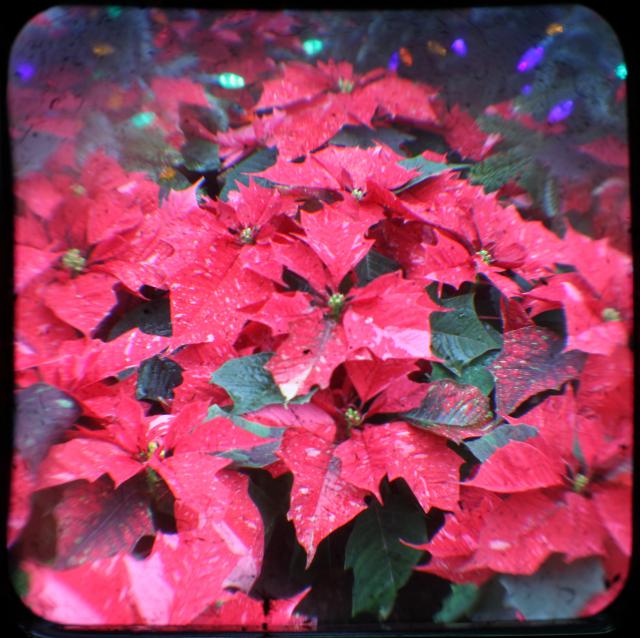
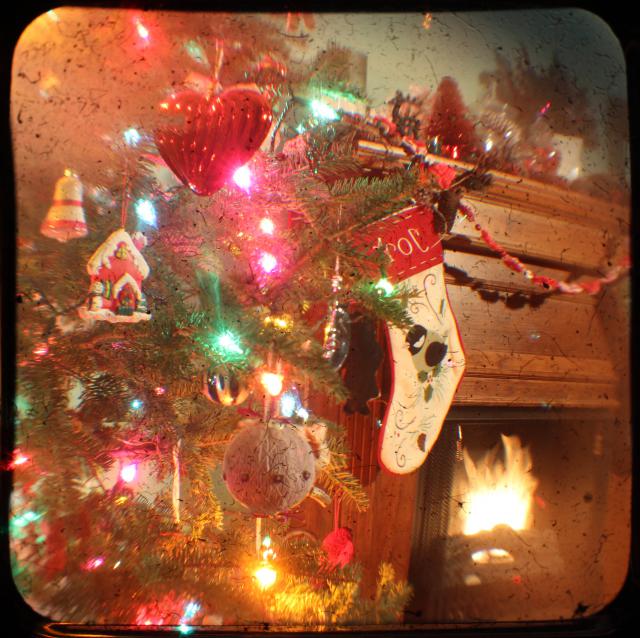
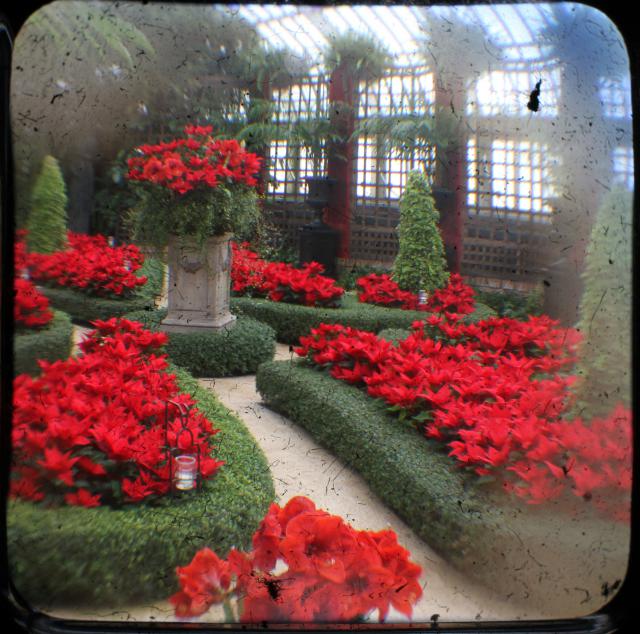
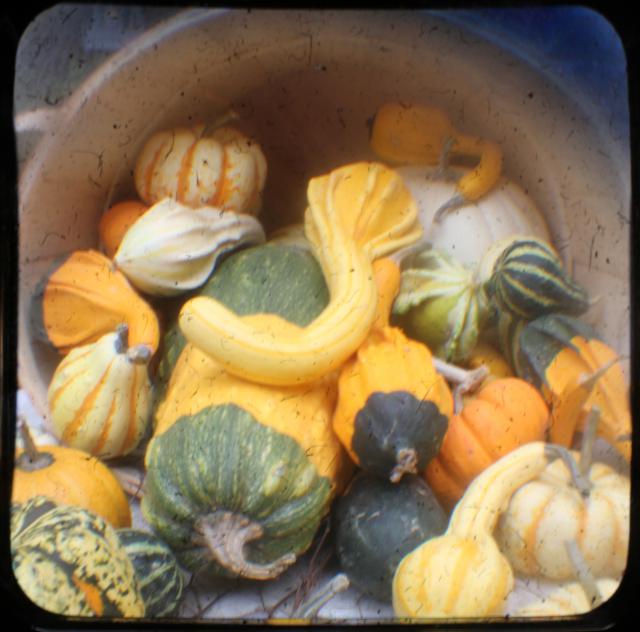
Ok - as promised, here's the Christmas TTV! Thanks for stopping by! Enjoy your holiday, and here's hoping you and your's a safe, happy, and healthy Christmas and New Year!
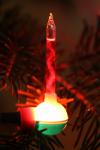
Technical Data: Canon EOS 7D TTV Argus Seventy-Five, Tokina AT-X M35 Pro DX AF 35mm f/2.8 Macro 1:1, 1/10 sec at f/8. ISO 200. Monopod and handheld. Cropped in Photoshop Elements 8.0. Phipps Conservatory.
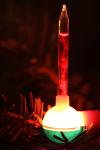
Technical Data: Canon EOS 7D TTV Argus Seventy-Five, Tokina AT-X M35 Pro DX AF 35mm f/2.8 Macro 1:1, 10 sec at f/9.9. ISO 200. Monopod and tripod mounted. Cropped in Photoshop Elements 8.0.
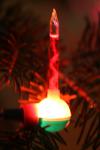
Technical Data: Canon EOS 7D TTV Argus Seventy-Five, Tokina AT-X M35 Pro DX AF 35mm f/2.8 Macro 1:1, 1/21 sec at f/9.9. ISO 200. Monopod and handheld. Cropped in Photoshop Elements 8.0. Phipps Conservatory.
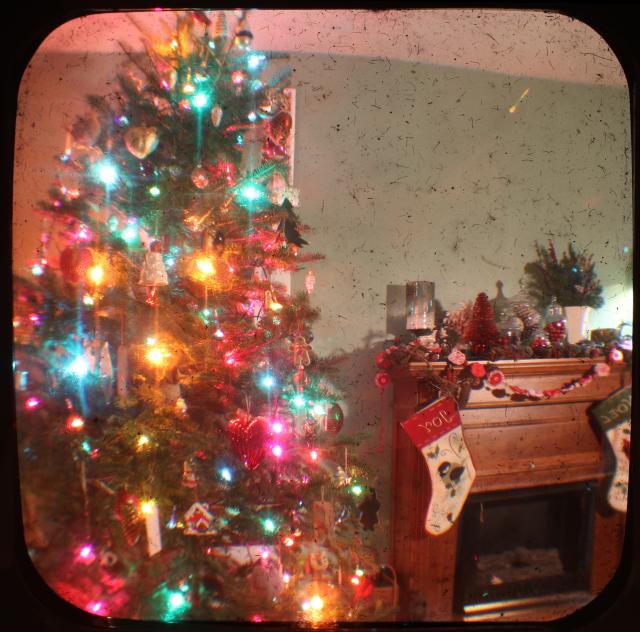
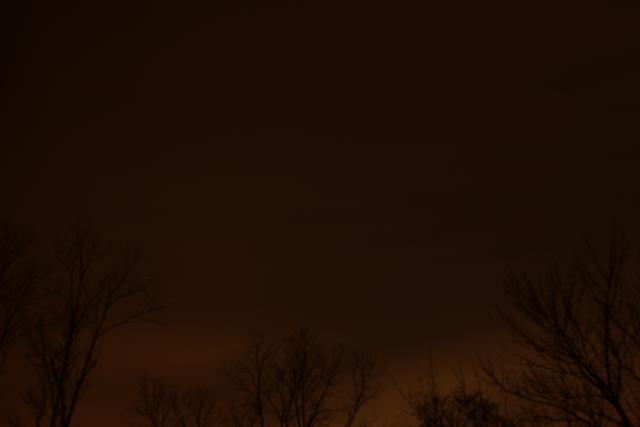
Technical Data: Canon EOS 7D TTV Anscoflex II (without a TTV contraption), Tokina AT-X M35 Pro DX AF 35mm f/2.8 Macro 1:1, 8 sec at f/9.9. ISO 200. Monopod and tripod mounted. Cropped in Photoshop Elements 8.0.
That last shot was done with my new Anscoflex II that Anya found for me! I shot it without the assistance of a TTV contraption which was definitely a challenge, but I love the different look it gives!
Anyway, Merry Christmas!
- Bill
PS: Just because, here's a bonus camera drawing shot...
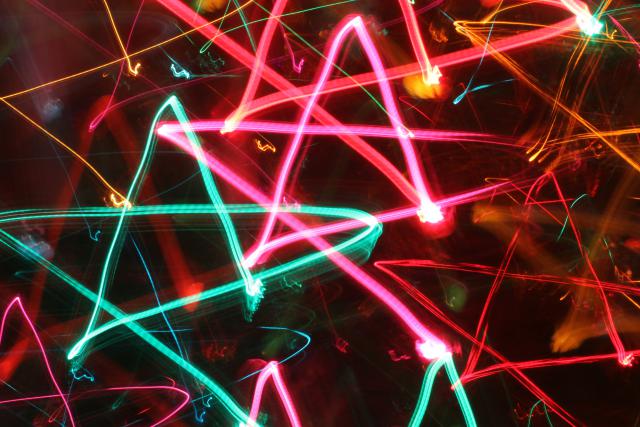
Technical Data: Canon EOS 7D, Tokina AT-X M35 Pro DX AF 35mm f/2.8 Macro 1:1, 4 sec at f/22.6. ISO 200. No post production.
Merry Christmas (part 2): Shaped Bokeh Tutorial
ktuli — Fri, 12/24/2010 - 13:01
I debated putting this off another day or two, but I guess like the Grinch, I had a change of heart and decided to stick with my promise from yesterday and tell everyone how to do this awesome little trick today.
Again, this one is fairly easy, but does require more preparation than the other two techniques I showcased yesterday (but not too much).
|
|
|
|
|
|
|
|||
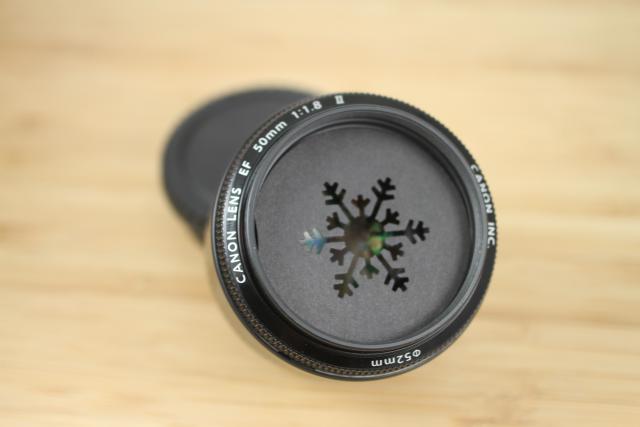
You will need the following items: black heavy cardstock, craft punches or a craft knife, a fast lens (f/1.8 would be really great - so hopefully you bought that cheap 50mm f/1.8 lens). And here are the instructions:
- Either trace the outside edge of the front of your lens or (as I did) measure the inside diameter of front of the lens (be sure to use the front of the lens, not the back where it attaches to your camera)
- If you have access to one, use a circle punch of the correct size or cut the circle out with scissors - this will be your blank
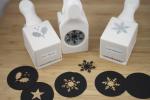
- Again, if you have access to various shaped craft punches, simply use them to punch out a shape in your blank. If you don't have one, or want to get more creative, draw a shape on your blank, then cut it out using a craft knife (like an X-Acto knife)
- If you traced the lens, you will attach the shape punched disc to the end of your lens using some tape. If you measured and cut based on the inside diameter, you can place the disc inside the end of the lens (mine seems to stay simply by pressure and getting stuck in the filter threads)
- Repeat the steps as many times as you want for as many shapes as you want to make!
- Then simply fire away - for my shots, I was just defocusing the lens manually and shooting
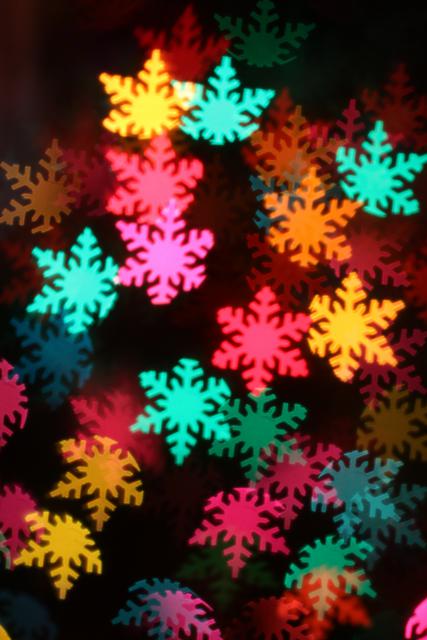
If the above steps seem a bit daunting, or if you just prefer buying things, there is a kit from Lens Baby that comes with pre-cut shapes as well as extra blanks. Luckily for me, Anya does a ton of crafting, so I have access to all those punches. Either way, you're well on your way to making fun photos like these:
|
|
|||
|
|
|
|
|
Technical Data: Canon EOS 7D, Canon EF 50mm f/1.8 II, 1/5th, 1/8th, 1/12th, 1/12th sec respectively at f/1.8, ISO 200. No Post Production.
Well, I hope you enjoyed the tutorial - my Christmas gift to you. Hopefully it inspired you to give this fun technique a try. Sorry that today's set seem a little blurry - I didn't have time to reshoot them.
Tune in again soon... next up is the Christmas TTV!
- Bill
Merry Christmas (part 1)
ktuli — Fri, 12/24/2010 - 00:25
Welcome all, and Merry Christmas! I've got posts for at least today and tomorrow (and maybe a couple bonus days after Christmas - we'll have to see). I hope everyone is enjoying a safe and happy holiday season (whatever you celebrate). 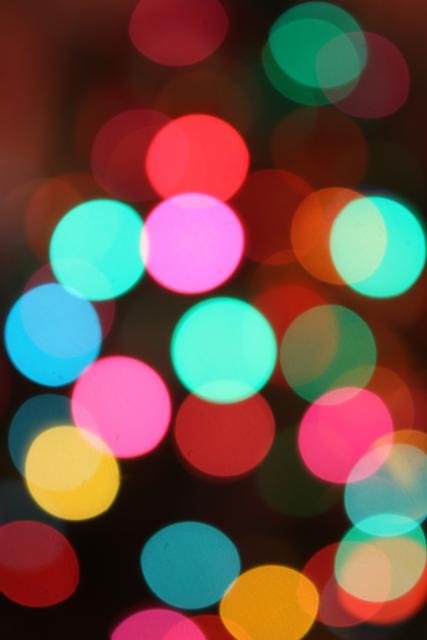
I decided to pull out a couple abstract photography techniques tonight, so take a look and see what you think. These manage some very interesting looks, and are surprisingly easier than you might think!
Intentional Defocus
I got the idea for this one from this Adorama Learning Center article on creative ways to shoot your tree. They say you need a tripod, but I shot mine hand-held with no problem...
Technical Data: Canon EOS 7D, Tokina AT-X M35 Pro DX AF 35mm f/2.8 Macro 1:1, 1/8th sec at f/2.8. ISO 200. No post production.
This is the easiest technique of all. Turn on your Christmas tree's lights, turn off the room lights. Set your widest aperture, flip to manual focus mode, then completely defocus your shot to make the tree lights turn into large globes of colored light. Then fire away. Easy as sliding down a chimney (or so I've heard!).
If you want, you could adjust the focus a bit to meet somewhere in the middle, and give more of the outline of the tree - this would work great if you've got a nice dark background (perhaps an outdoor decorated tree). Experiment!
Camera Drawing
I don't know if that's what this technique is called or not - I'm sure I didn't just invent it, but I like that name, so we'll go with it. Actually - I just flipped through one of my creative photography books - it has a similar technique that involves tossing your camera, and of course there is the option to draw with your light while light painting.
But this technique gets a little more specific and detailed...
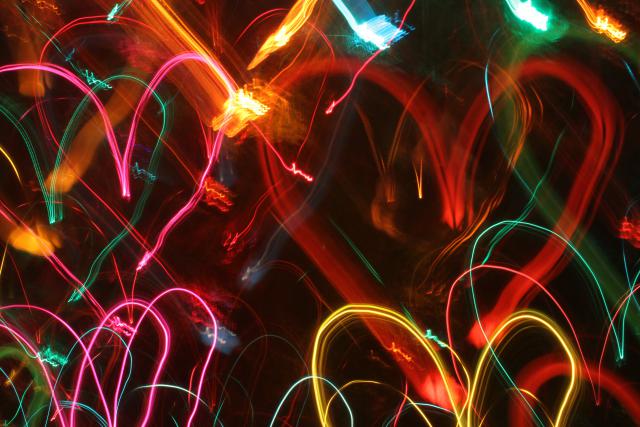
Technical Data: Canon EOS 7D, Tokina AT-X M35 Pro DX AF 35mm f/2.8 Macro 1:1, 5.2 sec at f/22.6. ISO 200. No post production.
This time, we're using the smallest aperture possible, which means you'll need a longer exposure (note this one was about 5 seconds long). I'd recommend shooting in manual mode, and playing around with the shutter speed to find what works well giving your amount of lights and complexity of your drawing.
Once you trip the shutter, intentionally "draw" your shape in the air with your camera. Unless you want to flip the shot in post production, you have to "draw" your shape upside down. It is a little tricky at first, but take your time and try it. It took me several shots to get these hearts drawn in a way I was happy with. Make slow, smooth motions and try to time the end of your "drawing" with the end of the exposure time or you'll end up with a bright spot.
Here's a couple other attempts:
So much fun! Ok - one more technique, but I'm just going to post a couple photos today - you'll have to stop back tomorrow (or maybe the day after - go enjoy the holiday with your friends and family) for the quick "how-to".
|
|
||
Use the now regular mouseover technique to get the small thumbnails to display in the larger image area.
This one was a ton of fun, and still pretty easy (though it does take a little more preparation). But I'll share that tomorrow.
Till then, go hang those stockings, set the cookies out, and spend some quality time with loved ones. And feel free to try out any of these techniques in between taking those memory saving photos.
- Bill
Canon EF 100mm f/2.8L Macro IS USM (part 1)
ktuli — Wed, 12/22/2010 - 21:57
This won't be a comprehensive review by any means, but I figured I would try and get a little something pulled together. Plus I have been thinking about trying this photo for a little while now (basically since we decorated our Christmas tree this year).
 This is my newest lens - the Canon EF 100mm f/2.8L Macro IS USM. Like a previous lens review, let's go through quickly what the letters mean...
EF - Stands for Electro Focus, and you can read more here
100mm - This is the focal length obviously, this will fit nicely between my Tamron 180mm and Tokina 35mm macro lenses
f/2.8 - The maximum aperture - at 2.8, this is considered pretty "fast" glass due to the amount of light such a large aperture will allow into the camera, producing faster shutter speeds
L - I've heard multiple definitions for this single letter - the top runners are probably "low dispersion" and "luxury". Canon used to have a page dedicated to the line, but I can't seem to find it. Regardless, this is Canon's professional grade line of lenses. Identified by the red ring at the end of the lens barrel.
Macro - Many lenses get the "macro" label slapped on them, but unless they produce 1:1 magnification, I don't consider them true macro lenses (some people say 1:2 is close enough). What this means is that at 1:1 magnification, the subject is recorded at life-size on the image sensor.
IS - Image Stabilization, we'll discuss that a tiny bit more further down.
USM - Ultra Sonic Motor. This is the auto-focus motor and produces a much faster focusing, while staying almost completely silent. The other nice feature of a USM lens is that it allows for full time manual focusing - meaning you can make manual focusing adjustments even while in auto-focus mode.
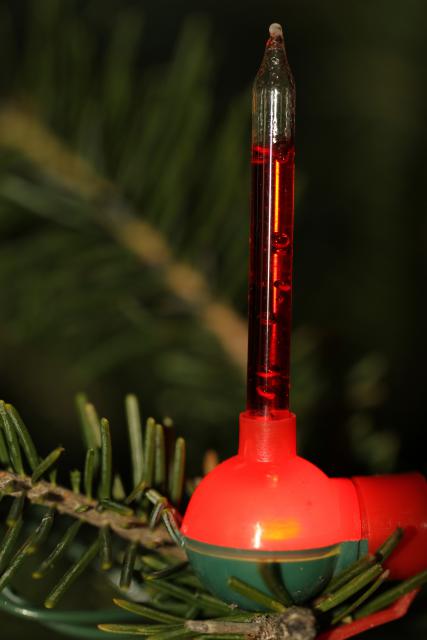
I've had this lens on my wishlist for quite some time, and I finally pulled the trigger on it to use with photographing all of the macro life on the reefs in Wakatobi. So I pretended that these bubbler Christmas lights were some small reef invert and went about shooting. I also wanted to get a shot of these lights with the bubbles frozen in motion.
|
|
|
|
|
|
I know that's a fairly random set of changes, and none of them get into too much detail of showing the abilities of this lens. The clarity is very nice on every one of those shots - a testament to the quality glass used, but you only notice that on the fullsize versions.
The IS and non-IS versions are surprisingly not that far off (middle and bottom thumbnails on the right). This is probably due to some patient hand-holding techniques. Usually I'm happy if I can get 1/8th of a second with a handheld shot, and those are at 1/3rd! So perhaps I'll have to try that exercise again sometime.
I ended up using the pop-up flash and faster shutter speeds on several of these shots to help get those bubbles frozen in motion (instead of the blur from the longer shutter speeds), and really wish I could have diffused the light from the flash better to prevent that harsh glare on the glass of the light.
I promise I'll do a more thorough review of this lens in the future (probably not until after the dive trip though), but for now, I'm highly impressed with this lens.
Stay tuned as I have some more Christmas themed photos coming up to close out the week and get us into the holiday!
- Bill
BG-E7 Battery Grip & Satechi TR-A Timer Remote Control
ktuli — Tue, 12/21/2010 - 21:07
Alright, as promised, I will get to some of the product reviews I've mentioned a few times already. Sorry though, I'm not ready to do my review of the Canon EF 100mm f/2.8L Macro IS USM just yet. So instead, we'll look at the Canon BG-E7 Battery Grip and the Satechi TR-A Timer Remote Control.
 This is actually a little funny... on one hand, I was nervous and apprehensive about buying a non-Canon battery grip (there are plenty of third party options that sell for much cheaper), yet I did end up with a non-Canon timer remote. In both cases, the third party products were roughly half the price, but there was just something about the battery grip, with it being so integrally involved in the power system of the camera that I just couldn't bring myself to trust a non-Canon product. This is something you'll have to debate for yourself I guess.
Canon BG-E7 Pros: Obviously, you buy this if you want to double your shooting time, and this obviously does that with no question. The connection to the camera is very snug and sturdy (I've seen others - usually third party products - that are a little wobbly), and all functionality is maintained at both shutter triggers with the additional scroll wheel and other buttons. Additionally, once I recover a little camera budget, I'll be able to go pick up the Canon Hand Strap E1 which only works with the battery grip attached.
Canon BG-E7 Cons: Aside from the price, my biggest gripe with this grip is the fact that the button feels different than the main shutter button. Why not make them feel identical in your hand? My hand has gotten used to 7D's button placement, why would a Canon product not replicate that identically? Also, like other third party grips, it has a separate on/off switch to activate/deactivate the additional buttons - why not use the camera's orientation to do that? The camera can automatically rotate my photos based on camera orientation, why not this?
The grip adds a good deal of weight to the camera too, but I'm not going to complain about that - I knew it would before buying it. And except for the feel in my hand, the cons are pretty minor - if you have a need for a longer battery life, it is worth it (just make sure you have plenty of battery packs to fill it - it doesn't come with any extras).
The photo above was from my attempt to capture the recent total lunar eclipse for a timelapse video. Unfortunately, I was unable to properly predict where the moon's path would take it, so the best I got was some orange clouds. However, the exercise was worthwhile to practice the use of anintervalometer.
 I purchased this Satechi TR-A Timer Remote Control back in May, and haven't really done much to use it to its fullest potential. Before this, I had just been using it as a remote shutter release (very very handy for detailed macro and long exposure work).
But this remote also has the timer function that is very powerful. I can set any combination of the following:
o Delay before starting exposures
o Bulb exposure time (useful for exposures over 30 seconds)
o Interval between exposures
o Number of exposures (including infinity or basically until the battery runs out on something)
o Audible countdown beep warning (for the last 3 seconds before exposure)
So for example, last night, I set the timer around 10:30PM. I set a 1.5 hour delay at the beginning so my exposures wouldn't start till midnight. Then I had the remote do 30 second exposures every 2 minutes, set to infinity so I manually stopped the cycle in the morning when I woke up. Had I properly pointed my camera, I would have had 210 exposures of the night's lunar eclipse. Instead, I got 210 exposures of clouds.
Satechi TR-A Pros: Obviously, the price is much nicer than Canon's TC-80N3 ($60 versus $150), and from what I have read it does every feature that the Canon trigger does. The interface is simple to use, and as long as you slow down and think about what you actually want to do, is very easy to setup (I read multiple reviews of people getting confused with the setup, but I think they just were getting confused and didn't understand the manual's instructions). Lastly, the trigger works perfectly as a wired remote without needing to have batteries installed - great for saving battery life and not keeping the batteries installed in the unit!
Satechi TR-A Cons: Honestly, I read every single review of this product I could before committing to buying it, and I can only agree with a couple of the cons people found with this product. First, the backlight really does turn off far too quickly. It would be nice if the backlight had a lock-on function to make programming the remote in the dark much easier. Also, there is a red light that flashes while the camera is making an exposure - honestly, I see two things wrong with this: (1) it uses battery life and (2) depending on where you set the remote, could get picked up in your exposure. I like the option to have the flashing light, but give me the option to turn it off too.
All in all, again, we're looking at very minor cons that are far outweighed by the pros of these products. Both products are items that you might normally overlook as valuable to your photography, but once you have them, I think you really see the value in them.
I can't stress enough the value of the remote shutter release - and I'll argue the debate with anyone who wants to claim that a timer delay function on the camera is good enough. I know the battery grip is more of a luxury item, but a remote shutter release really should be part of every serious photographer's kit (whether it is a intervalometer model or not).
Well, I hope you enjoyed the double product review today, I know it got a little long, but they linked together for this recent project (even if I didn't get my eclipse timelapse like I wanted!) so I thought it worked well to review both together.
Stay tuned. I still owe you folks the lens review, and I know folks are waiting for the Christmas TTV (you didn't think I'd pass up a chance to get some more TTV in, did you?).
- Bill
Another New Camera!
ktuli — Thu, 12/16/2010 - 22:08
Well, I'm sure you were expecting a post about brand new equipment... I recently got a new lens, battery grip, and more memory cards, but we're not going to talk about any of that today.
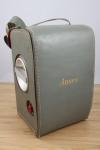
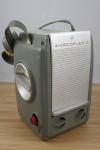
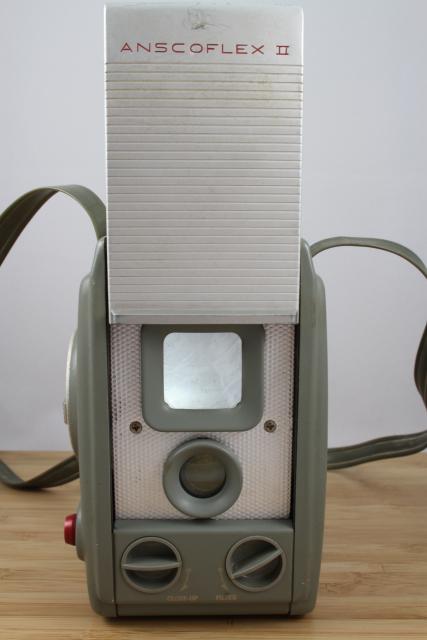
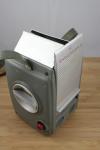
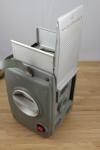
Instead we'll talk about a Christmas present I didn't buy for myself. Let me preface that with a little explanation. Anya and I made a decision when we got married that we would do gifts every day from our anniversary (on 12/15) through to Christmas. So today was day two of our gifts, and Anya surprised me with this little beauty!
|
|
||
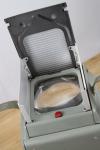
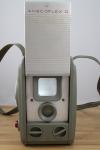
That's an Anscoflex II TLR camera that I will be able to use for more TTV Photography (see more: 1, 2, 3, 4, 5, 6, 7, 8). So it gets to go along with my other vintage cameras.
The Anscoflex started production in 1954, but I'm having a hard time finding more details about it, but I am looking forward to building a new contraption for it and getting some TTV shots with it. I like that it came with the case, and I really love the super large viewfinder and the sliding cover for it, but I can't stand the vinyl neck-strap, so that'll be coming off. After unwrapping it, I instantly started playing with the knobs and shutter, and fired off a couple frames before realizing that there was still film inside! So I might have taken a couple shots of our Christmas tree, but either way I'll have to go get the film developed (along with the roll from one of the other TLR's we've found).
This was a really wonderful gift, but I promise I'll try to get to the new equipment reviews soon.
- Bill
Poll: Black Sea Rod
ktuli — Mon, 12/13/2010 - 19:59
I have started receiving some of my Christmas presents to myself... I've been ordering some camera gear to make my upcoming trip to Indonesia much nicer. Stuff to try some night time-lapse, as well as to take my EOS 7D diving with me. But I'll get into all of that later.
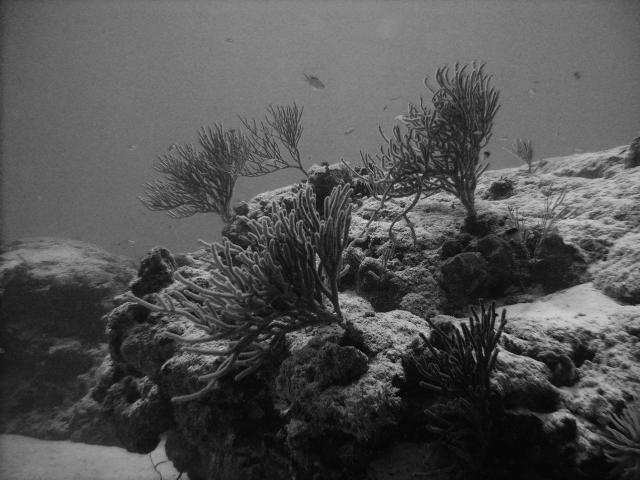
All the research I've been doing to get the gear necessary to take my 7D diving has had me looking at different underwater photos, and a lot of places suggest black and white conversions. So I figured I'd give it a shot myself.
|
|
||
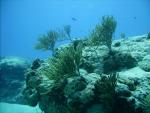
Technical Data: SeaLife DC600 at 5.4mm, unknown shutter speed at f/2.8. ISO 64. No flash.
All of the research for underwater camera equipment really has me chomping at the bit to get back into the water. Hopefully I'll be able to come back with some higher quality dive photos.
If my coral identification skills serve me right, this is Black Sea Coral (Plexaura homomalla) which is a branch yellowish gorgonian coral. It is fairly common around the reefs in Cozumel. The wide angle view of the original shot produced that typical blueish cast to the shot (remember, light travels much slower in water, and red color is the first to disappear).
With that in mind, I figured I'd try a quick bit of color correction on the photo as well as provide the black and white treatment. Place your vote, and leave a comment on why you chose what you did.
- Bill
PS: Working with this photo made me also consider some possibilities with cropping options, so perhaps once we have a "winner" of this poll, I'll run that version through some crop options to see what we can get out of that.
PPS: Also, stay tuned as I'll try to get myself back into a routine of posting by discussing the various equipment I bought myself for Christmas... ;)
Quince Blossoms
ktuli — Thu, 12/09/2010 - 21:24
Yeah yeah, I know... I've been slacking.
Things have just been overwhelming recently, and I'm going to be quite honest and admit that I'll probably continue slacking here for a bit longer. The holidays are bearing down on me soon here, and in January we're off to our trip to Indonesia. I'm trying really, really hard to get setup to take my EOS 7D diving with me, and that's been taking a good chunk of my time in research (and obsessing).
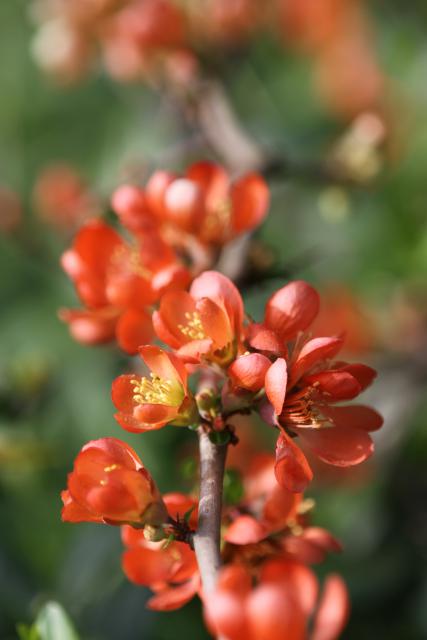
So I figured I would try and at least get something posted. I was looking at some of our photographs from our backyard and came across this photo of some quince blossoms from this past spring. I thought the green and red colors fit well with the current holiday season.
Technical Data: Canon EOS 7D, Tamron 180mm f/3.5 Di SP LD 1:1 Macro, 1/200 sec at f/4.6. ISO 200. No post production. Taken in our backyard.
Why This Photo: I sometimes wander in the yard with the macro lens, just to see what I can find.
What Works: The shallow depth of field produces a nice soft background, and line of the stem leading into the frame draws the viewer's eyes into the shot. The nice balance between the red blossoms and the green leaves in the background helps the keep the blossoms as the main focal element.
What Doesn't Work: The light coming from the one side produces some shadows on the right side of the shot, perhaps the use of a reflector would have balanced things out better. I also debate whether the stem running right up the center of the shot works all that well.
I haven't been behind the shutter often enough recently either. I am going to try and and get some photos of the upcoming lunar eclipse - perhaps I'll even manage to get some timelapse work done - I'm hoping as practice for when I'm in Indonesia!
I'll try to be a bit more diligent with the posts, but honestly, expect more slacking...
- Bill
Auroras Timelapse
ktuli — Sun, 11/28/2010 - 16:00
Sorry, I still don't have any timelapse photography of my own, but I just couldn't pass up on sharing this one...
As I've mentioned before, I check the Astronomy Picture of the Day (APOD) daily and very much enjoy the night photography.
Aurora Borealis timelapse HD - Tromsø 2010 from Tor Even Mathisen on Vimeo.
I'm really hoping to be able to buy the necessary pieces to take my EOS 7D on our upcoming diving trip to Indonesia, and if I do, I fully intend on trying to get some timelapse astro-photography there. Though I know I won't get any Aurora australis there, so that will still be on my list.
- Bill
TTV Happy Thanksgiving (part 2)
ktuli — Wed, 11/24/2010 - 18:40
As promised - here's the second half of the Thanksgiving TTV fun. I know this might sound a bit trite, but I really am thankful for my photography as a hobby, and just as thankful for all of you who visit here regularly and give me a venue to share my photography and gather feedback to improve my skills.
Technical Data: Canon EOS 7D TTV Argus Seventy-Five, Tokina AT-X M35 Pro DX AF 35mm f/2.8 Macro 1:1, 1/3 sec at f/12.9. ISO 200. Monopod and handheld. Cropped in Photoshop Elements 8.0. Phipps Conservatory.
Have a happy and safe Thanksgiving!
- Bill

