photoshop
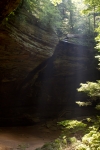
Poll: Cuyahoga National Park Blue Hen Falls in HDR
ktuli — Wed, 10/21/2015 - 19:19
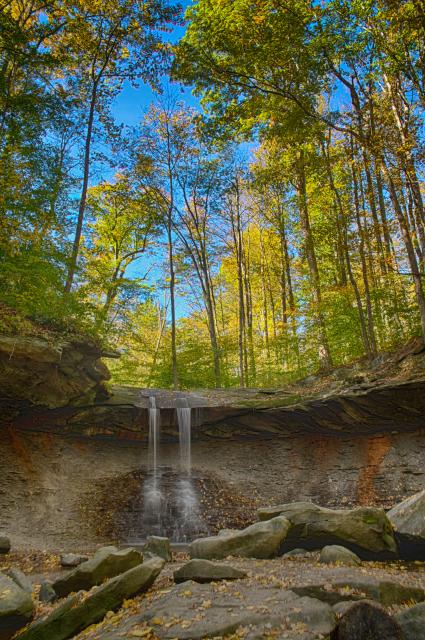
Anya and I made another trip out to Cuyahoga Valley National Park last week in hopes of getting some good fall foliage photographs, but sadly the trees out there were still green for the most part. I did take a number of shots at the Blue Hen Falls and put together a couple HDR images. In general, I've never been a huge fan of HDR because they usually have a very clear processed look to them, but I still give it a shot from time to time.
Take a look at this attempt (mouseover the images to display the larger version) and place your vote for which version you like best.
 Single Shot |
 |
 HDR with PS:CS5 |
|
 HDR with PS:CS5 + HDR Efex |
Technical Data: Canon EOS 7D, Canon EF-S 18-55mm f/3.5-5.6 IS STM at 18mm, Various exposures at f/16. ISO 100. RAW processing in Adobe Camera Raw, HDR processing in Adobe Photoshop CS5 and Nik HDR Efex Pro.
- Bill
Poll: Barred Owl - Eight Different Ways
ktuli — Mon, 05/11/2015 - 19:50
As much as I like the Barred Owl photo with the branches and leaves partially obscuring the owl, there is definitely something to be said for crisp clean close-ups. I was amazed with how cooperative this owl was, and though the six minutes went by really fast, I also felt that it lasted forever at the same time.
The lighting was a bit odd as it was getting on towards sunset, and the camera picked up the color temperature in an odd way. When I got home, I wanted to process the photos to look like how I remembered it - a bit warm due to the orange-ish setting sun. However, the camera had picked up a cooler 4300K color temp that just looked a bit too cool for my tastes. I tried several different settings, and personally I liked the 5200K the best, but I intentionally processed some extras to share here to show the difference.
Mouse-over the thumbnails to compare how the different color temperatures affect the photo...
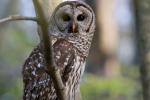 4300K |
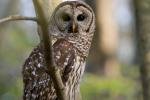 4700K |
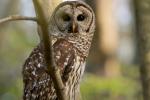 5200K |
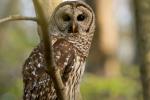 5500K |
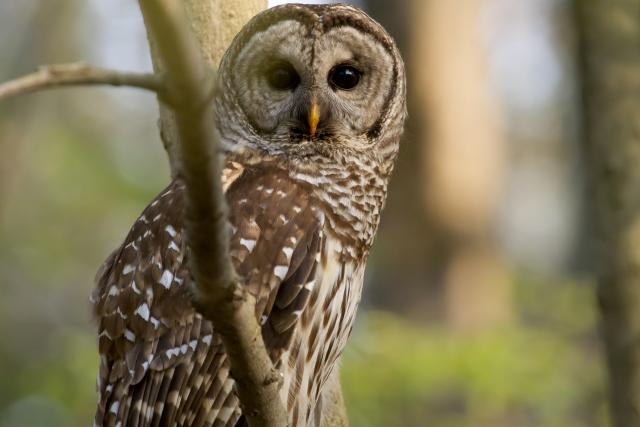 |
|||
Technical Data: Canon EOS 7D, Canon EF 100-400mm f/4.5-5.6L IS USM (borrowed) at 400mm, 1/400th sec at f/6.3. ISO 1600. RAW processing in Adobe Camera Raw.
While I was processing the photos, Anya came in and said she thought this photo would also look nice processed as a black & white. When I fired up Silver Efex Pro to see what it would look like in B&W, I found that I was just as happy with multiple versions of the photo that way too. I processed a couple in a "high key" (brighter with more whites) style and a couple in a "high structure" (darker with more contrast and sharper lines) style.
Same thing applies, mouseover the thumbnails to see the different versions...
 High Key 2 Preset |
 Fine Art Preset |
 Fully Dynamic (Harsh) Preset |
 High Structure Preset |
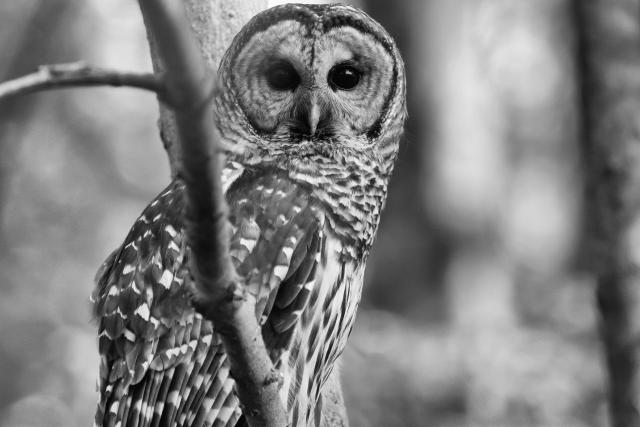 |
|||
Technical Data: Canon EOS 7D, Canon EF 100-400mm f/4.5-5.6L IS USM (borrowed) at 400mm, 1/400th sec at f/6.3. ISO 1600. RAW processing in Adobe Camera Raw.
Now comes the fun part (as if looking at a bunch of cool photos of an awesome bird wasn't fun enough)! Pick the versions you like best and vote for them below. I've opened up the voting so that you can vote for as many versions as you like, but ideally, I'd suggest picking one color and one B&W... but honestly, if you can't narrow your choice down to just one of each, feel free to vote for as many as you like!
So this encounter with this owl was just the beginning to a very productive photography weekend, so be sure to check back frequently as I'll hopefully be posting daily for a bit to get through all this rush of new material I have (and hopefully I'll also be out collecting more as well)!
- Bill
Bufflehead Crops
ktuli — Tue, 03/31/2015 - 19:57
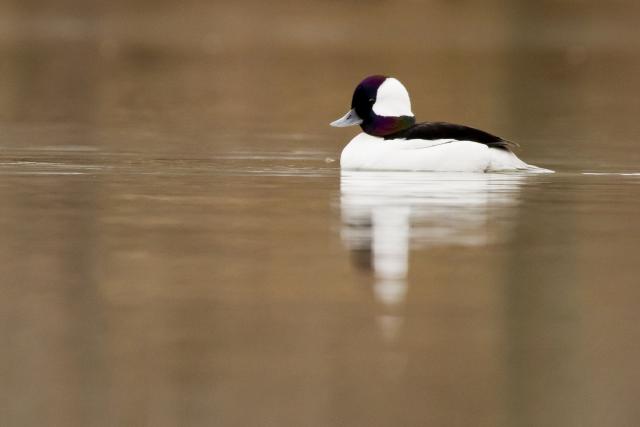
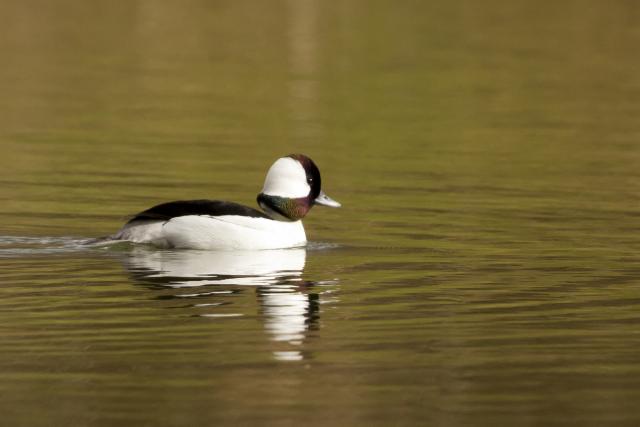
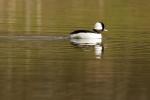
Ok - as promised, I cropped a couple of the shots from my set with the bufflehead. As a rule, I generally try to crop as little as possible, but in this case it definitely does help to bring out some of the detail in the bird - especially the iridescence in its seemingly black feathers on its head.
This first one I shared yesterday...
 |
||
 |
 |
 |
Technical Data: Canon EOS 7D, Canon EF 100-400mm f/4.5-5.6L IS USM (borrowed) at 400mm, 1/400th sec at f/8. ISO 800. RAW processing and cropped in Adobe Camera Raw.
As you can see, the exposure on these birds is tough with the bright pure white right next to dark jet black. Also, that first image has just hints of the iridescence showing up in the head feathers (see the slight purple hints at the top and bottom of the head?). This next one, however, shows it much more prominent!
 |
||
 |
 |
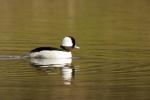 |
Can you see that awesome purple and green iridescence showing through now? That isn't a trick of the camera or any kind of photoshopping... that is definitely how it was in person. Fleeting to see, but quite beautiful.
I also played around with trying different compositions with the crops - I go back and forth whether I like those decisions, but the increased size of the bird in the frame is definitely a nice benefit. For web viewing or possibly small prints, this kind of cropping is OK, but I still strive to get the shot just as I want it in the camera.
I tried to head out and see if I could get some photos of the hooded merganser that was on this pond yesterday, but the little bugger flew off before I could even get off the porch! I'll keep trying to get photos of these lovely migrating visitors, so stay tuned!
- Bill
Aqua Cat: Photo Recovery
ktuli — Wed, 10/29/2014 - 19:23
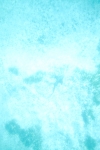
Ok - so admittedly, I had two years of rust on my underwater photography skills when I went on this trip, and it definitely showed. I've had to do some work to salvage pretty much every photo I've kept so far, and each one has needed a pretty heavy dose of cleanup. Then I came to today's photo...
I was about to delete this one; at first glance, it is a complete loss and on any other day, I very well may have just hit the delete key and not thought twice about it. But for whatever reason, something caught my eye, and I wondered if I could recover enough from the file to make a worthwhile image. I ran it through a number of adjustments within Adobe Camera Raw, and then finally processed it into a sepia tone using Nik Silver Efex Pro 2.
I found the end result pretty pleasing to be honest...
 1. Straight out of the camera | 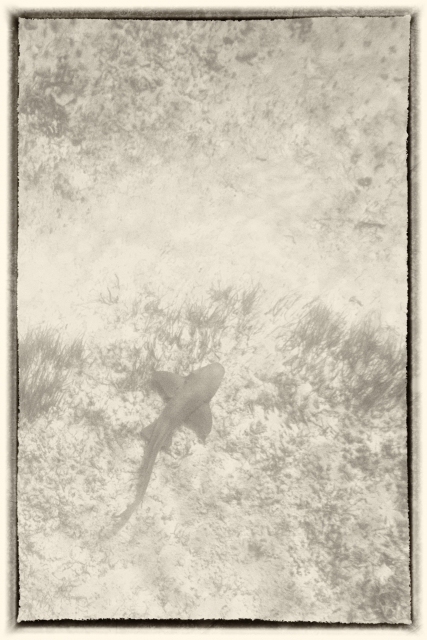 |
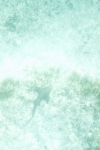 3. Attempted color correction in ACR |
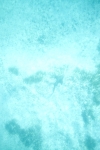 2. Initial corrections in ACR | 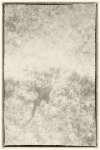 4. Final result after Silver Efex |
Technical Data: Canon EOS 7D, Sigma 10-20mm f/4-5.6 EX DC HSM AF at 14mm, 1/250 sec at f/5.6. ISO 400. Ikelite Housing and Port with dual Ikelite DS 161 Strobes in eTTL mode. Raw conversion Adobe Camera Raw, additional processing in Adobe Photoshop CS5 with Nik Silver Efex Pro 2
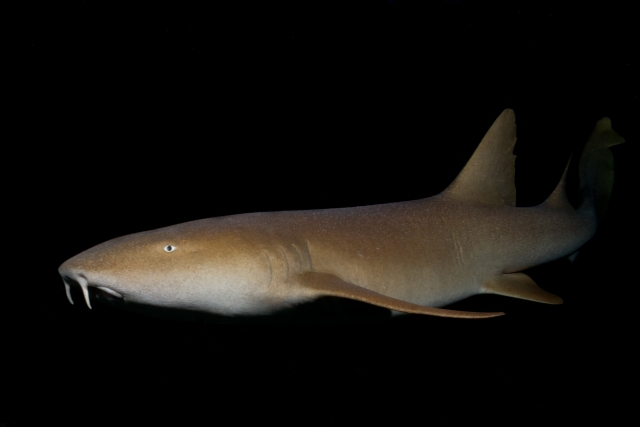
What do you think? I think it has the feeling of a pirate's treasure map or such... it just seems fitting and really is a vast improvement from the original. Plus I must have a thing for photos of nurse sharks processed in sepia tone...
Thanks for stopping by!
- Bill
Balloon Glow: Composite
ktuli — Tue, 09/09/2014 - 20:49
Ok - I know I promised this literally months ago, but I finally got around to creating a composite image from the New Castle 2014 Balloon Quest. I've included the four images I used to create the composite below - I'm bummed that I never got any shots of that fifth balloon lit up, but it really never did!
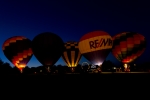 Composite |
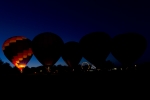 Image 1 |
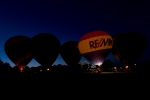 Image 2 |
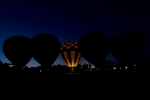 Image 3 |
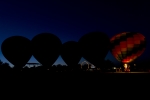 Image 4 |
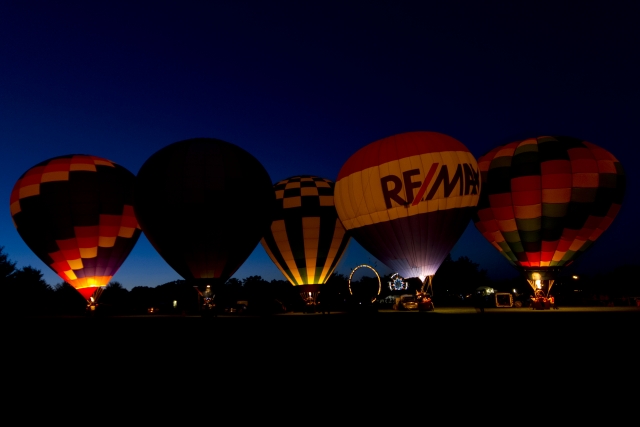 |
||||
Technical Data: Canon EOS 7D, Sigma 10-20mm f/4-5.6 EX DC HSM AF at 11mm, 1/25 sec at f/5. ISO 800. Raw conversion Adobe Camera Raw, Composite image built in Photoshop CS5.
This technique is really useful. It can be tricky - especially when your subjects are moving (as these balloons were). I'm sure if you started looking really closely as a fullsize version of this composite, you could find the lines where I blended things together, but for a smaller view like this, it works well enough. I may have to see what I can do about taking some screenshots and writing up a bit of a tutorial on how I do this kind of composite.
- Bill
Turks and Caicos Explorer: Caribbean Reef Squid
ktuli — Tue, 02/04/2014 - 09:49
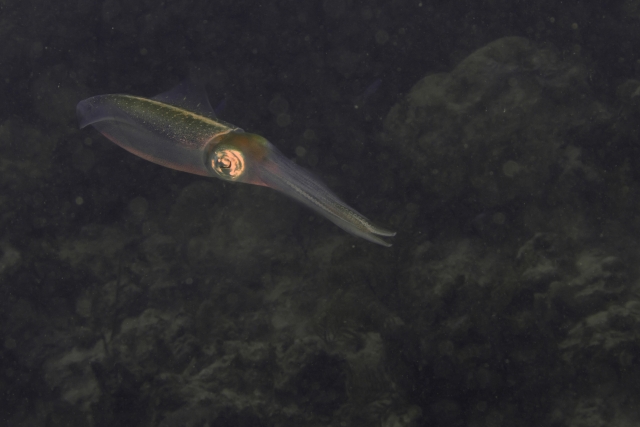
Ok - I'm not entirely sure if it is because I really want to go diving, or if my standards were just too high before, or what... but back when I took and processed these photos, I felt they just weren't up to par and was pretty disappointed with them. To be entirely honest, they're still not top shelf, but I certainly think they're better than I felt about them back then.
I remember this dive vividly. As usual, I was one of the last divers in the water (not sure why that seems to always happen - perhaps a method to help me conserve a little air instead of using it waiting for the rest of the group), and as soon as we dropped in there was a bit of a commotion. Suddenly, the shapes of around ten squid came into view and it became clear what everyone was excited about. The squid hovered there, seemingly motionless, in front of us. Luckily I had the camera rigged for wide-angle photography because they just weren't letting us get close enough for any kind of macro work. I started firing off as many shots as I could while slowly trying to inch my way in closer, knowing that the closer I got, the better the images would be. Unfortunately, the squid seemed to just stay out of reach, and after a few minutes, the rest of the group tired of them and start to move off. Reluctantly, I tried a couple more shots and then followed along.
Back home, I remember going through these and being fairly disappointed with the bluish colorcast, the heavy amount of backscatter, and the general blurred look to the photos. They just weren't the clean, crisp, beautiful images I was hoping to have captured of my first real encounter with squids.
 Original |
 Cropped |
 Additional processing |
 |
||
Technical Data: Canon EOS 7D, Canon EF-S 18-55mm f/3.5-5.6 II at 55mm. 1/300 sec at f/13. ISO 320. Ikelite Housing and Port with dual Ikelite 161 Strobes in eTTL mode. Raw conversion in Adobe Camera Raw.
What do you think?
- Bill
Hocking Hills (part 2)
ktuli — Thu, 06/27/2013 - 20:40
Ever been out taking photos and there are just so many people around that you just can't seem to get a photo without some random person in the shot?
Well, that was definitely the case most of the time we were in Hocking Hills; however, I employed a little technique that would give me a clean result after a little Photoshop work...
 Image #1 |
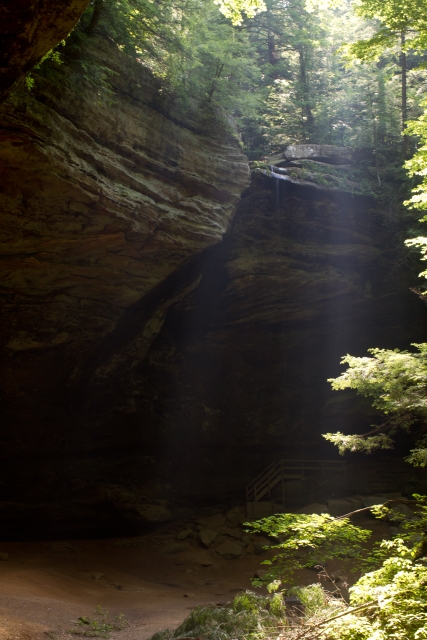 |
 Image #1 |
|
 Final Image |
All you have to do is have your camera mounted on a tripod, take multiple images (sometimes - like here - you can get away with as few as two) making sure that as the people move around, you get enough photos where eventually any given area is free of people. Then, in Photoshop, simply bring all of the images into a new combined image, use the eraser tool to remove the people, leaving the image beneath it with no people in that spot showing through. This way, you can easily create a final image that doesn't have any random people left.
The best part? Even someone with rather limited Photoshop "skills" can do this technique because it doesn't have to be the most detailed and precise work, plus since you're not creating any content - only removing distracting elements to show a different version of the same image - it looks very natural.
- Bill
Poll: Caribbean Reef Octopus
ktuli — Mon, 05/27/2013 - 20:10
Ok - as promised, we're going to take a break from the spiders today... though we are going to stick with something with eight legs (or are they arms?)
I use a version of this image as the wallpaper on my home computer. When I go to turn the computer off, it fades the image to B&W. Truthfully, I'd never noticed how good of a B&W image it made until just a few days ago. After seeing it, I decided it was time for another go at making underwater black and whites.
I first tried one edit of this image, and then decided I wanted to make a few more modifications to it. I'll share all of those edits, their B&W conversions, and the original (sorry, no B&W of it), and then you can vote on which is your favorite.
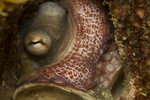 Original |
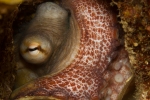 Edit #1, Color |
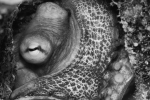 Edit #1, B&W |
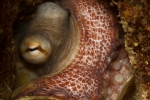 Edit #2, Color |
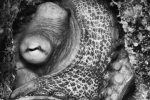 Edit #2, B&W |
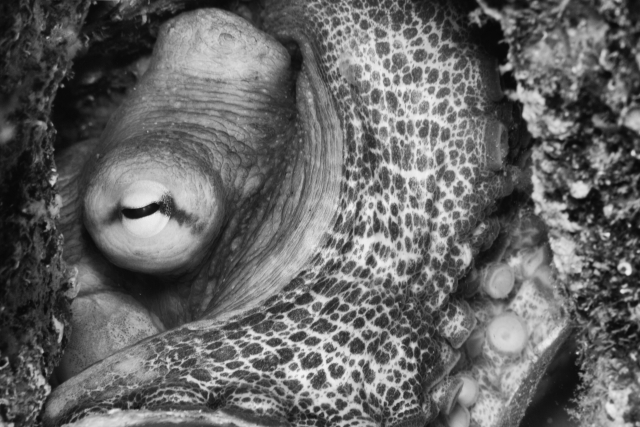 |
||||
Place your vote and let me know which version you like best...
- Bill
Dia de los Muertos Vignette (part 1)
ktuli — Wed, 02/27/2013 - 20:42
Alright, I finally managed to motivate myself to get off my lazy butt and take some photos...
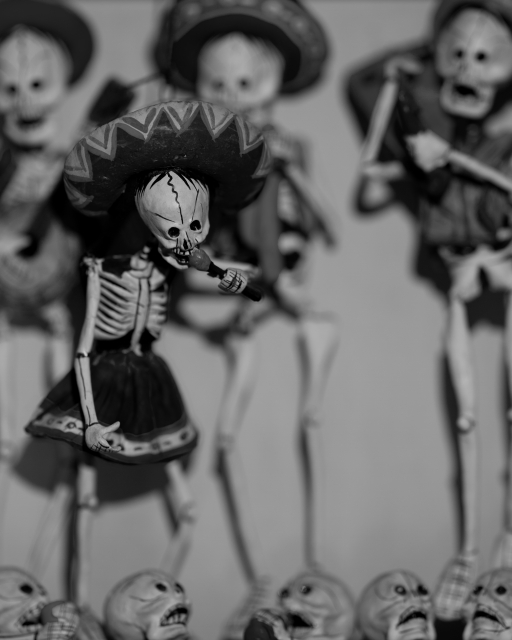
I spent probably 45 minutes working with this subject yesterday - trying different lenses, different lighting, and even the fluorescence stuff (more on that later). I knew I wanted to try converting these shots to B&W ahead of time, so I intentionally went for a shallow depth of field so that I could focus more on the tones of the scene. I'm not sure if I succeeded in getting a shot that converted well to B&W (or at least as well as I had wanted), but I did try a technique for further decreasing the depth of field of an image when your lens just can't achieve that effect.
The theory here is fairly similar to the focus stacking technique we've looked at previously. Basically, you take multiple exposures with different focus settings and then blend them together to achieve the look you're looking for. In this case, I simply used two images - one with the face of the main skeleton in focus, and a second with everything blurred. Obviously, because I wanted a shallow depth of field, I was using my lens' widest aperture for both shots - f/2.8 in this case.
I think processed both shots in ACR identically (actually, if you open both images in ACR, you can make your changes to one and then have it synchronize the changes to all other images opened at the same time). I then opened the sharp photo in Photoshop, converted the background to a normal layer, then created a blank layer. I then opened the blurred shot separately, converted its background layer to a normal layer, selected everything and copy/pasted it into the blank layer in the sharp image. This results in the blurred layer covering the sharp layer. Simply select the eraser tool, set your size and in this case I selected a medium hardness (so the edges of the eraser tool as I painted it would be a soft line instead of a hard sharp line - this helps to blend your edges)... then simply erase away the blurred layer to reveal the sharp layer underneath... I just did this to the main skeleton's face, hat, and microphone.
Here are the results with the two images used to make this composite - mouseover each to see how they work together to produce the final image (when you point the mouse away from the thumbnails, it will revert back to the composite)...
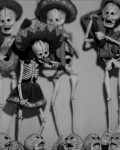 Sharp Image |
 |
 Blurred Image |
|
 Original Edit |
Technical Data: Canon EOS 7D, Canon EF 100mm f/2.8L Macro IS USM, 1/40 sec at f/2.8. Image Stabilization on. ISO 100. RAW processing in Adobe Camera Raw, B&W and stacking processing in PS:CS5.
What do you think? Does that help or hurt the image?
- Bill
EDIT: I've decided to try another edit where I unblurred the singer's head and torso... I was beginning to feel that the original edit made the head feel disembodied.
Turks and Caicos Explorer: New Wallpaper
ktuli — Tue, 11/06/2012 - 20:16
Ok just a quick post today to share what has become my new wallpaper on one of my work monitors...
Technical Data: Canon EOS 7D, Canon EF-S 18-55mm f/3.5-5.6 II at 18mm. 1/120 sec at f/22. ISO 320. Ikelite Housing and Port with dual Ikelite 161 Strobes in eTTL mode. Raw conversion and cropped in Adobe Camera Raw (mouseover for original).
Thanks for stopping by.
- Bill
PS: If you haven't voted on the other nurse shark photo or seen the videos, keep scrolling!

