light painting
Merry Christmas (part 3)
ktuli — Fri, 12/24/2010 - 13:19
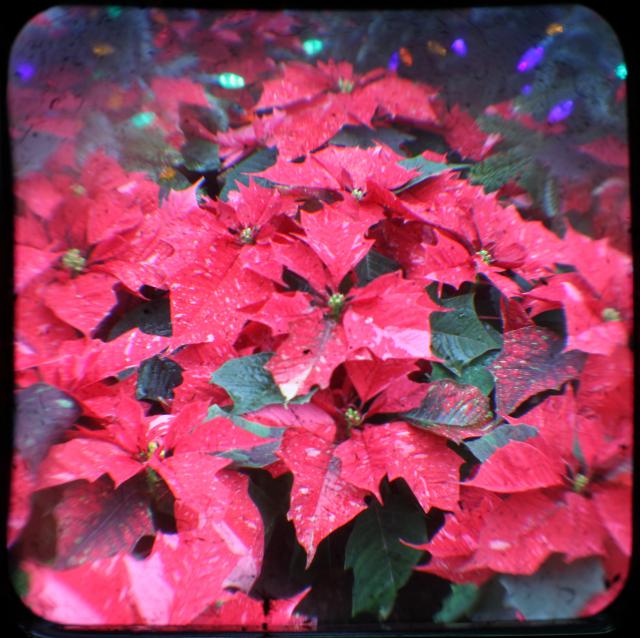
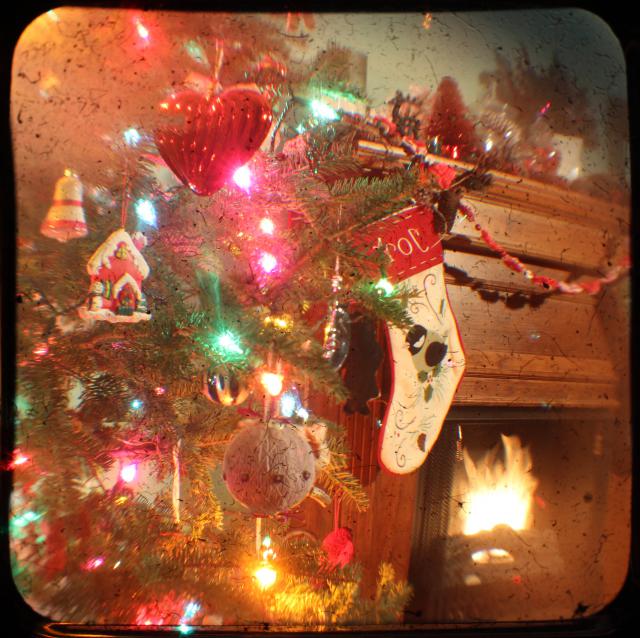
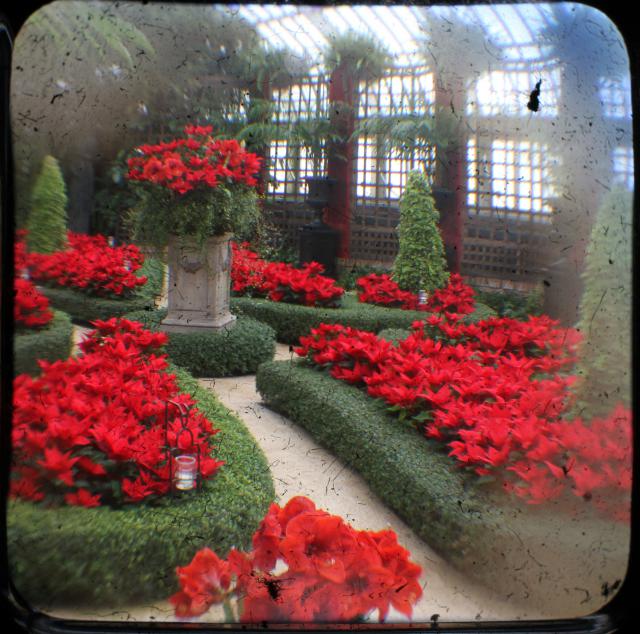
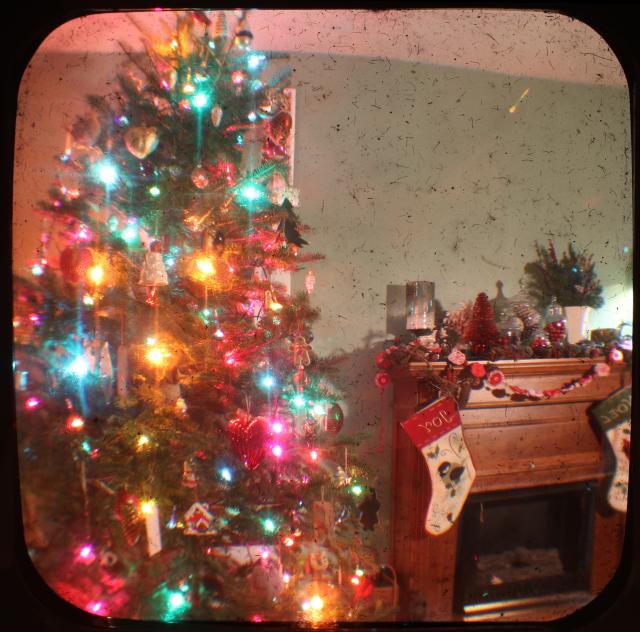
Ok - as promised, here's the Christmas TTV! Thanks for stopping by! Enjoy your holiday, and here's hoping you and your's a safe, happy, and healthy Christmas and New Year!
Technical Data: Canon EOS 7D TTV Argus Seventy-Five, Tokina AT-X M35 Pro DX AF 35mm f/2.8 Macro 1:1, 1/10 sec at f/8. ISO 200. Monopod and handheld. Cropped in Photoshop Elements 8.0. Phipps Conservatory.
Technical Data: Canon EOS 7D TTV Argus Seventy-Five, Tokina AT-X M35 Pro DX AF 35mm f/2.8 Macro 1:1, 10 sec at f/9.9. ISO 200. Monopod and tripod mounted. Cropped in Photoshop Elements 8.0.
Technical Data: Canon EOS 7D TTV Argus Seventy-Five, Tokina AT-X M35 Pro DX AF 35mm f/2.8 Macro 1:1, 1/21 sec at f/9.9. ISO 200. Monopod and handheld. Cropped in Photoshop Elements 8.0. Phipps Conservatory.
Technical Data: Canon EOS 7D TTV Anscoflex II (without a TTV contraption), Tokina AT-X M35 Pro DX AF 35mm f/2.8 Macro 1:1, 8 sec at f/9.9. ISO 200. Monopod and tripod mounted. Cropped in Photoshop Elements 8.0.
That last shot was done with my new Anscoflex II that Anya found for me! I shot it without the assistance of a TTV contraption which was definitely a challenge, but I love the different look it gives!
Anyway, Merry Christmas!
- Bill
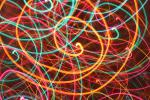
PS: Just because, here's a bonus camera drawing shot...
Technical Data: Canon EOS 7D, Tokina AT-X M35 Pro DX AF 35mm f/2.8 Macro 1:1, 4 sec at f/22.6. ISO 200. No post production.
Merry Christmas (part 2): Shaped Bokeh Tutorial
ktuli — Fri, 12/24/2010 - 13:01
I debated putting this off another day or two, but I guess like the Grinch, I had a change of heart and decided to stick with my promise from yesterday and tell everyone how to do this awesome little trick today.
Again, this one is fairly easy, but does require more preparation than the other two techniques I showcased yesterday (but not too much).
|
|
|
|
|
|
|
|||
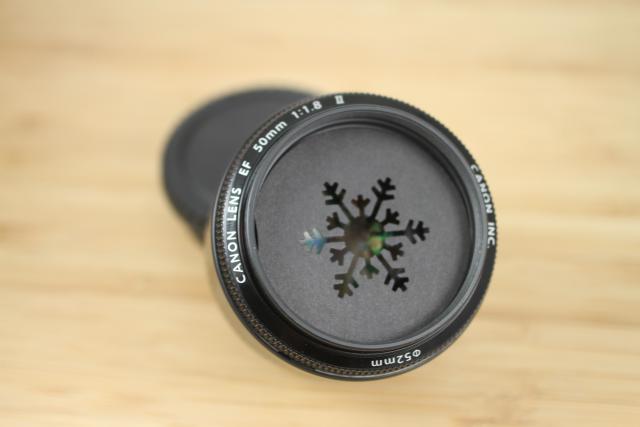
You will need the following items: black heavy cardstock, craft punches or a craft knife, a fast lens (f/1.8 would be really great - so hopefully you bought that cheap 50mm f/1.8 lens). And here are the instructions:
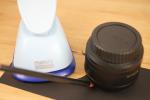
- Either trace the outside edge of the front of your lens or (as I did) measure the inside diameter of front of the lens (be sure to use the front of the lens, not the back where it attaches to your camera)
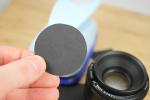
- If you have access to one, use a circle punch of the correct size or cut the circle out with scissors - this will be your blank
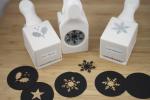
- Again, if you have access to various shaped craft punches, simply use them to punch out a shape in your blank. If you don't have one, or want to get more creative, draw a shape on your blank, then cut it out using a craft knife (like an X-Acto knife)
- If you traced the lens, you will attach the shape punched disc to the end of your lens using some tape. If you measured and cut based on the inside diameter, you can place the disc inside the end of the lens (mine seems to stay simply by pressure and getting stuck in the filter threads)
- Repeat the steps as many times as you want for as many shapes as you want to make!
- Then simply fire away - for my shots, I was just defocusing the lens manually and shooting
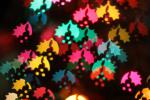
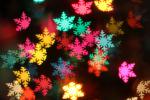
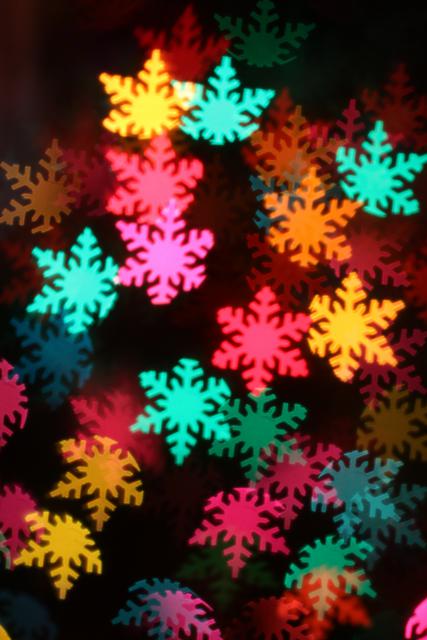
If the above steps seem a bit daunting, or if you just prefer buying things, there is a kit from Lens Baby that comes with pre-cut shapes as well as extra blanks. Luckily for me, Anya does a ton of crafting, so I have access to all those punches. Either way, you're well on your way to making fun photos like these:
|
|
|||
|
|
|
|
|
Technical Data: Canon EOS 7D, Canon EF 50mm f/1.8 II, 1/5th, 1/8th, 1/12th, 1/12th sec respectively at f/1.8, ISO 200. No Post Production.
Well, I hope you enjoyed the tutorial - my Christmas gift to you. Hopefully it inspired you to give this fun technique a try. Sorry that today's set seem a little blurry - I didn't have time to reshoot them.
Tune in again soon... next up is the Christmas TTV!
- Bill
Merry Christmas (part 1)
ktuli — Fri, 12/24/2010 - 00:25
Welcome all, and Merry Christmas! I've got posts for at least today and tomorrow (and maybe a couple bonus days after Christmas - we'll have to see). I hope everyone is enjoying a safe and happy holiday season (whatever you celebrate). 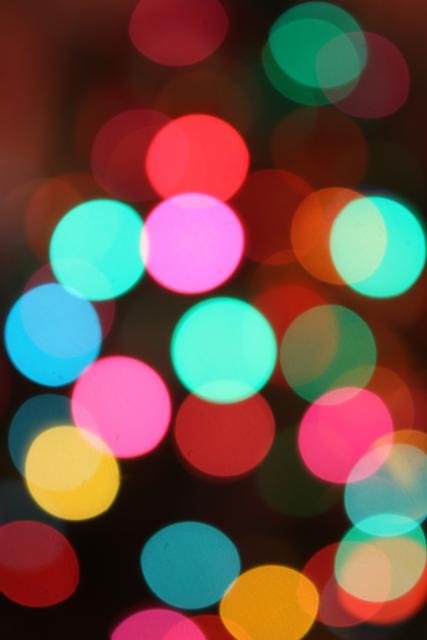
I decided to pull out a couple abstract photography techniques tonight, so take a look and see what you think. These manage some very interesting looks, and are surprisingly easier than you might think!
Intentional Defocus
I got the idea for this one from this Adorama Learning Center article on creative ways to shoot your tree. They say you need a tripod, but I shot mine hand-held with no problem...
Technical Data: Canon EOS 7D, Tokina AT-X M35 Pro DX AF 35mm f/2.8 Macro 1:1, 1/8th sec at f/2.8. ISO 200. No post production.
This is the easiest technique of all. Turn on your Christmas tree's lights, turn off the room lights. Set your widest aperture, flip to manual focus mode, then completely defocus your shot to make the tree lights turn into large globes of colored light. Then fire away. Easy as sliding down a chimney (or so I've heard!).
If you want, you could adjust the focus a bit to meet somewhere in the middle, and give more of the outline of the tree - this would work great if you've got a nice dark background (perhaps an outdoor decorated tree). Experiment!
Camera Drawing
I don't know if that's what this technique is called or not - I'm sure I didn't just invent it, but I like that name, so we'll go with it. Actually - I just flipped through one of my creative photography books - it has a similar technique that involves tossing your camera, and of course there is the option to draw with your light while light painting.
But this technique gets a little more specific and detailed...
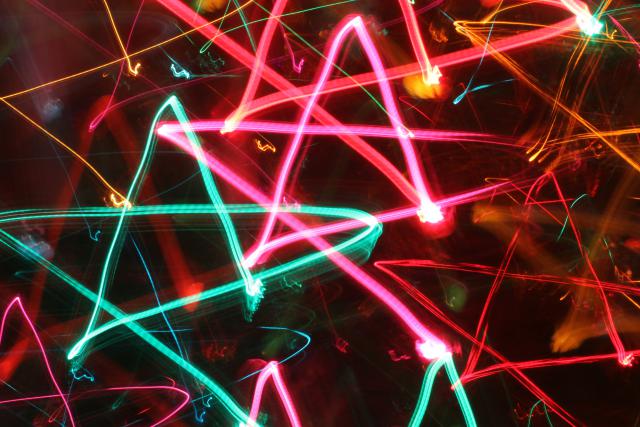
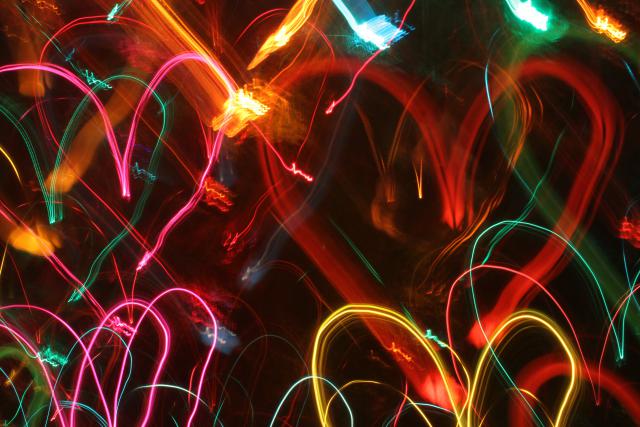
Technical Data: Canon EOS 7D, Tokina AT-X M35 Pro DX AF 35mm f/2.8 Macro 1:1, 5.2 sec at f/22.6. ISO 200. No post production.
This time, we're using the smallest aperture possible, which means you'll need a longer exposure (note this one was about 5 seconds long). I'd recommend shooting in manual mode, and playing around with the shutter speed to find what works well giving your amount of lights and complexity of your drawing.
Once you trip the shutter, intentionally "draw" your shape in the air with your camera. Unless you want to flip the shot in post production, you have to "draw" your shape upside down. It is a little tricky at first, but take your time and try it. It took me several shots to get these hearts drawn in a way I was happy with. Make slow, smooth motions and try to time the end of your "drawing" with the end of the exposure time or you'll end up with a bright spot.
Here's a couple other attempts:
So much fun! Ok - one more technique, but I'm just going to post a couple photos today - you'll have to stop back tomorrow (or maybe the day after - go enjoy the holiday with your friends and family) for the quick "how-to".
|
|
||
Use the now regular mouseover technique to get the small thumbnails to display in the larger image area.
This one was a ton of fun, and still pretty easy (though it does take a little more preparation). But I'll share that tomorrow.
Till then, go hang those stockings, set the cookies out, and spend some quality time with loved ones. And feel free to try out any of these techniques in between taking those memory saving photos.
- Bill
More Light Painting
ktuli — Tue, 11/09/2010 - 19:06
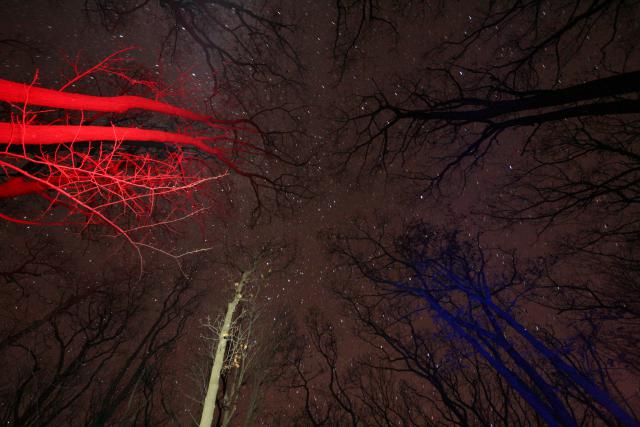
All that beautiful night photography in those time-lapse videos had me thinking about this old set of photos. So far, I've shared the award winning black and white stars and trees as well as the light painted adirondack.
I am usually impressed by night photography, and quite often enjoy looking at the Astronomy Picture of the Day (APOD) when they share night photography.
Anyway, this one combined night photography and light painting...
Technical Data: Canon EOS Digital Rebel XT, Sigma 10-20mm f/4-5.6 EX DC HSM AF at 10mm, Unknown manual exposure length as f/5.6, ISO 1600. Laurel Highlands Hiking Trail.
Hopefully these multiple motivations will get me out there to capture some new night photos and maybe some more light painting.
- Bill
Light Painting: First Attempt
ktuli — Tue, 05/04/2010 - 20:12
Ok - so the posting frequency doesn't seem to be getting much better. I promise to continue trying to get better about that. Heck - I haven't even had much chance to get out and use the camera much either - something I definitely need to remedy.
This is another photo I was hoping to save for use later, but I really need something to get me going.
In one of my photography magazines, I had read about a technique called light painting. There are two forms of light painting - using a light source outside of the scene to 'paint' a section of the scene to highlight it, and using a light source within the scene to 'paint' the air to have a type of graffiti appear in the image.
I decided to try the former. By using different colored lights to highlight your subject, you can change its color dramatically...
Back in November, I went on a hiking trip on a section of the Laurel Highlands Hiking Trail with some good friends.
While we spent the night at one of the adirondacks, I tried my hand at some nighttime long exposure photography and light painting. After taking a fair amount of good-natured kidding from my buddies about the extra weight I was lugging in camera gear for the hike, the photos I got really made it worth while.
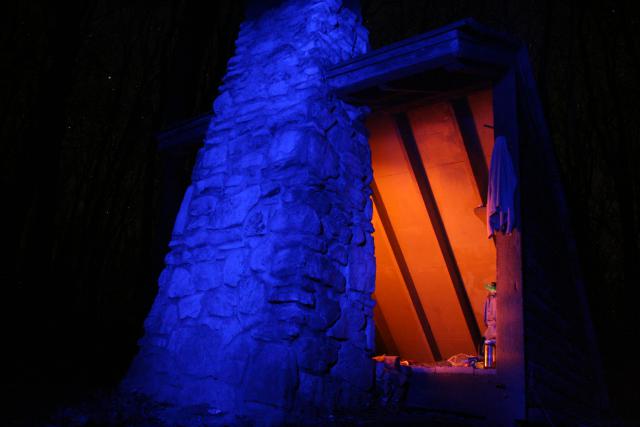
Technical Data: Canon EOS Digital Rebel XT, Canon EF-S 18-55mm f/3.5-5.6 II at 18mm, Unknown manual exposure length at f/5.6, ISO 1600. No post production. Laurel Highlands Hiking Trail.
Why This Photo: I really wanted to try my hand at light painting, after a few other attempts that were coming out very nicely, I thought the blue light on the outside of the shelter contrasted with the red glow from the fire inside the shelter would do a great job of illustrating the cold weather (though it was unseasonably warm for November) with the warmth of the shelter.
What Works: For being basically a first attempt, this turned out well. I like the contrast of the red and blue lighting. Additionally, you can just start to make out the stars in the background.
What Doesn't Work: The framing isn't perfect as I think this might work better if the shelter were more off-center. I also should have selected a much lower ISO for this long of an exposure to help reduce any digital noise.
Surprisingly, this was a lot easier than you would think. Remember your tripod, and a remote shutter release is helpful (or use your timer delay, but that won't work for manual exposure lengths). Try different combinations - I'll share a photo later where I used red and blue lights to paint something purple!
I thought for sure I would end up with a bunch of junk photos, but a couple of these are among my favorite photos. Unfortunately, I have never made a point of heading back out to make some more of these photos.
Maybe it is time to schedule another hiking trip.
- Bill

