technique
Poll: Getting Low with Toads
ktuli — Tue, 05/05/2015 - 19:18
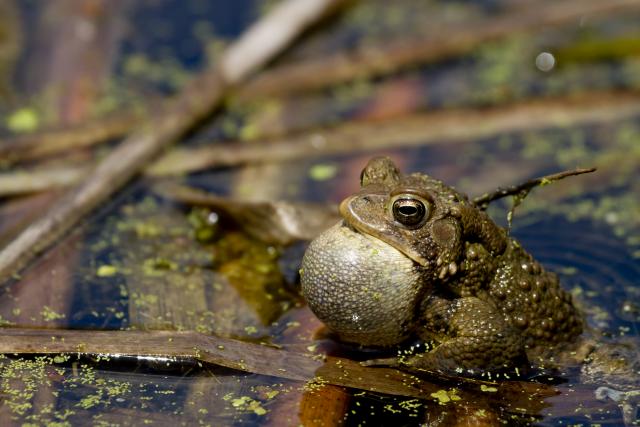
I've heard and read in multiple places how it is important to get low - preferably eye-level or lower - when shooting wildlife photography. I've seen and taken plenty of examples where this is definitely true, but this set of photos really seems to drive the argument home (at least for me).
So here are two photos - taken only a few seconds apart from each other, of the same subject, just from a slightly different vertical angle. Honestly, I like both photos. As stand-alone images, they both work well for me, but there is a definite clear winner when I compare them side-by-side. Take a look and then cast your vote for which angle you like better...
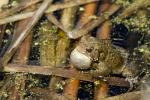 High Angle |
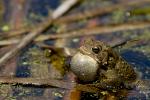 Low Angle |
 |
|
Technical Data: Canon EOS 7D, Canon EF 100-400mm f/4.5-5.6L IS USM (borrowed) at 400mm, 1/500th sec & 1/1250th sec at f/8. ISO 400. RAW processing in Adobe Camera Raw.
Cast your vote below!
- Bill
Poll: Hummingbird - Flash or No Flash?
ktuli — Wed, 07/23/2014 - 19:29
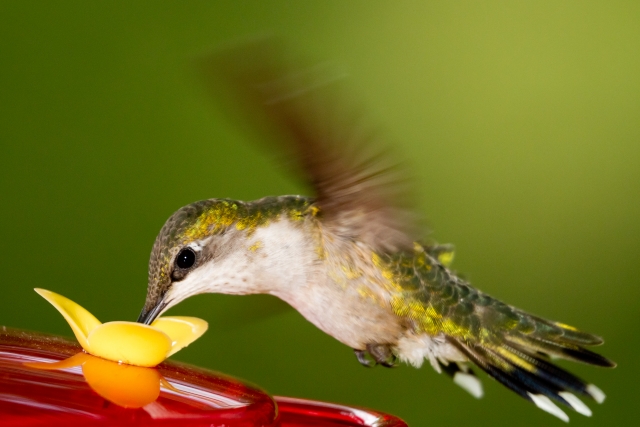
So here's a couple more shots of one of our hummingbirds (actually, it might be two different ones, but I'm not sure) taken with two different methods. Each one seems to have its own benefits and drawbacks, so I figured I'd put it to a vote... do you like this type of shot better with flash or without? Mouseover the thumbnails for the larger version, then cast your vote below.
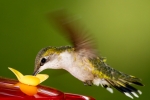 Flash |
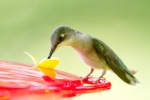 No Flash |
 |
|
Technical Data: Canon EOS 7D, Canon EF 100-400mm f/4.5-5.6L IS USM (borrowed) at 400 with Kenko DG Auto Extension Tube (32mm), Flash: 1/1000 sec at f/5.6, ISO 800. No Flash: 1/250 sec at f5.6, ISO 1600. IS On. Canon Speedlight 580EX II flash in eTTL mode RAW conversion in Adobe Camera Raw.
I wish I could have had more similar images to compare, but I never managed to get a good shot of the hummingbird in flight without the flash (actually the flash would startle the hummingbird into flight and so most of those were of it in flight or just taking off). When using the flash, I am able to use high-speed-sync to get a high shutterspeed to freeze motion a bit more and also use a reduced ISO for less digital noise, but I feel it gives the image a bit more harsh look (that could potentially be mitigated with a diffuser that I might have to try next time). Without the flash, the image is given a much more natural look, but exposure becomes trickier. I do get more natural and calmer behavior from the bird without the flash, but with it does give that metallic reflection from the feathers...
So it is all about trade-offs, but which one do you prefer?
Thanks for stopping by!
- Bill
Two Birds with one Lens
ktuli — Tue, 07/22/2014 - 19:43
Well, so much for getting back to a more regular posting schedule...
I did manage to setup Tom's 100-400mm lens recently and got some decent bird photos. These are probably some of the best bird photos I've managed to date, so without any further ado I give you a pretty large bird and a fairly tiny bird, both shot with the same lens but in very different methods.
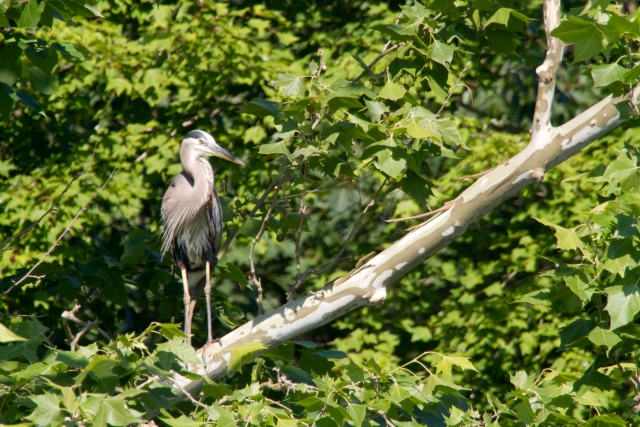
First up we have a Great Blue Heron (Ardea herodias) - we have these visit our pond with some regularity, but they still remain skittish and any attempt to approach them has proven difficult. This shot I managed from our front porch - I'd thought I used both a 2x and a 1.4x teleconverter on it, but the EXIF info is reporting only the 2x numbers, so I could be mistaken. One interesting thing here is that supposedly I shouldn't have been able to use autofocus for this shot, but I did. The Canon 7D (and most cameras) can only use autofocus is the maximum aperture value is larger than f/5.6. With this lens and any teleconverter, the effective maximum aperture is well above that mark (since the lens itself is f/5.6 and the teleconverters reduce that by 1, 2, or 3 stops if combined). However, putting the camera into live view and using the LCD to zoom in on my subject, I was then able to use AF without any issues at all. I'm sure the results aren't ideal - and that is evident if you look at this image at full size, but it certain had usable results here.
Technical Data: Canon EOS 7D, Canon EF 100-400mm f/4.5-5.6L IS USM (borrowed) at 400 with Canon EF 2x and 1.4x Telephoto Extender II, 1/640 sec at f/11. IS On. ISO 640. RAW conversion in Adobe Camera Raw.
This next one takes that same telephoto lens and uses it in a very different method. Instead of using teleconverters to extend its long distance capabilities, I instead used an extension tube to improve its close distance capabilities. I know the terms are confusing, but perhaps some day I'll write up the differences of teleconverters versus extension tubes, but for now just a quick explanation. Teleconverters are used to magnify the image, they usually come in 2x and 1.4x magnifications; their trade-off is that they reduce the amount of light coming into the camera and effectively make exposure more difficult. Extension Tubes are used to reduce the minimum focusing distance of a lens and by doing so provide a smaller degree of magnification; their trade-off is that they eliminate the lens' ability to focus on items farther away, but they do not affect the amount of light entering the camera.
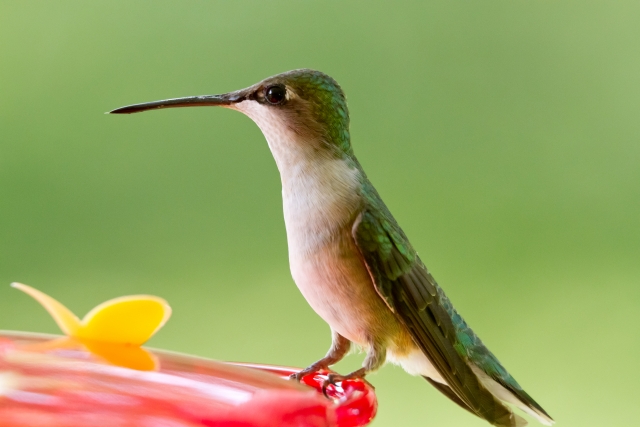
Anyway, I used the Canon 100-400mm lens with a 32mm extension tube to allow for the lens to focus closer and provide a bit of magnification and pointed it at the hummingbird feeder on our porch. With patience, I managed to get a handful of shots using different methods - I'll share one today and a couple more soon.
Technical Data: Canon EOS 7D, Canon EF 100-400mm f/4.5-5.6L IS USM (borrowed) at 400 with Kenko DG Auto Extension Tube (32mm), 1/400 sec at f/5.6. IS On. ISO 1600. RAW conversion in Adobe Camera Raw.
As you can see, these are slowly improving. I'm happy to be able to start seeing the detail of individual feathers. I'll have to continue working on getting better results, but this is a nice step in the right direction.
- Bill
Dia de los Muertos Vignette (part 1)
ktuli — Wed, 02/27/2013 - 20:42
Alright, I finally managed to motivate myself to get off my lazy butt and take some photos...
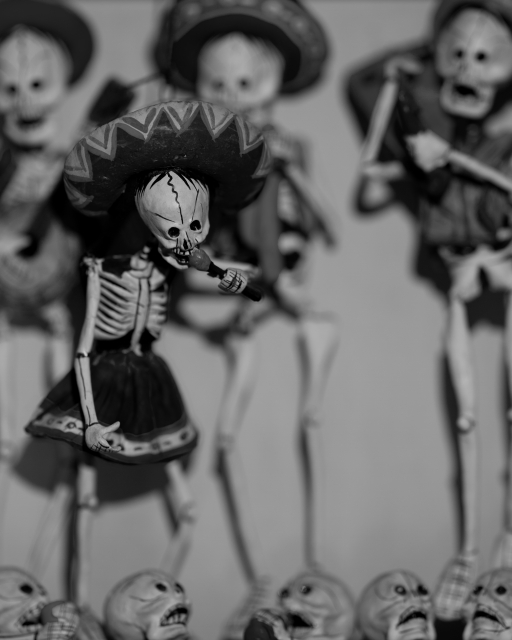
I spent probably 45 minutes working with this subject yesterday - trying different lenses, different lighting, and even the fluorescence stuff (more on that later). I knew I wanted to try converting these shots to B&W ahead of time, so I intentionally went for a shallow depth of field so that I could focus more on the tones of the scene. I'm not sure if I succeeded in getting a shot that converted well to B&W (or at least as well as I had wanted), but I did try a technique for further decreasing the depth of field of an image when your lens just can't achieve that effect.
The theory here is fairly similar to the focus stacking technique we've looked at previously. Basically, you take multiple exposures with different focus settings and then blend them together to achieve the look you're looking for. In this case, I simply used two images - one with the face of the main skeleton in focus, and a second with everything blurred. Obviously, because I wanted a shallow depth of field, I was using my lens' widest aperture for both shots - f/2.8 in this case.
I think processed both shots in ACR identically (actually, if you open both images in ACR, you can make your changes to one and then have it synchronize the changes to all other images opened at the same time). I then opened the sharp photo in Photoshop, converted the background to a normal layer, then created a blank layer. I then opened the blurred shot separately, converted its background layer to a normal layer, selected everything and copy/pasted it into the blank layer in the sharp image. This results in the blurred layer covering the sharp layer. Simply select the eraser tool, set your size and in this case I selected a medium hardness (so the edges of the eraser tool as I painted it would be a soft line instead of a hard sharp line - this helps to blend your edges)... then simply erase away the blurred layer to reveal the sharp layer underneath... I just did this to the main skeleton's face, hat, and microphone.
Here are the results with the two images used to make this composite - mouseover each to see how they work together to produce the final image (when you point the mouse away from the thumbnails, it will revert back to the composite)...
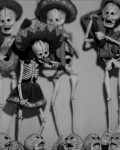 Sharp Image |
 |
 Blurred Image |
|
 Original Edit |
Technical Data: Canon EOS 7D, Canon EF 100mm f/2.8L Macro IS USM, 1/40 sec at f/2.8. Image Stabilization on. ISO 100. RAW processing in Adobe Camera Raw, B&W and stacking processing in PS:CS5.
What do you think? Does that help or hurt the image?
- Bill
EDIT: I've decided to try another edit where I unblurred the singer's head and torso... I was beginning to feel that the original edit made the head feel disembodied.

