rocks
Hocking Hills (part 5)
ktuli — Mon, 07/08/2013 - 20:07
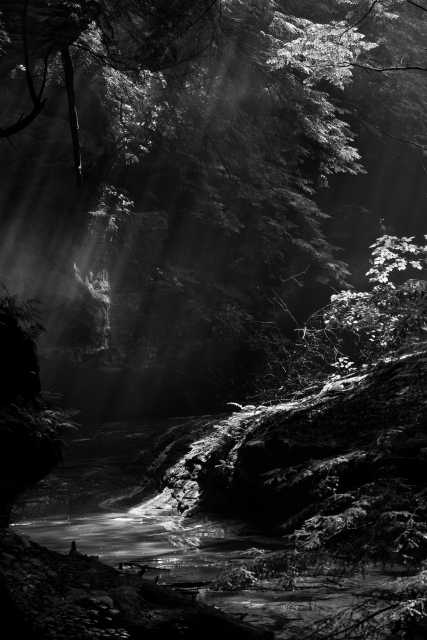
Here's another I converted to black and white...
Technical Data: Canon EOS 7D, Canon EF 100mm f/2.8L Macro IS USM, 1/20 sec at f/8. Image Stabilization on. ISO 100. RAW processing Adobe Camera Raw, B&W conversion in Silver FX (mouseover for color version).
- Bill
Hocking Hills (part 4)
ktuli — Sun, 07/07/2013 - 17:16
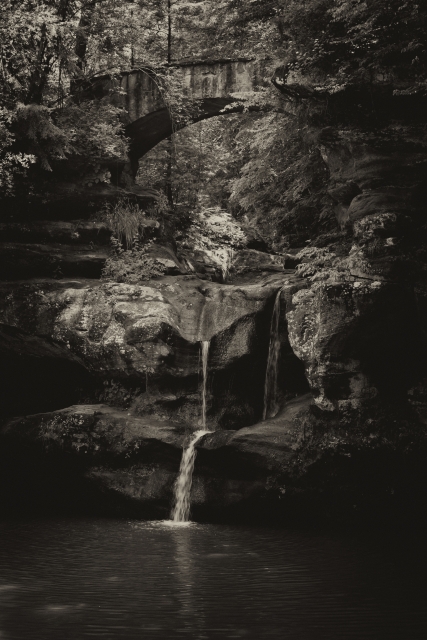
Well, I finally made it through the rest of the photos from Hocking Hills. Honestly, this last set is where all the gems are, so I'll get right to the one that I think turned out the best. I liked this one as a color image, but then decided to try it in B&W - I ran it through the Antique Plate preset in Nik Software's Silver FX, and the result is just stellar I think...
Technical Data: Canon EOS 7D, Canon EF-S 18-55mm f/3.5-5.6 II at 49mm, 1/30 sec at f/5.6. ISO 100. RAW processing Adobe Camera Raw, B&W conversion in Silver FX (mouseover for color version).
There is still more to come, so stay tuned.
- Bill
Hocking Hills (part 3)
ktuli — Sun, 06/30/2013 - 20:31
Still (slowly) making my way through the photos from Hocking Hills. Here's a nice assortment of vertically oriented photos...
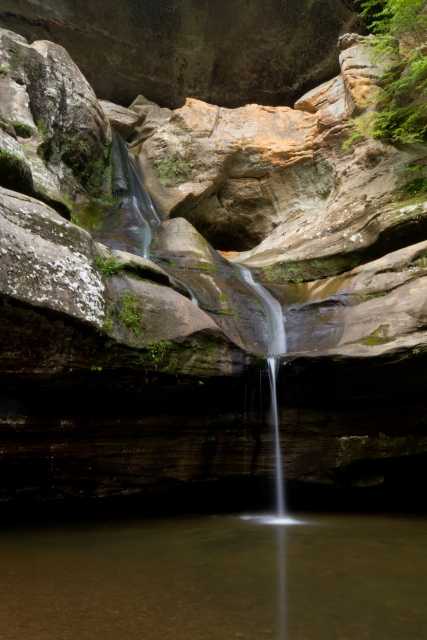 |
 Cedar Falls |
 Conkle's Hollow |
|
 Cedar Falls Trailhead Sunset |
|
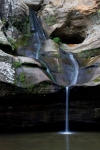 Cedar Falls |
Stay tuned, the best is yet to come...
- Bill
Hocking Hills (part 2)
ktuli — Thu, 06/27/2013 - 20:40
Ever been out taking photos and there are just so many people around that you just can't seem to get a photo without some random person in the shot?
Well, that was definitely the case most of the time we were in Hocking Hills; however, I employed a little technique that would give me a clean result after a little Photoshop work...
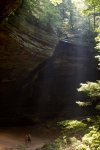 Image #1 |
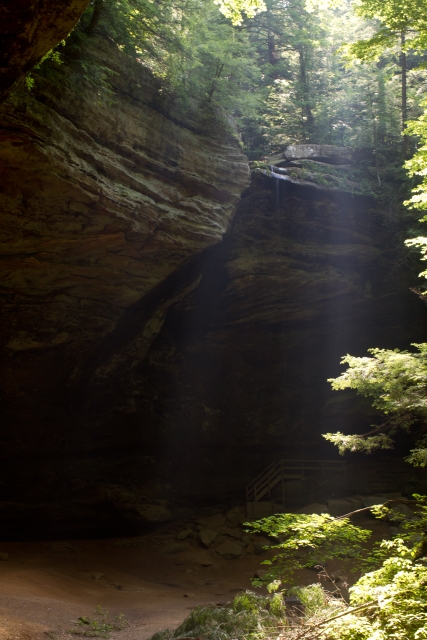 |
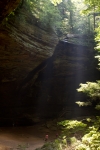 Image #1 |
|
 Final Image |
All you have to do is have your camera mounted on a tripod, take multiple images (sometimes - like here - you can get away with as few as two) making sure that as the people move around, you get enough photos where eventually any given area is free of people. Then, in Photoshop, simply bring all of the images into a new combined image, use the eraser tool to remove the people, leaving the image beneath it with no people in that spot showing through. This way, you can easily create a final image that doesn't have any random people left.
The best part? Even someone with rather limited Photoshop "skills" can do this technique because it doesn't have to be the most detailed and precise work, plus since you're not creating any content - only removing distracting elements to show a different version of the same image - it looks very natural.
- Bill
Hocking Hills (part 1)
ktuli — Wed, 06/26/2013 - 20:25
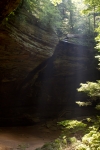
Ok - I really haven't been motivated to process photos or post on my blog, but Anya and I took a trip to Hocking Hills in Ohio this past weekend, so perhaps that will provide the necessary push. Though I am sure it will still take me a while to get through them all.
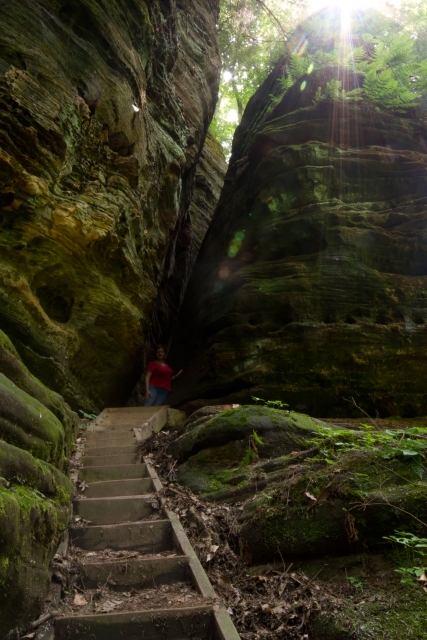
Technical Data: Canon EOS 7D, Canon EF-S 18-55mm f/3.5-5.6 II at 18mm, 5 sec at f/32. ISO 100. RAW processing and cropped in Adobe Camera Raw.
Landscape photography is not my strongest skill, so it took me about a day or so to actually start putting together some nice photos. This one, obviously, is not one of them. I share it mainly because it is in the first set (processing chronologically) and as an example of the magnitude of the geology we were in (I'm not always good about putting a model into my scenes for scale).
Stay tuned, more (better) to come.
- Bill
California Trip: Yosemite National Park (part 1)
ktuli — Wed, 09/12/2012 - 19:27
And our last stop on our California roadtrip... Yosemite National Park. This is one of those places where photographs simple can't begin to do it justice. There are hundreds of famous photographers who have dedicated their lives to shooting Yosemite (Ansel Adams for example), and even they can't begin to impart the majesty and grandeur that this park possesses. So if you have never been to Yosemite, I highly recommend it to be added to your bucket list (though I'd wait until the recent hantavirus outbreak is cleared up). As I said, I don't expect my photographs to truly impart the true feeling of wonder one gets from being in this park... so if any other photographs in the next few days worth of posts impress you, multiply that feeling by a couple thousand times to get an idea of what it is like to be there in person.
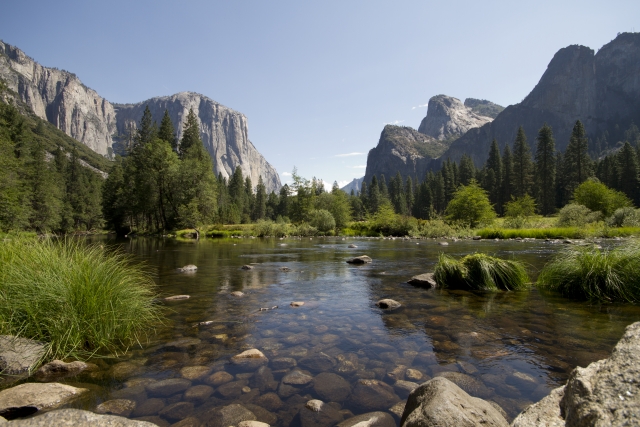
We'll start with one of my favorite shots (that I've processed so far - I still have about 100 more to go)... Yosemite Valley from the Merced River.
Technical Data: Canon EOS 7D, Sigma 10-20mm f/4-5.6 EX DC HSM AF at 10mm, 1/100 sec respectively at f/8. ISO 100. Raw conversion and cropped in Adobe Camera Raw.
I took this shot basically laying on my belly overhanging the bank of the Merced River. I used the live-view on the back of the camera to be able to line up my shot (though I did still have to crop and rotate slightly to get the horizon level). I had the camera just inches above the water to get this perspective, and I really love the detail of the rocks under the water in the foreground juxtaposed with the massive peaks in the background.
Welcome to Yosemite.
- Bill
McConnell's Mill Waterfall with Macro
ktuli — Tue, 04/19/2011 - 19:25
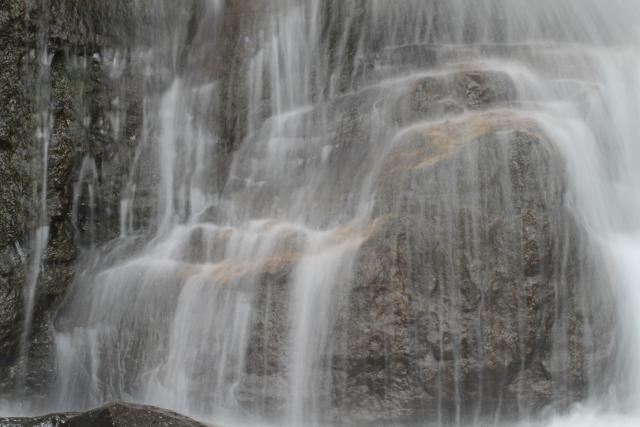
Normally, you wouldn't use a 100mm macro lens to photograph a waterfall. Most times, if you're standing at the base of a waterfall, you reach into your bag and pull out a wide angle lens to capture the whole scene.
However, a couple weeks ago, I decided to try a longer focal length to get a more intimate view of only a portion of the waterfall. This is the result...
Technical Data: Canon EOS 7D, Canon EF 100mm f/2.8L Macro IS USM, 1 sec at f/32. Image Stabilization on. ISO 200. No post production.
Why This Photo: I have been to this waterfall several times so far, and I decided I wanted to find a different shot to come back with. Along with the TTV waterfall shots, I decided to isolate only a portion of the falls - to concentrate on the look of water cascading over the rough stone surface.
What Works: The slow shutter speed produced a nice soft look to the flowing water, while the sharp focus on the rock texture provides the nice juxtaposition between the two - particularly with the large portion of rock only partially obscured by the water in the bottom right corner.
What Doesn't Work: There is a small rock protruding into the frame in the bottom left corner. Additionally, the flow of the water is not as strong on the left edge of the frame. Perhaps a slightly tighter crop would eliminate these problems.
Drop me a comment and let me know what you think.
- Bill
TTV: McConnell's Mills Waterfall
ktuli — Wed, 04/06/2011 - 20:49
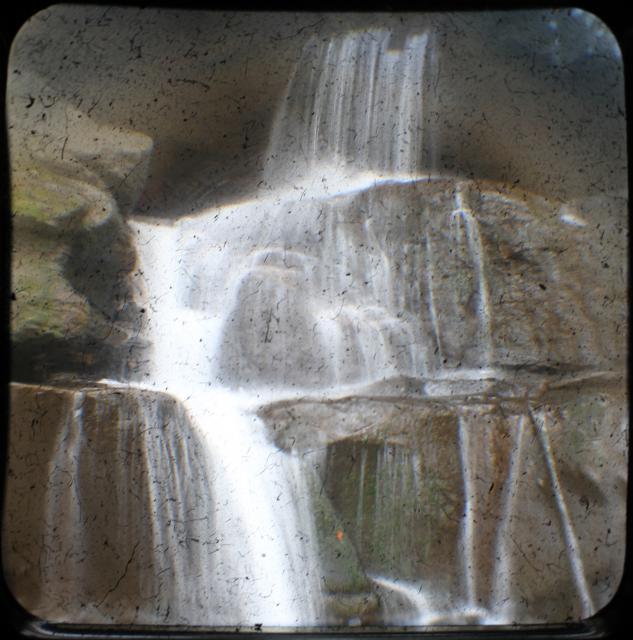
Ok - got another TTV shot for you today. This was the first time I'd taken the TTV rig anywhere other than Phipps, so it was kind of fun. Trying to scramble up the rocky hillside to this waterfall while juggling my camera bag, my DSLR, tripod, TTV rig, and monopod on the other hand was not so much fun.
I really don't know why these photos have so much more grit and grain to them than previous examples. It possibly could be because of the difference in focal distances - most of the TTV done at Phipps is done within a couple feet of the subject, here I was working in the tens of feet.
I also found that focusing was much more difficult this time around. I had a razor thin range on the lens that would put the scene into focus, and even then it was just a touch away from focusing purely on the grit and grain on the Argus' viewfinder lens.
Regardless, here's another shot I brought back on Sunday...
Technical Data: Canon EOS 7D TTV Argus Seventy-Five, Tokina AT-X M35 Pro DX AF 35mm f/2.8 Macro 1:1, 1/5 sec at f/8. ISO 200. Monopod and handheld. Cropped in Photoshop CS5 Extended.
Why This Photo: I've shot this waterfall before and I thought that since I was at the park for a field workshop for my class, that I would give it the TTV treatment to change things up instead of coming back with the same shot again.
What Works: The curving path of waterfall is pleasing to me, while the slow shutter speed produces that nice soft fluffy water.
What Doesn't Work: The grit and grain is just too distracting this time around I think - perhaps I need to clean up the viewfinder a little. Additionally, that razor thing focus range means that this shot is a little soft. And the long shutter speed to draw out the detail in the rocks produces a completely white stream of water that is a bit overpowering.
Even with its flaws, I still really like the shot, and may be convinced to head back in the summer with a different TLR (perhaps the Anscoflex II) and try it again.
Drop me a comment and let me know what you think!
- Bill
TTV: McConnell's Mill Covered Bridge
ktuli — Tue, 04/05/2011 - 20:05
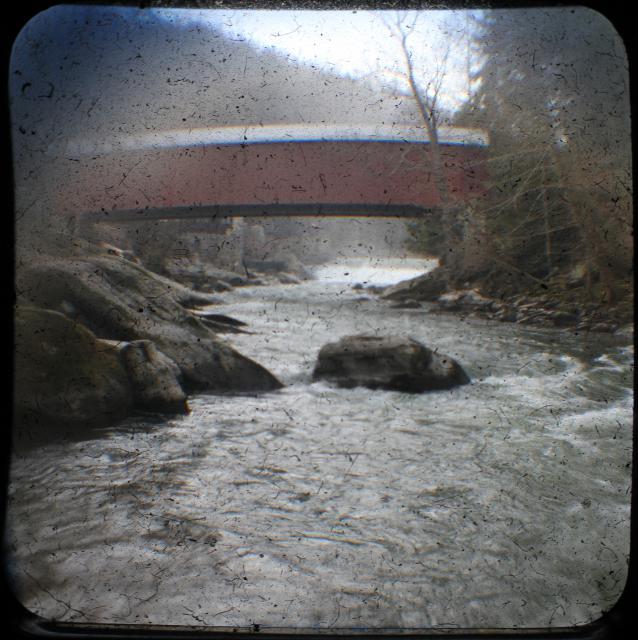
Technical Data: Canon EOS 7D TTV Argus Seventy-Five, Tokina AT-X M35 Pro DX AF 35mm f/2.8 Macro 1:1, 1/16 sec at f/9.1. ISO 200. Monopod and handheld. Cropped in Photoshop CS5 Extended.
I'm busy with some other stuff tonight, so you'll have to provide your own critique. Thanks for stopping by.
- Bill
HDR: McConnell's Mill Waterfall
ktuli — Wed, 03/30/2011 - 17:48
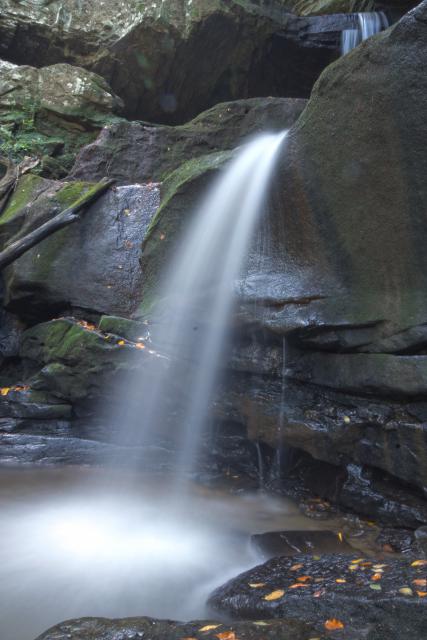
As promised many, many ages ago, I've finally processed that set of waterfall photos into an HDR image.
I used a freeware program called Picturenaut to produce the final HDR image. In the end, I like the image but wonder if the HDR was even worthwhile in this particular case (or given the range of exposures I used to built it).
After completing the HDR, here are my thoughts on the results:
- I should have cleaned up the scene some more - at this point, I find all the dead leaves distracting, and a nice clean rock and water scene would have been more pleasing.
- I need to pay more attention to the lens flares and water droplets on the front of the lens because they might not have been distracting in the original shots (and probably not even noticed on the LCD on the back of the camera), but they definitely are noticeable now.
- I should have selected a wider range of exposures to use for this kind of HDR set. Particularly, I should have explored the darker end of the set more - perhaps expanding down a further stop or two.
- I should have figured out what that spot in the middle of the frame was.
All in all, I am actually pretty pleased.
I've seen so many HDR images that have horrible halos around everything that they looked like you were looking at the scene through some crappy 3D vision glasses. As I'm sure you know by now, I am not a huge fan of post production work. I like to get the shot right once in the camera and leave it at that. I'm slowly coming around, but I still don't want to look at an image and tell it has been so overworked and couldn't possibly have come from a camera directly. It works for some folks, and sometimes it looks nice, but it just isn't for me.
Remember to stop back and check out the original post to get a bit of comparison, then drop me a comment and let me know what you think.
- Bill

