black&white
Hocking Hills (part 4)
ktuli — Sun, 07/07/2013 - 17:16
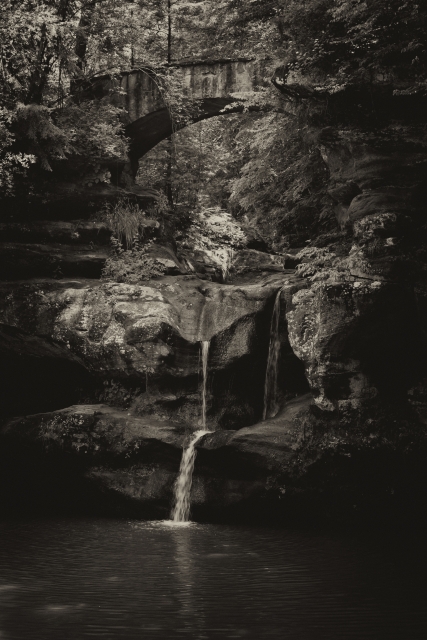
Well, I finally made it through the rest of the photos from Hocking Hills. Honestly, this last set is where all the gems are, so I'll get right to the one that I think turned out the best. I liked this one as a color image, but then decided to try it in B&W - I ran it through the Antique Plate preset in Nik Software's Silver FX, and the result is just stellar I think...
Technical Data: Canon EOS 7D, Canon EF-S 18-55mm f/3.5-5.6 II at 49mm, 1/30 sec at f/5.6. ISO 100. RAW processing Adobe Camera Raw, B&W conversion in Silver FX (mouseover for color version).
There is still more to come, so stay tuned.
- Bill
Poll: Caribbean Reef Octopus
ktuli — Mon, 05/27/2013 - 20:10
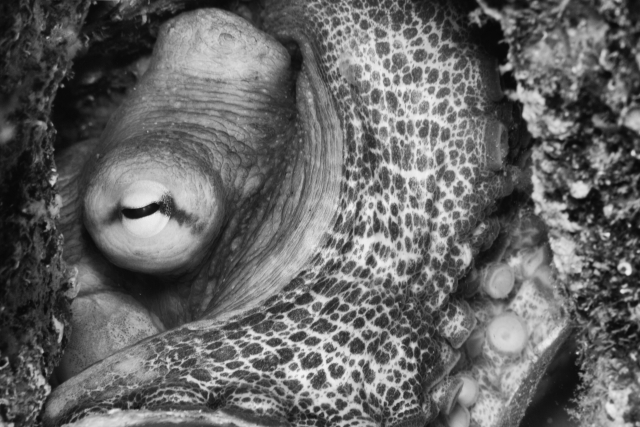
Ok - as promised, we're going to take a break from the spiders today... though we are going to stick with something with eight legs (or are they arms?)
I use a version of this image as the wallpaper on my home computer. When I go to turn the computer off, it fades the image to B&W. Truthfully, I'd never noticed how good of a B&W image it made until just a few days ago. After seeing it, I decided it was time for another go at making underwater black and whites.
I first tried one edit of this image, and then decided I wanted to make a few more modifications to it. I'll share all of those edits, their B&W conversions, and the original (sorry, no B&W of it), and then you can vote on which is your favorite.
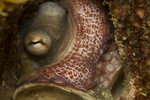 Original |
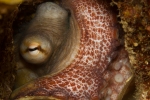 Edit #1, Color |
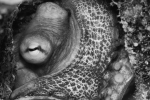 Edit #1, B&W |
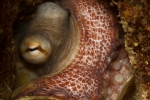 Edit #2, Color |
 Edit #2, B&W |
 |
||||
Place your vote and let me know which version you like best...
- Bill
Nurse Shark in Black and White
ktuli — Sun, 04/07/2013 - 16:35
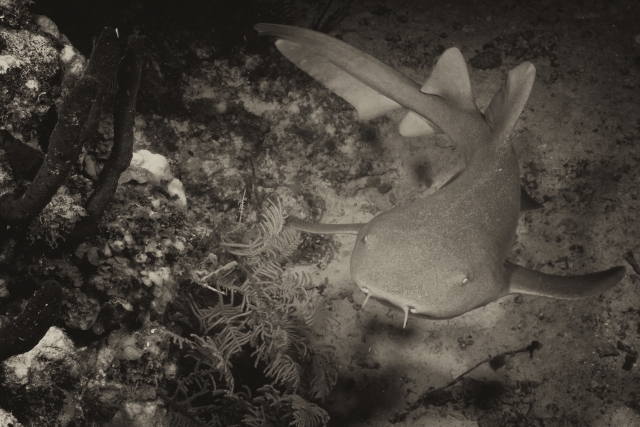
Well, I've been playing around more with the Nik Software Silver Efex, and processed this B&W (ok, technically sepia) of a nurse shark photo that I've shared previously.
Technical Data: Canon EOS 7D, Canon EF-S 18-55mm f/3.5-5.6 II at 18mm. 1/120 sec at f/11. ISO 640. Ikelite Housing and Port with dual Ikelite 161 Strobes in eTTL mode. Raw conversion and cropped in Adobe Camera Raw, B&W conversion in Nik Software Silver Efex.
I really like how this one turned out. You certainly wouldn't think of sepia when you think of underwater photography, but then again... maybe you should... sepia is produced from the ink of cuttlefish!
- Bill
Stamens in Black and White
ktuli — Thu, 04/04/2013 - 17:49
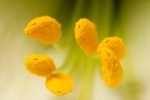
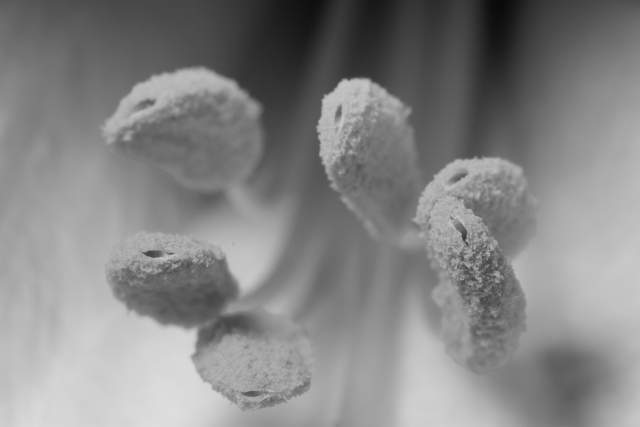
We took a day off this week and went to the spring flower show at Phipps. I captured this abstract shot of some pollen stamens and processed it a couple different ways... First the straight exposure, then I pushed the exposure up a bit for a bit of a high-key look, and then I thought they might look nice with a B&W conversion.
 Original |
 Slight High-key |
 B&W |
 |
||
Technical Data: Canon EOS 7D, Canon EF 100mm f/2.8L Macro IS USM, 1/250 sec at f/16. Canon Speedlight 580EX II flash in auto mode and wireless control. Image Stabilization on. ISO 100. RAW processing and cropped in Adobe Camera Raw, B&W processing done with Nik Software's Silver Efex.
- Bill
Poll: Lone Tree
ktuli — Mon, 03/18/2013 - 15:56
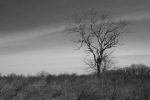
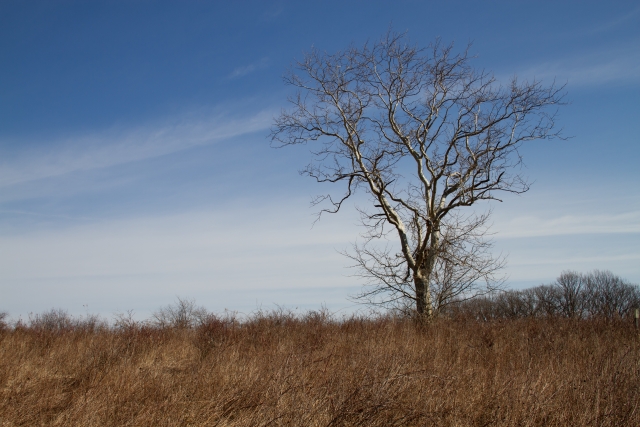
On our trip to Latodomi Nature Center, we saw this tree out in a field all by itself. I instantly knew it would make for some great photos. I intend to visit several times and try to capture the same scene repeatedly during different seasons. Here is the first...
 |
 |
 |
|
Technical Data: Canon EOS 7D, Canon EF-S 18-55mm f/3.5-5.6 II at 25mm, 1/400 sec at f/8. ISO 100. RAW processing in Adobe Camera Raw.
It has been a while since we've had a poll, so go ahead and cast your vote for which version you like better...
- Bill
Dia de los Muertos Vignette (part 1)
ktuli — Wed, 02/27/2013 - 20:42
Alright, I finally managed to motivate myself to get off my lazy butt and take some photos...
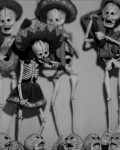
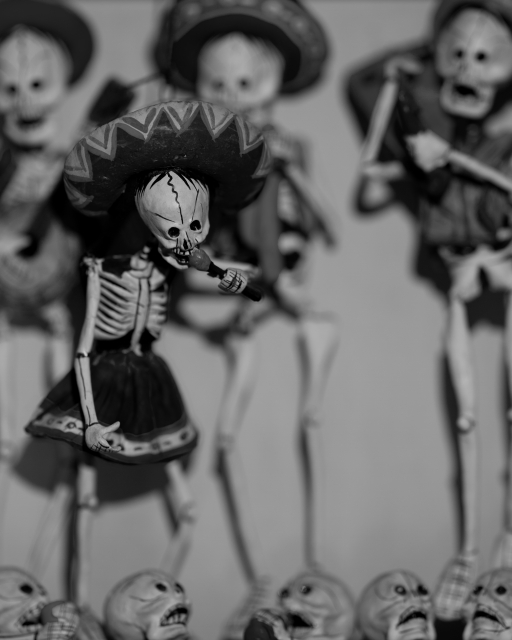
I spent probably 45 minutes working with this subject yesterday - trying different lenses, different lighting, and even the fluorescence stuff (more on that later). I knew I wanted to try converting these shots to B&W ahead of time, so I intentionally went for a shallow depth of field so that I could focus more on the tones of the scene. I'm not sure if I succeeded in getting a shot that converted well to B&W (or at least as well as I had wanted), but I did try a technique for further decreasing the depth of field of an image when your lens just can't achieve that effect.
The theory here is fairly similar to the focus stacking technique we've looked at previously. Basically, you take multiple exposures with different focus settings and then blend them together to achieve the look you're looking for. In this case, I simply used two images - one with the face of the main skeleton in focus, and a second with everything blurred. Obviously, because I wanted a shallow depth of field, I was using my lens' widest aperture for both shots - f/2.8 in this case.
I think processed both shots in ACR identically (actually, if you open both images in ACR, you can make your changes to one and then have it synchronize the changes to all other images opened at the same time). I then opened the sharp photo in Photoshop, converted the background to a normal layer, then created a blank layer. I then opened the blurred shot separately, converted its background layer to a normal layer, selected everything and copy/pasted it into the blank layer in the sharp image. This results in the blurred layer covering the sharp layer. Simply select the eraser tool, set your size and in this case I selected a medium hardness (so the edges of the eraser tool as I painted it would be a soft line instead of a hard sharp line - this helps to blend your edges)... then simply erase away the blurred layer to reveal the sharp layer underneath... I just did this to the main skeleton's face, hat, and microphone.
Here are the results with the two images used to make this composite - mouseover each to see how they work together to produce the final image (when you point the mouse away from the thumbnails, it will revert back to the composite)...
 Sharp Image |
 |
 Blurred Image |
|
 Original Edit |
Technical Data: Canon EOS 7D, Canon EF 100mm f/2.8L Macro IS USM, 1/40 sec at f/2.8. Image Stabilization on. ISO 100. RAW processing in Adobe Camera Raw, B&W and stacking processing in PS:CS5.
What do you think? Does that help or hurt the image?
- Bill
EDIT: I've decided to try another edit where I unblurred the singer's head and torso... I was beginning to feel that the original edit made the head feel disembodied.
The Showdown (revisited)
ktuli — Thu, 01/10/2013 - 19:36
In a week from now, I will be hitting the two year anniversary since I started this blog. If I get the posts done in time, I will also be hitting my 400th post to celebrate the occasion. As such (and partially because I've been a tad lazy with getting the camera out as much as I should), I'm going to dig through the archives and see what gems I might have missed, or how I can give a new look to some photos I've already shared.
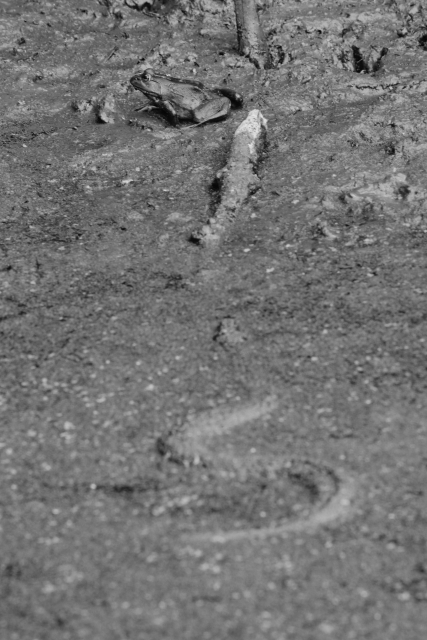
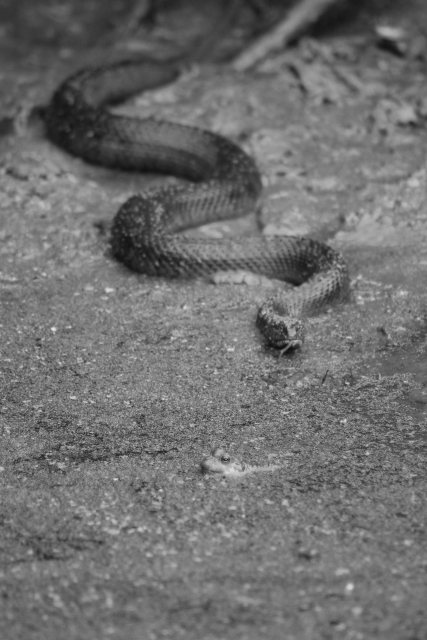
With that in mind, I present a couple photos that I shared here in the past (here and here). After seeing someone else share a photo of a snake that they converted to black and white, I decided to give it a shot with some of mine... here are the results...
Technical Data: Canon EOS 7D, Tamron 70-300mm f/4-5.6 Di LD Macro1:2 at 238mm, 1/32 at f/11.3. ISO. No post production. Beechwood Farms, Fox Chapel, PA.
Technical Data: Canon EOS 7D, Tamron 70-300mm f/4-5.6 Di LD Macro1:2 at 238mm, 1/130 at f/5. ISO. No post production. Beechwood Farms, Fox Chapel, PA.
Mouseover the images for the original color version.
- Bill
Happy Halloween 2012
ktuli — Tue, 10/30/2012 - 18:12
Ok - a quick break from the dive photography today.
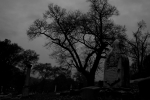
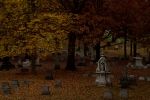
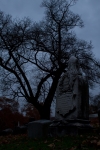
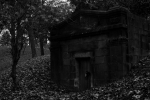
Last Saturday, I led a MeetUp event to the Allegheny Cemetery. The idea was to get some spooky photography for Halloween, so here's a selection of what I came back with...
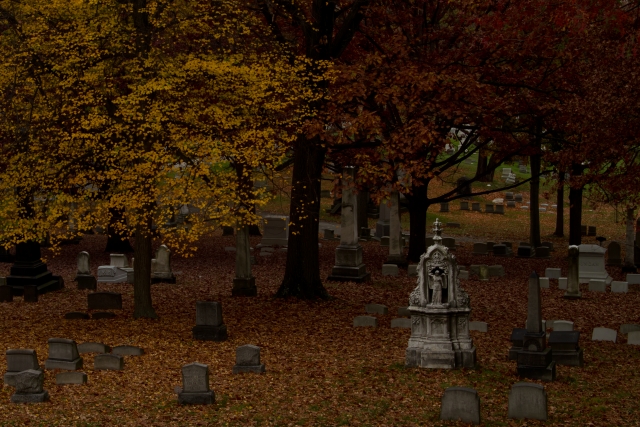
Happy Halloween!
- Bill
The Wilds (part 2)
ktuli — Mon, 08/06/2012 - 20:30
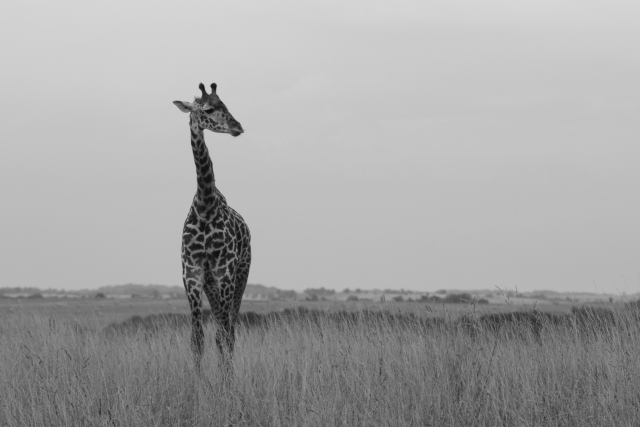
Ok - while we're on the B&W conversions, here's another from The Wilds. (mouseover for the original color version).
Technical Data: Canon EOS 7D, Sigma 150-500mm f/5-6.3 APO DG OS HSM at 500mm, 1/100 sec at f/7.1. OS Mode 1. ISO 400. RAW conversion in Adobe Camera Raw, B&W conversion in Photoshop CS5.
I'm not as happy with this image as the one of the zebra. The large featureless sky takes up far too much of the background and simply is boring and distracting in my opinion.... but what are you going to do when the majority of your subject is up there?
- Bill
Poll: The Wilds (part 1)
ktuli — Mon, 07/30/2012 - 20:01
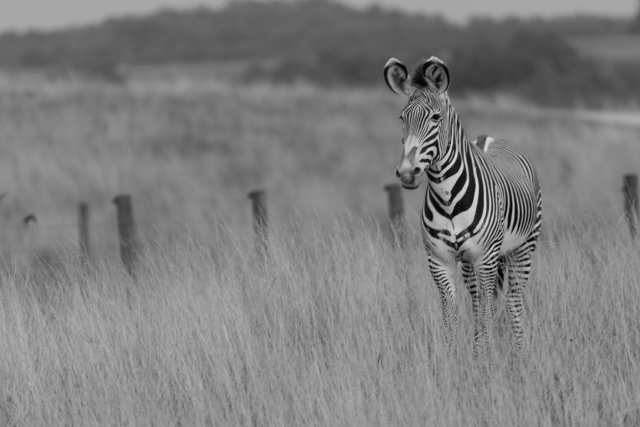
Ok - I guess I couldn't wait any longer to get to these photos from The Wilds, and we're going to jump straight to my favorite one of the set.
The Wilds is a wild-life conservation center associated with the Columbus Zoo. It is about 1.5 - 2 hours away from Pittsburgh in an old strip mine location. The layout provides for some different opportunities for photography - with the usual way to tour the facility being in safari type vehicles through the large, wide-open areas where the animals roam free. So fences aren't a problem, and you can get some more natural behavior out of the animals.
I spent the day with my longest lens - my Sigma 150-500mm - mounted on my camera. Many times it was a hindrance with the 150mm end being a bit too long when the animals were close, but when they were further off, it gave me some great images...
Technical Data: Canon EOS 7D, Sigma 150-500mm f/5-6.3 APO DG OS HSM at 500mm, 1/120 sec at f/6.3. OS Mode 1. ISO 100. RAW conversion in Adobe Camera Raw, B&W conversion in Photoshop CS5.
I don't know what all to say about this image. I love the composition, the simplicity of it, the nicely blurred background and main subject isolation. The only complaints I have with it would be the fence post that is just below the zebra's mouth, and the focus is ever so slightly off (actually it may have been vibrations from the vehicle motor).
But I can't decide which version I like better... color or B&W. So place your vote below and let me know!
- Bill

