long exposure
Poll: Redo or Undo
ktuli — Sat, 11/13/2010 - 22:01
So today's trip to Cedar Creek Park was pretty successful. I'll have several good photos to share from the trip, but today I want to talk a little about deleting photos from the camera.
I usually am fairly good about being careful when deleting photos through the camera, but every once in a while I have a bunch I'm deleting and I zone out and delete one too many, or (as in the case with my SeaLife DC1200) sometimes confusing menus cause an unwanted delete of more than I expected. It has happened before, and I'm sure it will happen again, and you might not think it, but it'll probably happen to you someday too.
Today, I accidentally deleted a photo I wanted and decided I would simply try to replicate it. But also when I got home, I used Pandora Recovery to undelete the file from my compact flash card. I've used Pandora Recovery a couple times before, and really like it as a piece of software.
First, it is free. If want to download and use it for free, you definitely can. I personally am not a fan of doing that for software I like and have sent a small donation to the team to show my appreciation. So while it technically is free, I'd recommend tossing a few bucks their way to support such a good product. The software is small and light, and doesn't try to install any other software you don't want. It isn't adware or nagware. It is just exactly what it says it is. A powerful and easy-to-use tool to recover deleted files.
Pandora Recovery is definitely something that should be in every photographer's toolbox for those cases when you really need to get that one shot back. Do yourself a favor and download it today and then send the team a quick PayPal donation - you won't regret it.
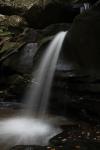
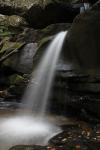
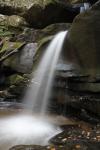
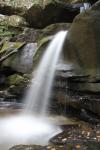
So let's look at the photos...
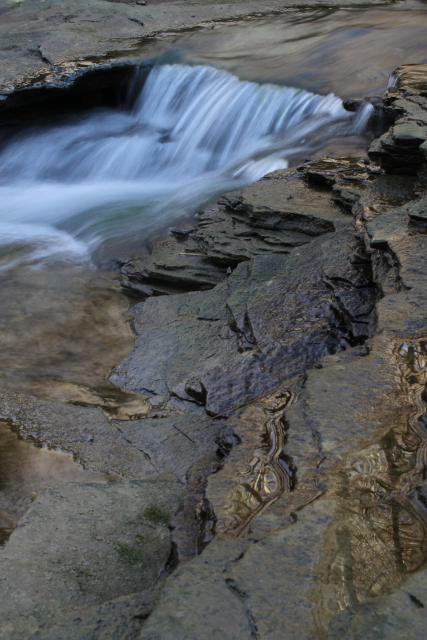 |
||
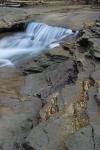
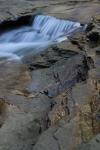
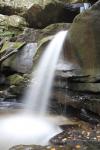
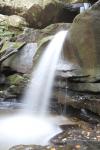
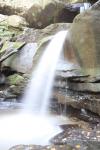
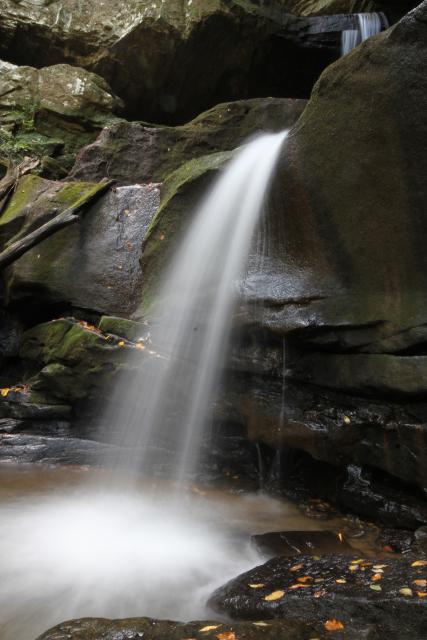
If you mouse over the thumbnail on the left, the larger image will display that photo. So you can easily compare the two back and forth.
Interestingly enough, despite twenty minutes passing between the two shots, I managed almost identical shots. The technical data was 100% identical, the only thing that differs is the lighting and the framing of the shot from setting the tripod down and angling the ballhead differently.
Technical Data: Canon EOS 7D, Tokina AT-X M35 Pro DX AF 35mm f/2.8 Macro 1:1, 1/3 sec at f/22.6. ISO 200. Dolica AX620B100 tripod. No post production. Cedar Creek Park, Westmoreland County, PA.
I'm going go back to my typical stance here and not share my preferred photo just yet. Place your vote and leave me a comment to let me know which photo you chose and why. Give a full critique if you like.
Oh, and don't forget to check out Pandora Recovery before you need it in a hurry.
- Bill
More Light Painting
ktuli — Tue, 11/09/2010 - 19:06
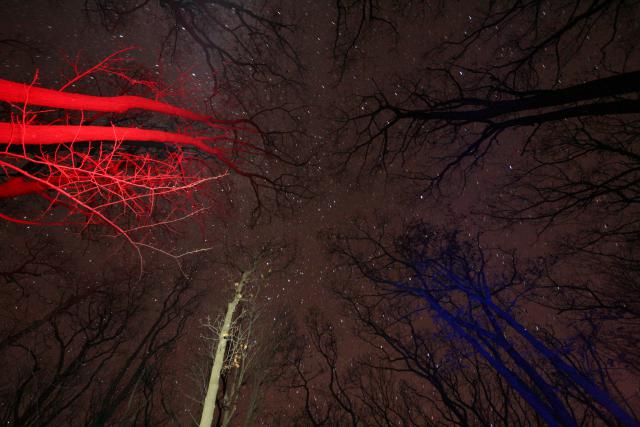
All that beautiful night photography in those time-lapse videos had me thinking about this old set of photos. So far, I've shared the award winning black and white stars and trees as well as the light painted adirondack.
I am usually impressed by night photography, and quite often enjoy looking at the Astronomy Picture of the Day (APOD) when they share night photography.
Anyway, this one combined night photography and light painting...
Technical Data: Canon EOS Digital Rebel XT, Sigma 10-20mm f/4-5.6 EX DC HSM AF at 10mm, Unknown manual exposure length as f/5.6, ISO 1600. Laurel Highlands Hiking Trail.
Hopefully these multiple motivations will get me out there to capture some new night photos and maybe some more light painting.
- Bill
Happy Halloween!
ktuli — Sat, 10/30/2010 - 20:09
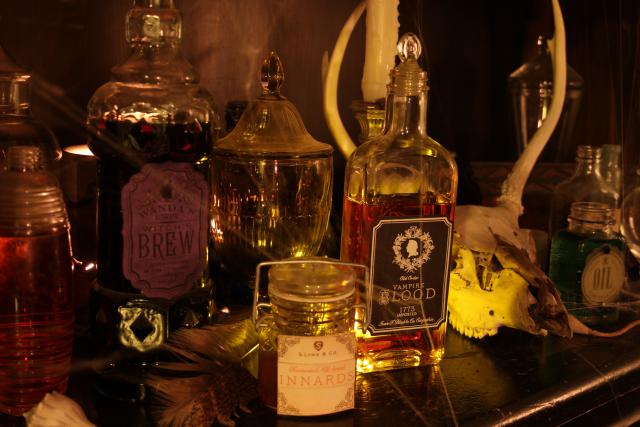
Happy Halloween! We'll take a quick break from the TTV photography today and share a photo I took for Anya several months ago.
Technical Data: Canon EOS 7D, Canon EF-S 18-55mm f/3.5-5.6 II at 33mm, 6.2 sec at f/4.6. ISO 200. No post production.
I guess a little back-story is in order for this photo. Anya does a lot of card making with rubber stamps - you can visit her blog for more detail and examples. Well, she is on what is called a Design Team for a stamp company called Waltzing Mouse Stamps, and basically they make cards and crafts with the company's stamps to help promote their products. Well, a few months back, they released a set of stamps with spooky Halloween style labels, so Anya ran with it and created a bunch of labels to put on bottles.
This then ended up turning into a full blown photo shoot setup. We experimented with multiple light sources - candles, small LED lights, small lamps, etc. We probably spent close to an hour trying different combinations and different angles and configurations of the bottles. We experimented with adding fake cobwebs and various props (yes, we actually do have a deer skull around the house - a couple actually... Anya has found them while out doing her field work). It was definitely the first time I did anything like this, and to be honest, it was kind of fun.
In the end, our efforts definitely resulting in a bunch of rather spooky looking photos. The owner of the stamp company really enjoyed them and used several of them to showcase the products on their site - that's probably the closest my photos have come to being published, so not too shabby. ;)
Anyway, have fun trick-or-treating, and definitely avoid anything that looks like it came from the shot above.
- Bill
Time Spent at the Falls
ktuli — Fri, 10/01/2010 - 18:58
Ok - hopefully I can keep my promise from my last post and provide something a bit more appealing today.
Not too long ago, I took a trip up to McConnell's Mill State Park. I really love going to this park, but honestly, I get mixed results with my photography there - I never know whether I'll come back with stuff I like, or a whole card worth of images to delete.
This trip, as I was driving there, I thought about what kind of photography I would like to do that day. Sometimes this works out and I manage to get exactly what I wanted, but more often than not I miss the mark altogether. Most days, I try to head out with no plan whatsoever and just capture whatever I can find. Both ways work, and I flip back and forth between them.
As I cruised up I79, listening to Lotus, I thought perhaps I should delve into HDR. And with that in mind, I decided to take multiple exposures of any shots I did.
Here's one set of results... (if you hover your mouse over one of the thumbnails, it will change the larger image, then you can slide along the row of thumbnails to see the progression in exposure - if it is the first time through, be patient as sometimes my server is a little slow and the image might take a moment to load).
Technical Data: Canon EOS 7D, Sigma 10-20mm f/4-5.6 EX DC HSM AF at 16mm, 1.3, 2, 3.2, 5.2, 8, 12, 21 sec respectively at f/28.1. ISO 200. Dolica AX620B100 tripod. No post production. McConnell's Mill State Park, Lawrence County, PA.
So for the most part, a lot of those images don't really work by themselves, but the hope is that I can eventually run these through some HDR processing and get a super image out of them.
If you're unfamiliar, HDR works by taking a set of differently exposed images and merging them into a single image with a much greater detail by including a high dynamic range of sensitivity from the darkest to lightest details. Our eyes naturally can see a much wider range in sensitivity to light than our cameras can, so using a post production process like this is the way around that limitation.
I'll be honest, I've never done any HDR work before, so hopefully this works and then I'll eventually share the final product here.
Thanks for stopping by, leave a comment and let me know what you think of these photos or any experience you have with HDR.
- Bill
Red, White, and Kaboom!
ktuli — Mon, 07/05/2010 - 19:37
Well, fireworks photography is a bit harder than everyone said - then again, if it were easy, everyone would do it.
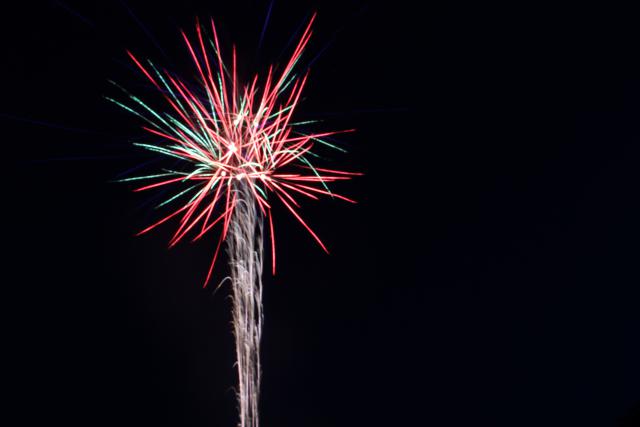
I'll share more later with some of the details (but after two days worth of holiday festivities and and morning hockey both days and then some emergency plumbing today, I'm just going to relax and watch some TV this evening).
- Bill
Black & White & Bronze
ktuli — Fri, 07/02/2010 - 21:30
I've been waiting to post this photo for some time now, and actually, I've had this reason for a while but have just had a couple sets of photos (Kanawha 1, 2, 3, 4, 5, 6, 7, 8, 9 and Cozumel 1, 2, 3, 4, 5, 6) that I wanted to post all in a row.
Over a month ago, the Photographic Section had their year end awards dinner. I actually didn't even attend (being a new member I don't know too many people in the club and wasn't sure of what the dealie was with the dinner)and had completely forgotten that I had two photos that had received honorable mention in the previous in-house competitions and qualified for the 2009-2010 Year End Compeition that is judged by external judges.
This photo received a bronze medal for the Monochrome Projected Digital Image portion of the competition...
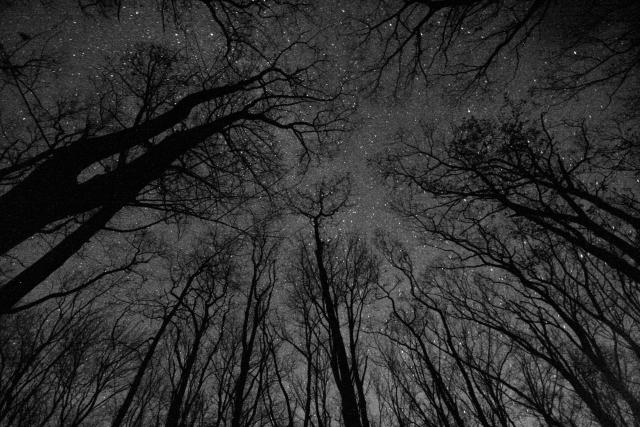
Technical Data: Canon EOS Digital Rebel XT, Sigma 10-20mm f/4-5.6 EX DC HSM AF at 10mm, Unknown manual exposure length as f/5.6, ISO 1600. Converted to B&W and slightly brightened in Photoshop Elements. Laurel Highlands Hiking Trail.
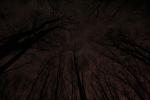
Why This Photo: I took this photo on a hiking trip along the LHHT with some friends. During the trip, I also tried my hand at some light painting, and this was also my first attempt at astrophotography. I really liked the idea of capturing the feeling of looking up at the stars through the trees.
What Works: I liked the shapes of the trees with the starry sky as the background. The curved edges provided by the lens zoomed to 10mm adds a nice additional feel to the size of the trees from that angle.
What Doesn't Work: The thicker tree on the left is a bit distracting, and I wish I could have found a slightly larger opening in the trees for more unbroken star field.
What do you think? The original image is linked to the right. You can see the purplish tinge the sky had from near-by light pollution that I removed in photoshop.
Leave me a comment and let me know if you think this is really a bronze medal winning photo or not.
- Bill
PS: This photo also received an additional honorable mention at the year-end competition, but has already been previously discussed when it got the honorable mention in the in-house judging, so if you're interested click on the photo and read that discussion as well.
Light Painting: First Attempt
ktuli — Tue, 05/04/2010 - 20:12
Ok - so the posting frequency doesn't seem to be getting much better. I promise to continue trying to get better about that. Heck - I haven't even had much chance to get out and use the camera much either - something I definitely need to remedy.
This is another photo I was hoping to save for use later, but I really need something to get me going.
In one of my photography magazines, I had read about a technique called light painting. There are two forms of light painting - using a light source outside of the scene to 'paint' a section of the scene to highlight it, and using a light source within the scene to 'paint' the air to have a type of graffiti appear in the image.
I decided to try the former. By using different colored lights to highlight your subject, you can change its color dramatically...
Back in November, I went on a hiking trip on a section of the Laurel Highlands Hiking Trail with some good friends.
While we spent the night at one of the adirondacks, I tried my hand at some nighttime long exposure photography and light painting. After taking a fair amount of good-natured kidding from my buddies about the extra weight I was lugging in camera gear for the hike, the photos I got really made it worth while.
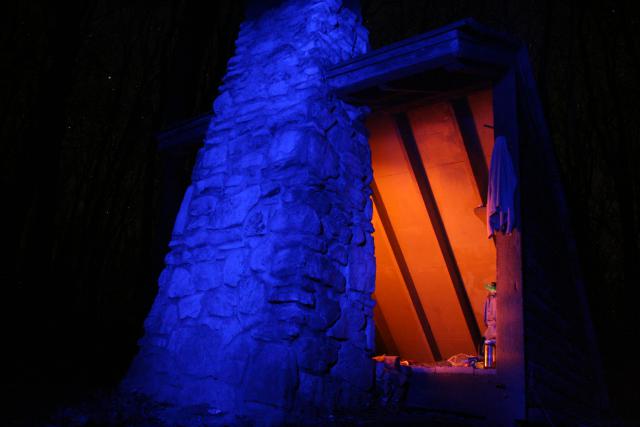
Technical Data: Canon EOS Digital Rebel XT, Canon EF-S 18-55mm f/3.5-5.6 II at 18mm, Unknown manual exposure length at f/5.6, ISO 1600. No post production. Laurel Highlands Hiking Trail.
Why This Photo: I really wanted to try my hand at light painting, after a few other attempts that were coming out very nicely, I thought the blue light on the outside of the shelter contrasted with the red glow from the fire inside the shelter would do a great job of illustrating the cold weather (though it was unseasonably warm for November) with the warmth of the shelter.
What Works: For being basically a first attempt, this turned out well. I like the contrast of the red and blue lighting. Additionally, you can just start to make out the stars in the background.
What Doesn't Work: The framing isn't perfect as I think this might work better if the shelter were more off-center. I also should have selected a much lower ISO for this long of an exposure to help reduce any digital noise.
Surprisingly, this was a lot easier than you would think. Remember your tripod, and a remote shutter release is helpful (or use your timer delay, but that won't work for manual exposure lengths). Try different combinations - I'll share a photo later where I used red and blue lights to paint something purple!
I thought for sure I would end up with a bunch of junk photos, but a couple of these are among my favorite photos. Unfortunately, I have never made a point of heading back out to make some more of these photos.
Maybe it is time to schedule another hiking trip.
- Bill

