macro
Wakatobi: House Reef Assortment
ktuli — Tue, 02/15/2011 - 19:44
Ok - I'll skip all the blabbering today. Instead I'll just give a nice little assortment of some of the absolutely incredible stuff we got to see just stepping off the beach and diving on Wakatobi's house reef.
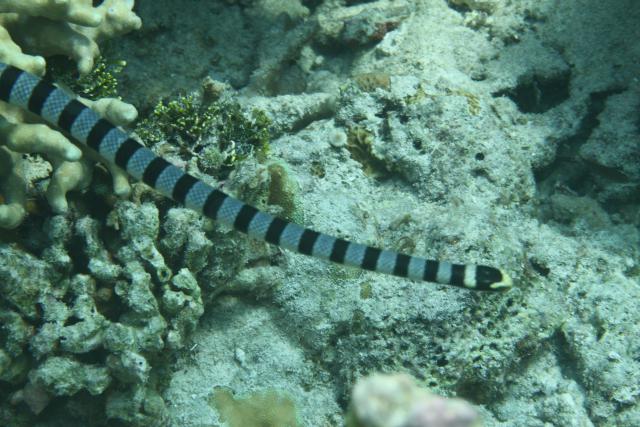
Banded Sea Snake (Laticauda colubrina)
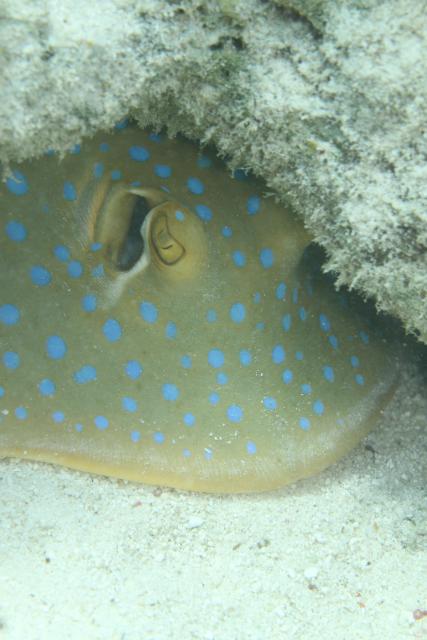
Blue-Spotted Ribbontail Ray (Taeniura lymma)
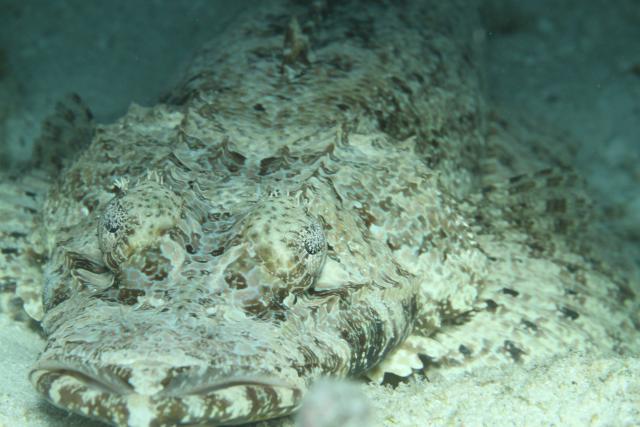
Crocodile Flathead (Cymbacephalus beauforti)
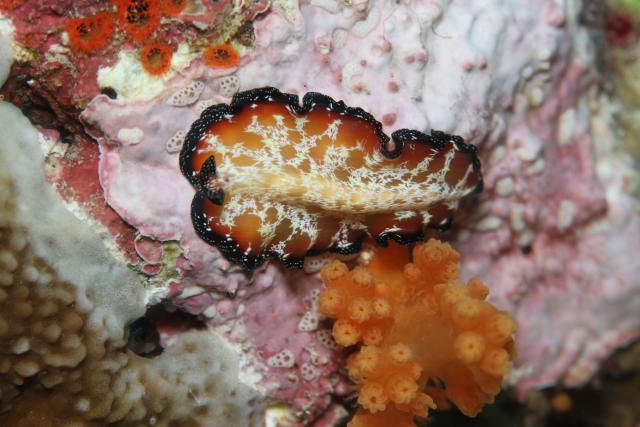
Lightning Flatworm (Pseudobiceros fulgor)
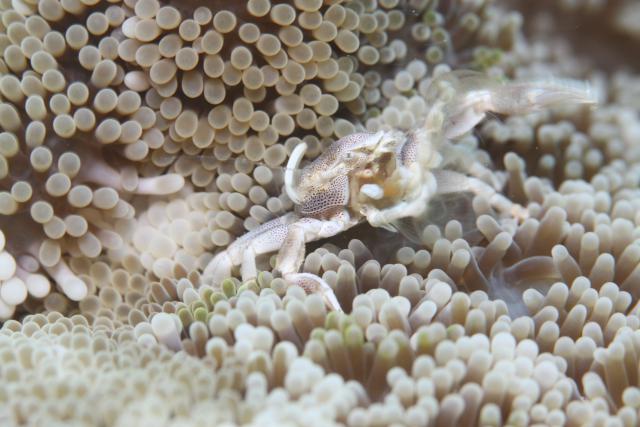
Spiny Porcelain Crab (Neopetrolisthes spinatus)
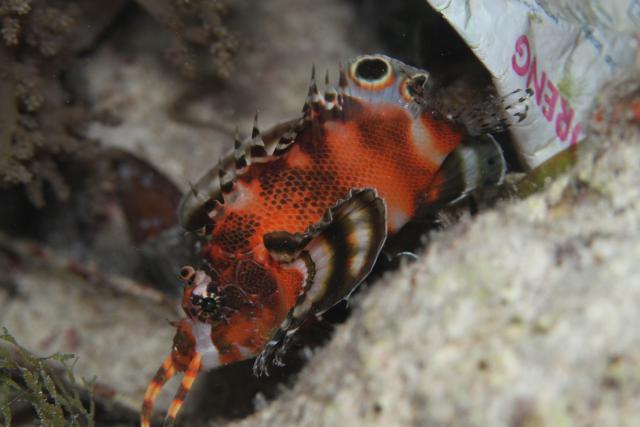
Twinspot (sometimes also Fu Manchu in the pet trade) Lionfish (Dendrochirus biocellatus)
I wish we had had another week that we could have spent just diving the house reef over and over. Perhaps next time!
- Bill
Wakatobi: Magnificent Chromodoris Nudibranch
ktuli — Sat, 02/12/2011 - 22:16
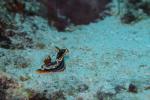
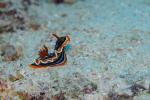
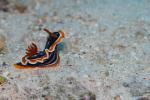
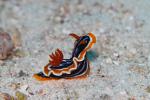
Today we'll start looking at one of my favorite subjects from the Wakatobi trip - nudibranchs and flatworms. I knew ahead of time that we would see some, but I was not prepared for how many. If my count is accurate, we saw around 35 different individuals (plus some more that we saw and weren't able to photograph) consisting of up to 15 different species of nudibranchs and 4 species of flatworms.
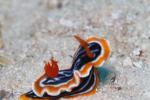
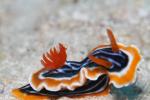
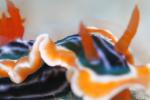
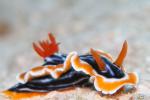
This little guy is a Magnificent Chromodoris (Chromodoris magnifica). C. magnifica can grow to about three and a half inches long, and are carnivores that feed on sponges. But really, they are just beautiful to look at.
At this point in the week, I had figured out some of my problems working with the strobe, and combined with the 8 frames per second burst rate on the 7D, I began to try a new technique for photographing subjects. I would make as slow and controlled of an approach as I possibly could, taking photos the entire way. Doing so would help to control my buoyancy (holding perfectly still in the water is still a bit difficult for me), and thus increase my number of keepers.
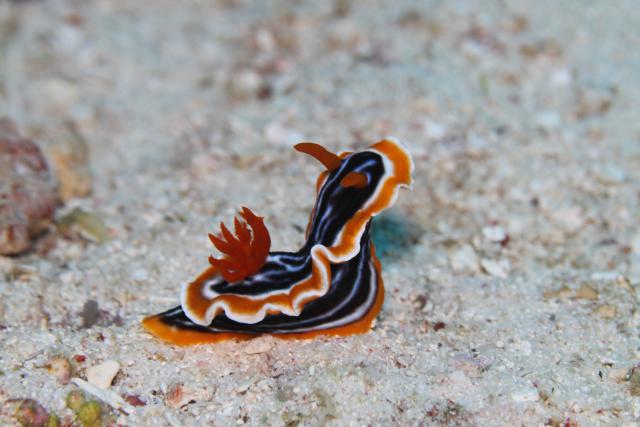
Technical Data: Canon EOS 7D, Canon EF 100mm f/2.8L Macro IS USM, 1/25th, 1/32nd, 1/40th, 1/32nd, 1/25th, 1/16th, 1/5th, 1/10th sec respectively at f/8. Image Stabilization on. ISO 400 (Auto). Ikelite Housing and Port with Ikelite DS161 Strobe in TTL Mode. No post production.
If you mouseover the thumbnails, the larger images will display; progressing through the set will show a bit more of the technique I was describing. There are a couple interesting things to note in the series...
First, you can notice that the earlier shots have a bluish cast to them (since they are unmodified). This is due to the amount of water the light has to travel to make the photo. Even with a strobe such as the Ikelite DS161, any increased distance from a subject will result in a bluish cast. The series makes it very apparent how that color cast goes away as you get closer to your subject and shorten the distance that the light has to travel.
Also, if you look at the second to last shot in the series (the closest one, second from right on bottom) you can see a slight amount of ghosting. The comes from the slow shutter speed of 1/6th of a second and the camera (and me along with it) moving during the exposure. I threw away the shots that were worse, but you can still see it slightly here. This may have been remedied had the camera selected a higher ISO, but that was not the case.
Finally, the last photo being further away from the subject is not a mistake in my ordering them here - that is actually how it was shot. I would also shoot as I backed away from a subject. To do so, I would either place a finger or two on the rock or substrate and push back (you never want to touch coral or most other living surfaces on a reef - both to prevent damage to the reef as well as to avoid injury, remember that most reef creatures have stinging cells called nematacyst) or simply inhale semi-deeply. The second technique is rather interesting and is very effective on slower approaches with no overhanging reef above me. While diving, even changing the volume of air within your lungs can change your buoyancy in the water (and since you're doing that constantly by breathing, it is apparent why it isn't exactly simple for everyone), and I have learned that if I take a slightly larger than normal breathe and hold it for a few seconds, I will slow rise in the water. As I rise, I then exhale to restore my buoyancy to the desired level (and to avoid pulmonary barotrauma).
I know that the majority of folks reading this probably won't benefit from the combination of photography and scuba technique suggestions, but if you ever do decide to try underwater photography, it is worth keeping in mind... ;)
I promise to share more nudibranch and flatworm shots as they were among my favorite subjects for the week. For now, thanks for stopping by, and I hope you enjoyed this magnificent little creature (yes, pun intended!)
- Bill
PS: If you haven't checked out the False Clownfish poll post from the the other day, please do so and cast your vote! If you did already check it out, swing on back as I updated with a photo of the cake the Wakatobi staff presented to me as a 'prize' for that photo!
Poll: Wakatobi: False Clownfish
ktuli — Tue, 02/08/2011 - 21:22
First off, my apologies for the delay in getting to these posts. After getting home from the trip, I realized I had taken over 6600 exposures (mostly due to the camera being set to high speed burst mode). I spent time removing any photos that we're up to par or just duplicates due to the high speed bursts, and trimmed the set down to around 1750. I meant to go through posting photos from the trip in a chronological order, but I know some folks are waiting for this one, so we'll bounce around a little here to start.
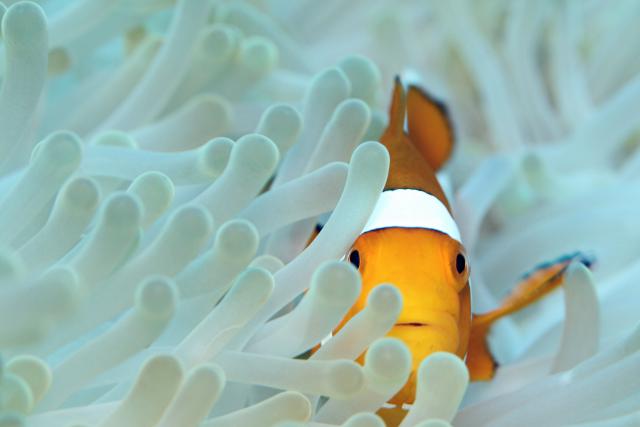
The photo was taken towards the end of the week at the Roma dive site. All week long, I'd been enjoying taking photos of the various anemonefish, and this particular set of False Clownfish (Amphiprion ocellaris) provided a nice opportunity for several great shots.
This one, however, was selected by our dive-masters as the "Photo of the Week" for our week. I was absolutely flabbergasted by that announcement. My underwater photography improved by leaps and bounds each dive during this trip, but I still consider that luck was a very (very) large factor in what I came back with. In the coming posts, we'll discuss some of the ways in which the underwater photography improved.
As I said, I was running the camera in high speed burst mode (providing up to 8 frames per second with my Canon EOS 7D) which helped with my luck in capturing the fleeting moments that occur with the constant movement of the subjects, but I distinctly remember seeing this shot develop in the viewfinder and knowing then that I had captured something nice.
When the shot was presented by our dive-masters at the dinner slideshow, it was slightly modified, so I attempted to duplicate those modifications as best I could here. Mouseover each thumbnail below to see the different versions, then place your vote below to let me know which version you prefer (leave a comment with details as to why you selected what you did if you like).
|
|
|
Technical Data: Canon EOS 7D, Canon EF 100mm f/2.8L Macro IS USM, 1/40th sec at f/8. Image Stabilization on. ISO 400 (Auto). Ikelite Housing and Port with Ikelite 161 Strobe in TTL Mode. Modified version cropped and auto-smartfix in Photoshop Elements 8.0
The modifications are very subtle (as I usually feel any post production modifications should be). Initially, the shot was cropped specifically to make the the fish rest right on the intersection of two of the thirds. Then I ran the shot through Photoshop Elements 8.0's Auto-Smart-Fix to adjust some colors (producing a bit more bluish tint to the anemone and darkening the orange of the False Clownfish).
I know I've mentioned before that I should start selling prints, but I haven't gotten setup to do that yet, even with some requests for this photo specifically. So for now, enjoy it for free if you'd like. Here are the links to the fullsize versions - Original and Modified - for use for printing or as a wallpaper (be sure to resize first, or use the smaller version above).
Thanks for stopping by today, and be sure to visit back frequently over the coming days/weeks as I will be continuing all the updates from the trip. And don't forget to place your vote below, and leave a comment as to why you voted as you did.
- Bill
PS: Alastair, enjoy the photo, perhaps we'll meet again underwater some day in the future. Best of luck getting certified!
 PPS: As a 'prize' for the 'Photo of the Week', the fantastic staff at Wakatobi presented me with a fabulous cake made up to be a coral reef. The cake was absolutely fantastic and I shared it with our entire group! The pink stuff on the right is some strawberry roll which was my favorite dessert of the week, and the staff were attentive enough to notice that and give me one of the leftover pieces as additional 'prize'! If anyone from Wakatobi is reading this, thanks again for a most memorable week!
Indonesia: Sneak Peek (part 2)
ktuli — Sat, 01/29/2011 - 03:05
Wow! Just wow!
So far, we have 12 dives in on this trip, and I've been getting more and more fantastic shots. I've been learning how to better use my gear, as well as how to just dive better (ie: better buoyancy control, better air comsumption, etc), but more on all of that later.
We've seen things we've never seen before, and stuff we've only ever seen in books. I have a very small selection to share today, including: some anemone fish, shrimp, crocodile fish, and sea stars. I've also got a good collection of nudibranch shots going, but I'm going to be stingy with those until I get home... ;)
Enjoy these for now:
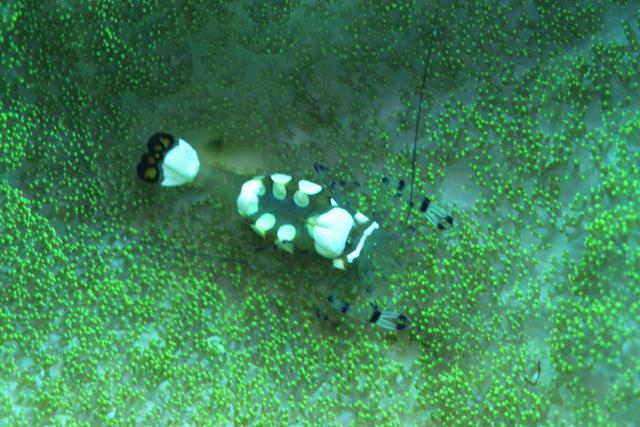
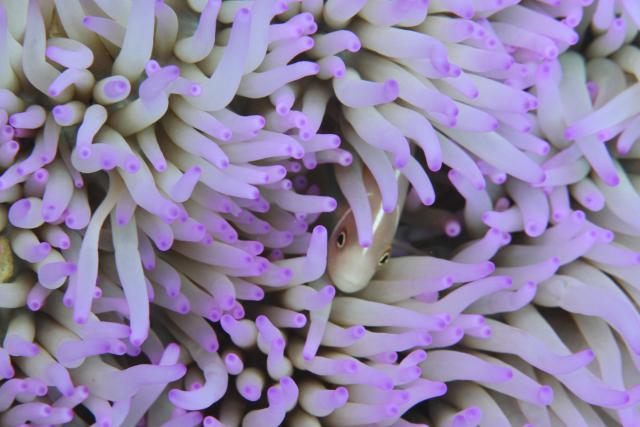
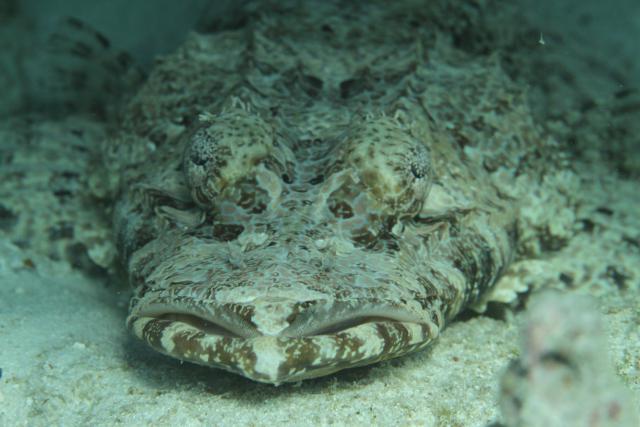
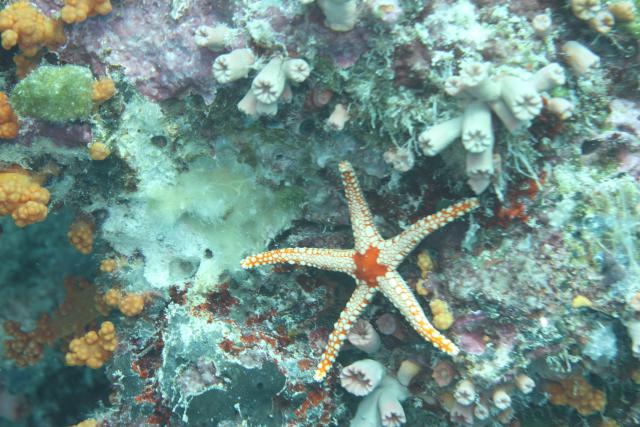
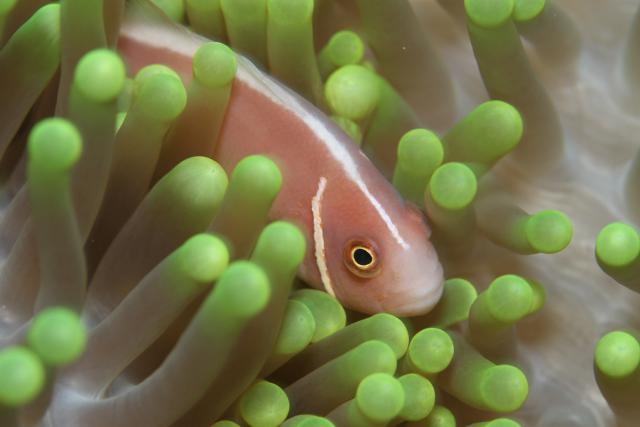
Our afternoon alarm just went off, so we now have to go head out for our second twilight dive!
- Bill
Canon EF 100mm f/2.8L Macro IS USM (part 1)
ktuli — Wed, 12/22/2010 - 21:57
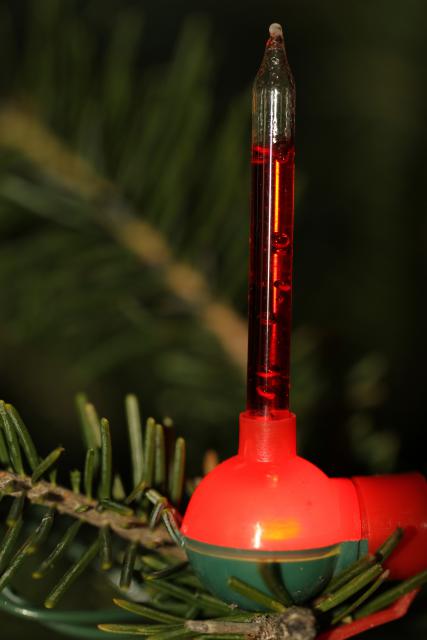
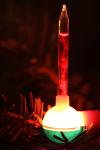
This won't be a comprehensive review by any means, but I figured I would try and get a little something pulled together. Plus I have been thinking about trying this photo for a little while now (basically since we decorated our Christmas tree this year).
 This is my newest lens - the Canon EF 100mm f/2.8L Macro IS USM. Like a previous lens review, let's go through quickly what the letters mean...
EF - Stands for Electro Focus, and you can read more here
100mm - This is the focal length obviously, this will fit nicely between my Tamron 180mm and Tokina 35mm macro lenses
f/2.8 - The maximum aperture - at 2.8, this is considered pretty "fast" glass due to the amount of light such a large aperture will allow into the camera, producing faster shutter speeds
L - I've heard multiple definitions for this single letter - the top runners are probably "low dispersion" and "luxury". Canon used to have a page dedicated to the line, but I can't seem to find it. Regardless, this is Canon's professional grade line of lenses. Identified by the red ring at the end of the lens barrel.
Macro - Many lenses get the "macro" label slapped on them, but unless they produce 1:1 magnification, I don't consider them true macro lenses (some people say 1:2 is close enough). What this means is that at 1:1 magnification, the subject is recorded at life-size on the image sensor.
IS - Image Stabilization, we'll discuss that a tiny bit more further down.
USM - Ultra Sonic Motor. This is the auto-focus motor and produces a much faster focusing, while staying almost completely silent. The other nice feature of a USM lens is that it allows for full time manual focusing - meaning you can make manual focusing adjustments even while in auto-focus mode.
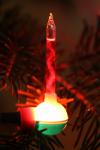
I've had this lens on my wishlist for quite some time, and I finally pulled the trigger on it to use with photographing all of the macro life on the reefs in Wakatobi. So I pretended that these bubbler Christmas lights were some small reef invert and went about shooting. I also wanted to get a shot of these lights with the bubbles frozen in motion.
|
|
|
|
|
|
I know that's a fairly random set of changes, and none of them get into too much detail of showing the abilities of this lens. The clarity is very nice on every one of those shots - a testament to the quality glass used, but you only notice that on the fullsize versions.
The IS and non-IS versions are surprisingly not that far off (middle and bottom thumbnails on the right). This is probably due to some patient hand-holding techniques. Usually I'm happy if I can get 1/8th of a second with a handheld shot, and those are at 1/3rd! So perhaps I'll have to try that exercise again sometime.
I ended up using the pop-up flash and faster shutter speeds on several of these shots to help get those bubbles frozen in motion (instead of the blur from the longer shutter speeds), and really wish I could have diffused the light from the flash better to prevent that harsh glare on the glass of the light.
I promise I'll do a more thorough review of this lens in the future (probably not until after the dive trip though), but for now, I'm highly impressed with this lens.
Stay tuned as I have some more Christmas themed photos coming up to close out the week and get us into the holiday!
- Bill
Quince Blossoms
ktuli — Thu, 12/09/2010 - 21:24
Yeah yeah, I know... I've been slacking.
Things have just been overwhelming recently, and I'm going to be quite honest and admit that I'll probably continue slacking here for a bit longer. The holidays are bearing down on me soon here, and in January we're off to our trip to Indonesia. I'm trying really, really hard to get setup to take my EOS 7D diving with me, and that's been taking a good chunk of my time in research (and obsessing).
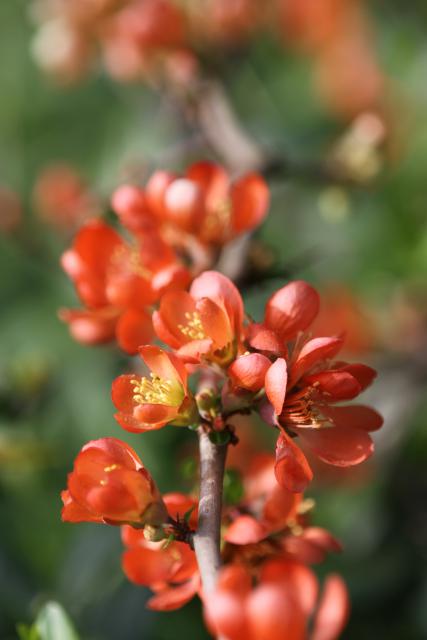
So I figured I would try and at least get something posted. I was looking at some of our photographs from our backyard and came across this photo of some quince blossoms from this past spring. I thought the green and red colors fit well with the current holiday season.
Technical Data: Canon EOS 7D, Tamron 180mm f/3.5 Di SP LD 1:1 Macro, 1/200 sec at f/4.6. ISO 200. No post production. Taken in our backyard.
Why This Photo: I sometimes wander in the yard with the macro lens, just to see what I can find.
What Works: The shallow depth of field produces a nice soft background, and line of the stem leading into the frame draws the viewer's eyes into the shot. The nice balance between the red blossoms and the green leaves in the background helps the keep the blossoms as the main focal element.
What Doesn't Work: The light coming from the one side produces some shadows on the right side of the shot, perhaps the use of a reflector would have balanced things out better. I also debate whether the stem running right up the center of the shot works all that well.
I haven't been behind the shutter often enough recently either. I am going to try and and get some photos of the upcoming lunar eclipse - perhaps I'll even manage to get some timelapse work done - I'm hoping as practice for when I'm in Indonesia!
I'll try to be a bit more diligent with the posts, but honestly, expect more slacking...
- Bill
Soft Swamp Verbena
ktuli — Wed, 11/10/2010 - 19:28
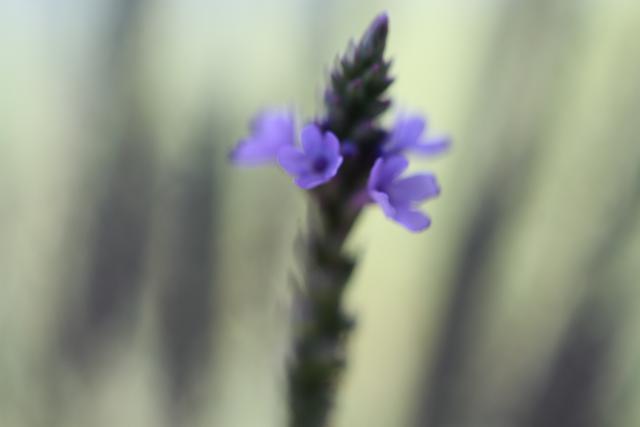
At first glance this shot might appear to be one to throw away, but after looking at it a few times, I find myself really liking the soft nuances of this photo of the fairly common Swamp Verbena (Verbena hastata).
Technical Data: Canon EOS 7D, Tokina AT-X M35 Pro DX AF 35mm f/2.8 Macro 1:1, 1/330 sec at f/3.5. ISO 200. No post production. Moraine State Park, Portersville, PA.
What Works: The soft focus (probably not intentional, but helped along by the macro lens, the small subject, and probably wind) helps to produce a pleasing affect here, causing the viewer to scan the photo repeatedly searching for recognizable features. The wide aperture helps to make the other stems just dark shadows in the background. The overall exposure and colors continue the soft, almost dream-like quality of this shot.
What Doesn't Work: The center placement of the main flower stem might have been better suited to one side. Also, if the background stems could have shown some of the purple color to illustrate that they have flowers as well might have helped to make a nice pattern in the soft focus.
Obviously, an intentionally out of focus photo is not the easiest thing to pull off successfully, and honestly this one is probably a fluke. But it definitely warrants looking at a photo a few times before throwing it away if you can catch a lucky break like this on what might have been considered a mistake.
- Bill
Offset Orchid
ktuli — Thu, 10/21/2010 - 19:54
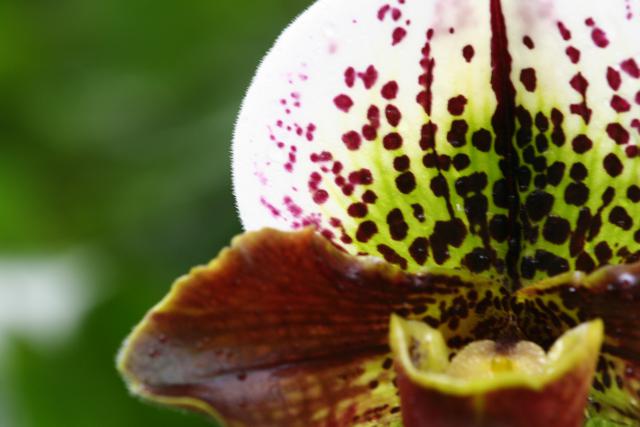
Another thing I do when I'm struggling is let you do the critique work... so drop me a comment and let me know what you think about this one.
Technical Data: Canon EOS Digital Rebel XT, Tamron 180mm f/3.5 Di SP LD 1:1 Macro, 1/8 sec at f/7.1. ISO 400. No post production. Phipps Conservatory, Pittsburgh, PA.
Bees and Flowers (part 3)
ktuli — Wed, 10/13/2010 - 12:50
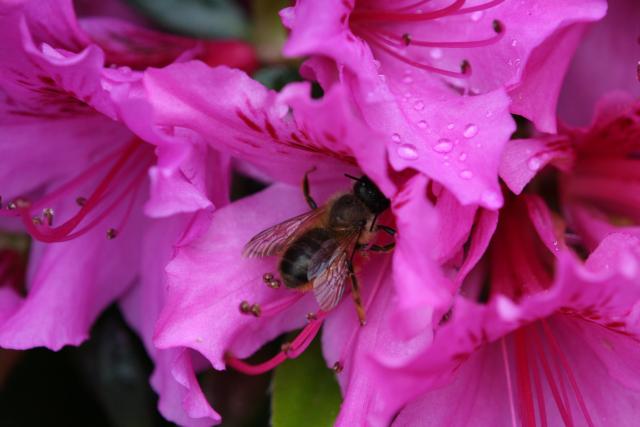
Alright - just a last photo of bees and flowers.
Technical Data: Canon EOS Digital Rebel XT, Tamron 180mm f/3.5 Di SP LD 1:1 Macro, 1/160 sec at f/5.6. ISO 400. No post production. Taken in our own backyard.
What Works: Focus is tack sharp - the detail in the bee is spot on, and the water droplets on the upper flower are nice and crisp. Despite being an outdoor shot, the exposure is nicely done with no over or under exposed areas.
What Doesn't Work: The composition isn't exactly super strong, especially with the bee's head being partially hidden within the flower - perhaps a lower angle would have worked better. Also, perhaps isolating a single flower with the bee would have worked a little better.
- Bill
Bees and Flowers (part 2)
ktuli — Thu, 10/07/2010 - 20:47
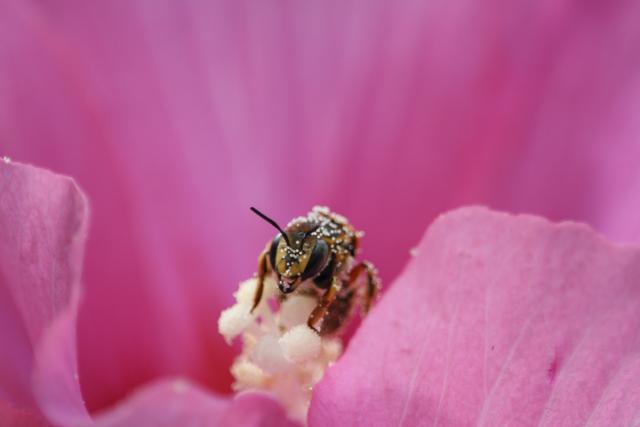
Alright - here's day two of the bees and flowers.
Technical Data: Canon EOS Digital Rebel XT, Tamron 180mm f/3.5 Di SP LD 1:1 Macro, 1/800 sec at f/3.5. ISO 400. No post production. Taken in our own backyard.
What Works: The focus is tack sharp on the bee's face. The macro lens really does a great job of magnifying the subject - you can even make out single grains of pollen (apologies if that makes your allergies act up). The foreground petals of the flower do a great job of framing the main subject.
What Doesn't Work: I could have used a smaller aperture to get a slightly deeper depth of field and get the entire bee in focus. Perhaps a catch-light in the closer eye would have been a nice finishing touch.
- Bill

