wildlife
Toronto Zoo: Tree Swallows
ktuli — Thu, 06/28/2012 - 21:05
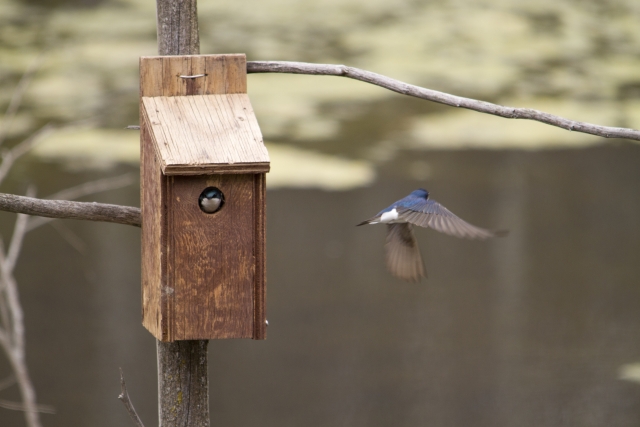
Ok - I guess we can take a short break from all the spider photos... We'll hop back a couple months to the trip we took to the Toronto Zoo. In their Canadian Domain area, they have a natural wetland area, and it is home to native birds who seem to just use it on their normal migrations. While we were there, there was a pair of swans with a nest and some eggs, and also plenty of tree swallows making use of nest boxes mounted on the trees. I managed to catch this shot of an adult tree swallow heading off to find more food for its waiting offspring...
Technical Data: Canon EOS 7D, Sigma 150-500mm f/5-6.3 APO DG OS HSM at 500mm, 1/400 sec at f/6.3. OS Mode 1. ISO 400. RAW conversion in Adobe Camera Raw.
- Bill
Toronto Zoo: Green Tree Python
ktuli — Mon, 05/14/2012 - 20:22
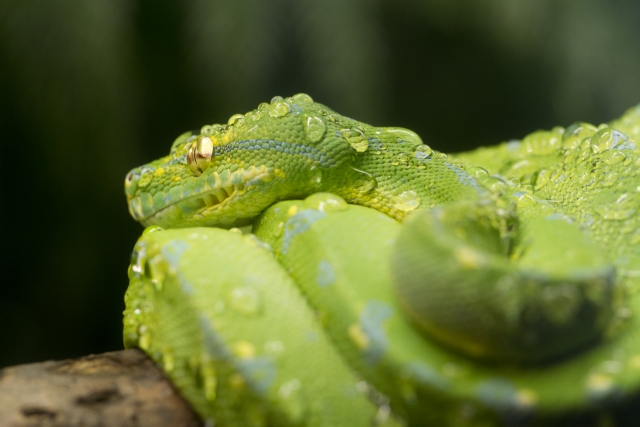
Technical Data: Canon EOS 7D, Canon EF 100mm f/2.8L Macro IS USM, 1/20 sec at f/5. Image Stabilization on. ISO 800. RAW processing in Adobe Camera Raw. Toronto Zoo, Toronto, ON.
- Bill
Toronto Zoo: Baby Golden Lion Tamarin
ktuli — Tue, 05/08/2012 - 20:53
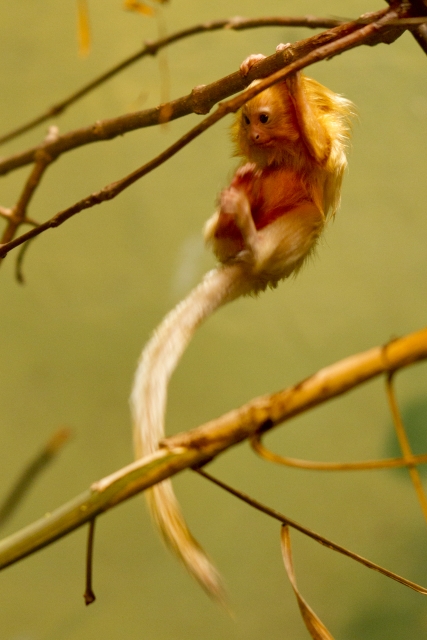
Ok - time for a little cuteness overload...
I'll be honest, when I pass the primate enclosures at a zoo, I frequently don't pause for very long (though I guess my gorilla photo from the other day conflicts that statement)... For whatever reason, primates just usually don't interest me very much. On top of that, the lighting conditions in primate houses are usually not conducive to photography in the least.
However, when we saw this little newborn (only a month old at the time of our visit) bouncing around, climbing over its mother, and fearlessly exploring its new environment, I fired off a couple shots. Luckily, I was able to quickly select the right settings and get the focus right to get this one definite keeper.
Technical Data: Canon EOS 7D, Canon EF 100mm f/2.8L Macro IS USM, 1/60 sec at f/2.8. Image Stabilization on. ISO 800. RAW processing and cropped in Adobe Camera Raw. Toronto Zoo, Toronto, ON.
First, the enclosure was horribly lit with patchy incandescent lighting - so some areas were bright with a warm, yellow light while other areas were dim and impossible to shoot. So that meant a pretty slow shutterspeed and a relatively high ISO and a wide aperture. Then it was all behind plexiglass, so there were reflections and fingerprints to deal with. Finally, getting sharp focus on a small little monkey's face as he ran and swung through the space was a challenge.
Fortunately, I managed to pull it all together, and with a slight crop ended up with this. I know there is a little blur in the tail and feet, but I think it imparts a bit of the feeling of motion - and since the face is in focus, it seems ok to me.
- Bill
Toronto Zoo: Gorilla
ktuli — Wed, 05/02/2012 - 20:56
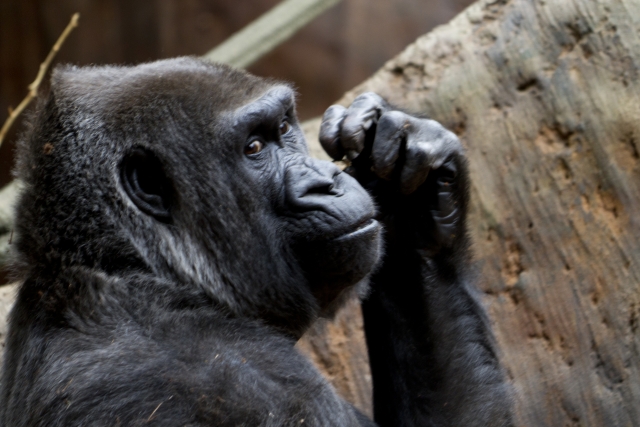
Kind of got sucked into other stuff tonight, so just another quick photo to share today. This one has a bit of blur to it from subject movement and semi-long shutter speed (1/50 sec). However, I liked the expression so much, I decided to keep it just the same...
Technical Data: Canon EOS 7D, Sigma 150-500mm f/5-6.3 APO DG OS HSM at 500mm, 1/50 sec at f/6.3. OS Mode 1. ISO 400. RAW conversion in Adobe Camera Raw.
If this were sharper, I probably would have spent the time to clone out the stick behind his head, but as it is, it just isn't worth that effort.
- Bill
Toronto Zoo: Cheetah
ktuli — Tue, 05/01/2012 - 20:55
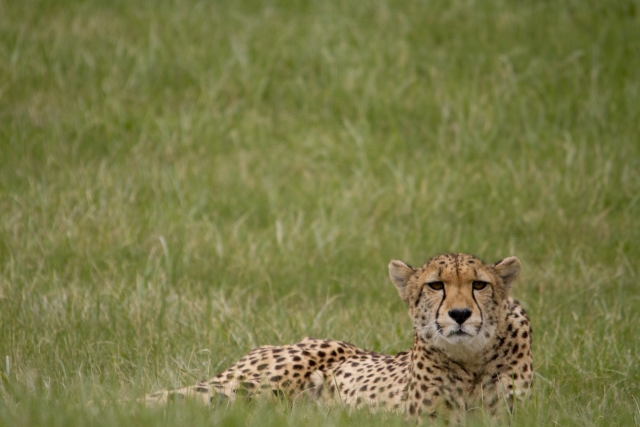
Ok - Anya and I took a trip up to Toronto and Niagara Falls. I am only about half-way through processing my photos, but I figured I would start sharing some photos.
Technical Data: Canon EOS 7D, Sigma 150-500mm f/5-6.3 APO DG OS HSM at 500mm, 1/640 sec at f/6.3. OS Mode 1. ISO 400. RAW conversion in Adobe Camera Raw.
I have tons more coming, so stay tuned.
- Bill
Robin's Nest
ktuli — Tue, 04/17/2012 - 20:16
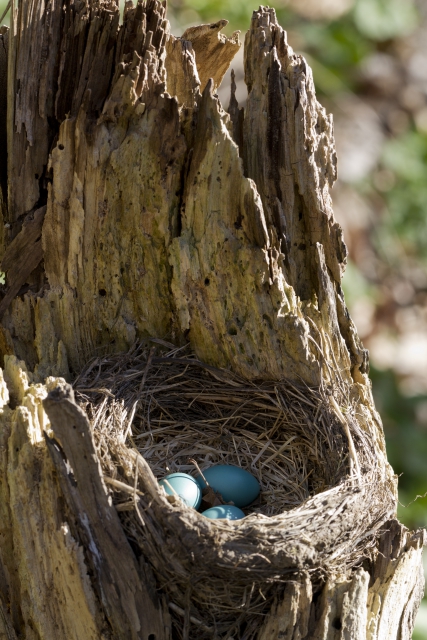
I've been a combination of busy and lazy recently, so I just wanted to stop by real quick to post another view of that robin's nest...
Technical Data: Canon EOS 7D, Canon EF 100mm f/2.8L Macro IS USM, 1/40 sec at f/8. ISO 100. RAW processing in Adobe Camera Raw. Trillium Trails, Fox Chapel, PA.
- Bill
Poll: Robin's Eggs - Flash or No Flash?
ktuli — Thu, 04/12/2012 - 20:37
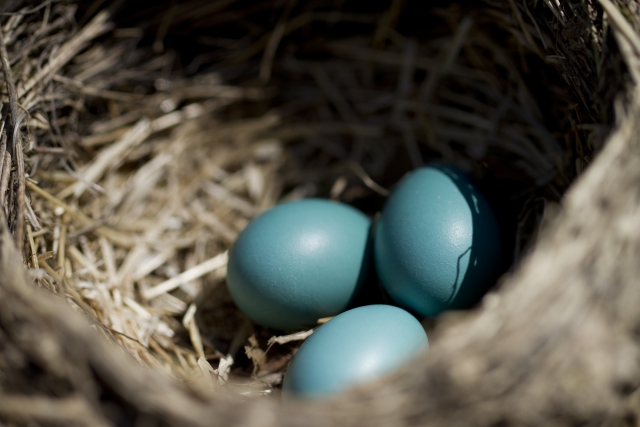
This isn't the first time I've asked this question here, but we'll look again at whether a shot looks better with or without flash. The settings are slightly different (a different aperture and thus depth of field), but these shots are pretty close.
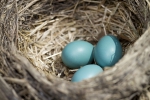 1/250 sec @ f/5 with flash |
 1/800 sec @ f/2.8 with no flash |
 |
|
This nest was in a rather odd location, and if I head back to try for more trillium shots, I'll have to see if the eggs have hatched and how things are going.
- Bill
Chipmunk
ktuli — Thu, 03/29/2012 - 18:07
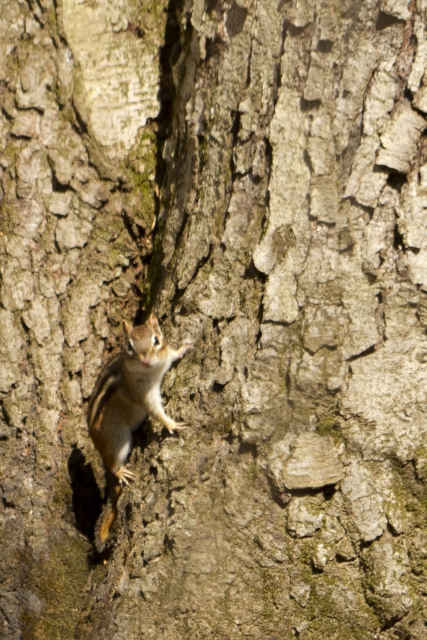
Another shot from the trip to Powdermill...
Technical Data: Canon EOS 7D, Sigma 150-500mm f/5-6.3 APO DG OS HSM at 500mm, 1/80 sec at f/8. OS Mode 1. ISO 100. RAW conversion and cropped in Adobe Camera Raw
- Bill
Gone to the Birds (part 2)
ktuli — Thu, 02/16/2012 - 19:22
Today, we'll take a look at White Balance. In short, white balance is how to make something white in your photo actually appear as white when you view it. This isn't always how the camera records photos because - believe it or not - light actually has color to it.
Have you ever noticed how a photo taken in incandescent lighting sometimes looks yellow? Or how that shirt looks one color when you buy it in the store (fluorescent lighting) and looks completely different when you go outside (natural lighting)?
Not to bore you too much with the details, but that is the color temperature of the light. That color temperature is measured in degrees Kelvin - for example, sunlight is generally 6700K, fluorescent light is around 5000K, and moonlight (generally pretty blue) is around 4100K, etc.
In order to make white appear as white, you need to set your White Balance setting in your camera to match the color temperature of the light in which you are shooting. These days, cameras do a pretty decent job of figuring it out for you and setting your color temperature accordingly (this is your Auto white balance setting). An even better option is to shoot RAW, which allows you the option to adjust the color temperature after you take the photo, meaning with just one minor adjustment slider, you can ensure that the colors presented in your photos match what they were went you took the photo (if you want to adjust them further after that, that is up to you, but you at least start with accurate colors).
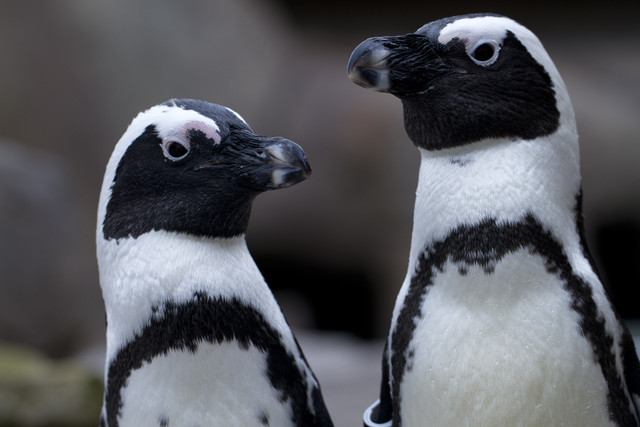
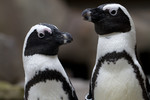
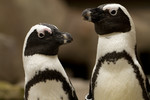
Ok - I guess I said I wasn't going to bore you, so let's get right on into the example that will show what I'm talking about. Below are a couple versions of the same exact photo. The only difference in them is the color temperature (and thus the white balance) - mouseover each thumbnail to see the larger image and get an idea of how color temperature in your lighting affects your photos.
 |
|||
 4400K |
 4950K |
 6700K |
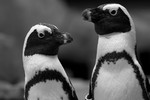 B&W |
Technical Data: Canon EOS 7D, Canon EF 100mm f/2.8L Macro IS USM, 1/640 sec at f/4. Image Stabilization on. ISO 400. RAW processing and cropped in Adobe Camera Raw. National Aviary, Pittsburgh, PA.
The original shot was recorded at 4950K - which is pretty accurate color temperature for outdoor lighting on a cold, overcast, winter's day. I normally bump photos to around the 6700K temperature range to most closely match sunlight, but as you can see in this case it just simply looks wrong, causing a yellow cast and making the photo far too warm for the subject. So I tried the slider in the opposite direction, trying a cooler light, eventually ending up on 4400K to give that slight bluish color to the photo, to cause it to look slightly colder - which I felt is perfectly fitting for the subject. And finally, I ran a quick black and white conversion just to eliminate the slight touches of color that were there and reduce the photo to its very basics.
What do you think? Does that help explain white balance and color temperature at all?
- Bill
Bali: Barong, Temple, and Elephants
ktuli — Thu, 02/10/2011 - 20:36
It looks like we're sticking with that vertical format for today's photos... I tend to try using that format often, but for whatever reason, I used it to great extent during the trip.
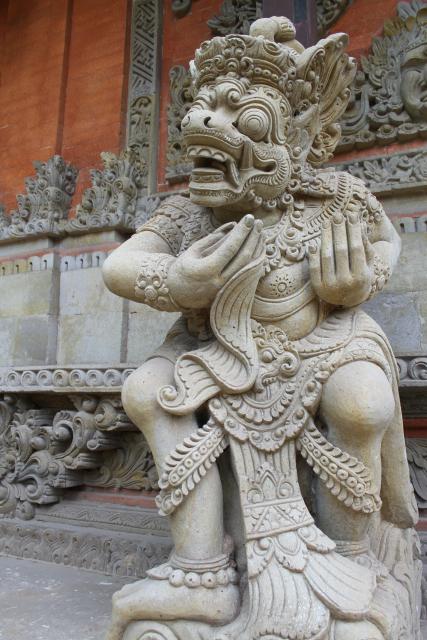
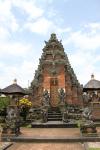
Today's set comes from our second and third days in Bali. First, we have a Barong costume. This was from a Barong Dance that we attended. Barong is the king of the spirits and protects Bali from evil. After the dance, we went to visit another temple - Pura Desa Batuan. Pura Desa Batuan is actually two separate temples, and the grounds have a great deal of statuary. We also visited several areas to see different Balinese crafts, but I'll save that for another day.
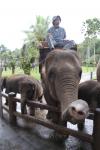
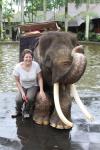
The third day, we visited the Elephant Safari Park where we got to ride an elephant through the jungle.
|
|
||
I like the feel of the photo of the statue (second from top on left), with the just slightly blurred background showing more of the intricate stone carving without being distracting, plus the placement of the statue covering two thirds of the frame provides a nice balance to the photo.
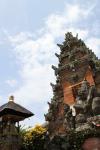
Whereas the first photo of the temple (third from the top on left) is very symmetrical and is generally just a record shot, the second photo (bottom on left) provides a much more dynamic vantage point, and adds a feeling of drama to the scene. I do regret not including a tiny bit more temple and a little less sky in the shot, but I do certainly like how the darker exposure makes for a much more moody feel to the second photo as well.
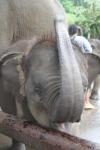
For the elephant reaching towards the camera (second from top on right), I shot in rapid burst mode while holding a bit of food for the elephant below the camera. As the elephant reached for the treat, I snapped away. I have an entire series of shots from that, but this one was definitely the best. Unfortunately with the overcast sky and bright conditions, the photo is over-exposed (which seemed to be a typical problem for many of the shots from the trip, and I wasn't paying enough attention to fix it - shame on me!).
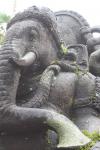
Lastly, the elephant statue (bottom on right) shot was taken by Anya, and despite it being over-exposed (again, my fault for not adjusting the camera's settings for the conditions), I absolutely love the perspective produced by this shot. Everything in the shot is placed perfectly in the frame, and the exaggeration of the elephant's trunk helps to contribute to it being a nice line to lead your eye through the shot.
Drop me a comment and let me know what you think, and be sure to tune in again soon as I'll be starting into the underwater photos from Wakatobi!
- Bill

