night
Niagara Falls: Night Lights & HDR
ktuli — Tue, 05/15/2012 - 20:56
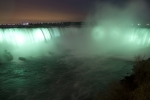
So on our trip to Niagara Falls, we only managed to stop at the falls the first night. It was cold (and the other days were colder with rain/snow/sleet), but I had the thought to try some HDR to see about getting a nice shot of the falls but maintaining the color from the lights.
The results are mediocre at best. In particular, the bottom right corner is screwed up in the shadows (and I don't know how to fix it), and it seems (at least with the green lights) the color has shifted a bit.... but being my first attempt, I figured I'd share just the same.
     |
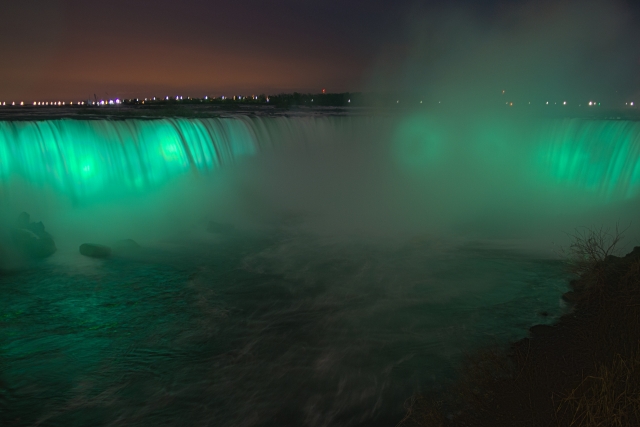 |
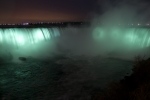
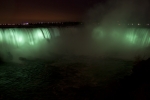
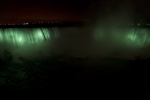
Technical Data: Canon EOS 7D, Canon EF-S 18-55mm f/3.5-5.6 II at 22mm, 2.5, 1.3, 0.6, 1/6, 1/3 sec respectively at f/4. ISO 800. RAW processing in Adobe Camera RAW and HDR processing Adobe Photoshop CS5.
If you mouse over each smaller thumbnail, you will see the series of shots used to create the HDR image. Individually, you can see that no single shot could capture everything - either the lights on the falls would over expose or the shadow areas would just become fields of black.
Looking at it again really illustrates just how bad the HDR processing is, and I definitely think it warrants trying another processor to see if I can come up with better results... but for now, you get the idea.
- Bill
Sliver Moon: Square Crop
ktuli — Tue, 02/28/2012 - 19:41
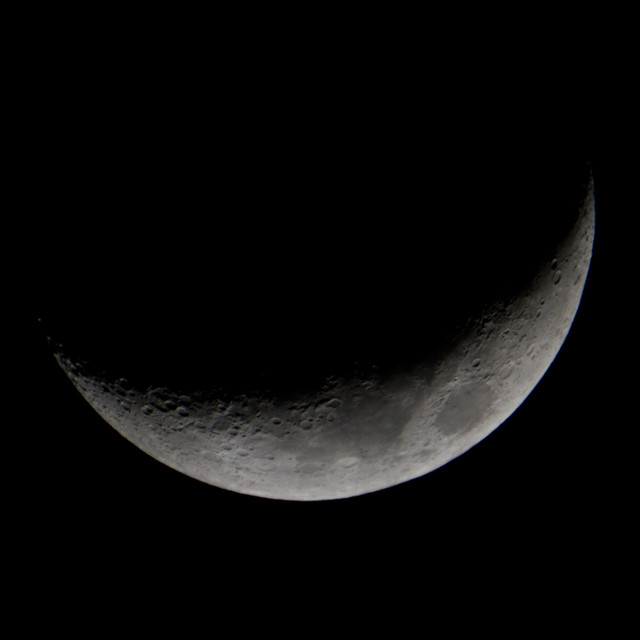
Ok - I probably owe some folks for the heart attacks produced by yesterday's square crops of that jumping spider, so here's a square crop of a shot of the moon I took the other night....
Technical Data: Canon EOS 7D, Sigma 150-500mm f/5-6.3 APO DG OS HSM with Kenko Teleplus PRO 300 "DG" AF 2x Teleconverter at 1000mm, 1/50th sec at f/13. ISO 100. RAW processing and cropped in Adobe Camera Raw.
Thanks for coming back after yesterday's spiders!
- Bill
Red Orb Weaver Spider
ktuli — Wed, 08/10/2011 - 17:48
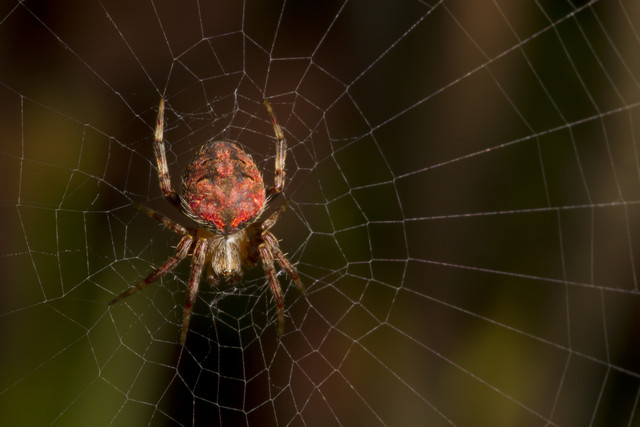
Ok - been too long since I've done a spider post, so here's a nice orb weaver spider I shot a few weeks ago. I set this one up on my (old) tripod and was hand holding the flash for different angles (after having the dramatic lightning from a side position). However, it ended up being a straight on lighting was the best - especially to pickup the highlights on that beautiful web.
Technical Data: Canon EOS 7D, Canon EF 100mm f/2.8L Macro IS USM, 1/250 sec at f/22. Canon Speedlight 580EX II flash in auto mode and wireless control. Image Stabilization on. ISO 160. RAW processing and cropped in Adobe Camera Raw.
I think this is an Araneus species, but identification being what it is, I am not certain of which species. I really hope that some day I can find a really nice identification guide... that or I'm going to start making my own.
- Bill
Tree Framed Full Moon
ktuli — Thu, 03/31/2011 - 19:33
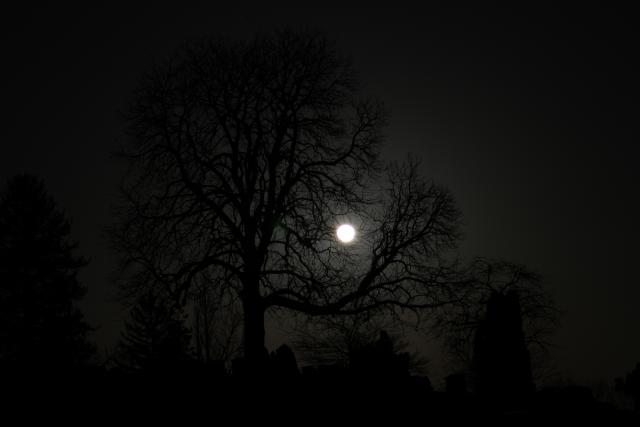
Here's another shot from the perigee full moon from a couple weeks ago. After taking the shots or the moonrise up on Mount Washington, we stopped off at a nearby cemetery to see what kind of shots we could find there. It was really cold that night, so I rattled off a couple quick shots and then headed back home for some hot cocoa.
Technical Data: Canon EOS 7D, Canon EF-S 18-55mm f/3.5-5.6 II at 55mm, 2.6 sec at f/5.7. ISO 200. No post production.
Why This Photo: With the large full moon, Anya suggested some spooky shots in the cemetery. Once I saw this tree with that distinct low limb, I decided to frame the moon in the middle of the branches.
What Works: The dark exposure adds to the spooky feel of the scene, and the branches of the tree wrapping the moon completes that sense.
What Doesn't Work: The moon is a bit over-exposed and becomes a harsh featureless spot instead of an ominous moon. The composition is lacking a bit - the evergreen bush on the left is pretty unbalanced, and the moon is a bit too close to center. Perhaps some post production cropping could help the cause.
Thanks for stopping by today.
- Bill
Perigee Full Moon
ktuli — Mon, 03/21/2011 - 20:55
Well, as if it wasn't obvious, I continue to be lazy with posts. However, I did make sure I got out this weekend to get some photos, so that's at least a step in the right direction.
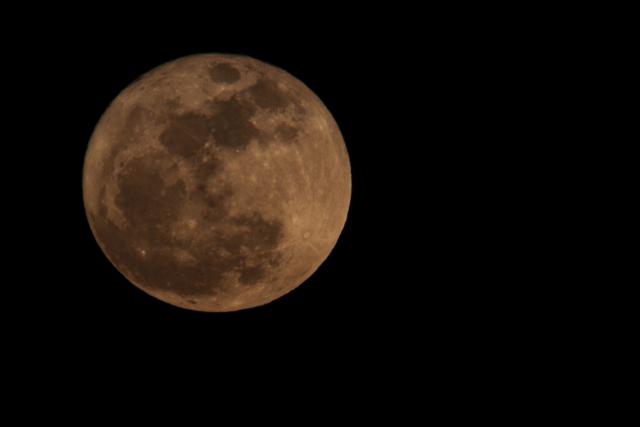
In case you didn't hear, this past Saturday night was a Perigee Full Moon, which basically means it was the largest and brightest possible moon because of its closeness in its orbital path.
Anya and I went up to Mt Washington above the Pittsburgh skyline to catch the moon as it rose to the east. My hope (and apparently the hope of many other photographers who swarmed the overlooks) was to capture a looming large full moon over the iconic skyline. Unfortunately, things didn't work so well in that respect, and after frantically switching lenses a couple times, I settled on hooking up the largest rig I could and captured the following...
Technical Data: Canon EOS 7D, Sigma 150-500mm f/5-6.3 APO DG OS HSM with Kenko Teleplus PRO 300 "DG" AF 2x Teleconverter at 1000mm, 1/100th sec at f/12.9. ISO 800. Dolica AX620B100 tripod and Satechi TR-A Timer Remote Control. No post production. Mt Washington Overlook, Pittsburgh, PA.
At full size, you can even see that the moon is not perfectly round, and you can see the difference in topography along the perimeter of the moon. I also took some photos in RAW format so I can begin working with photographs in that respect, but I have not yet done so, so this jpg version will have to suffice for now.
- Bill
Red, White, and Kaboom!
ktuli — Mon, 07/05/2010 - 19:37
Well, fireworks photography is a bit harder than everyone said - then again, if it were easy, everyone would do it.
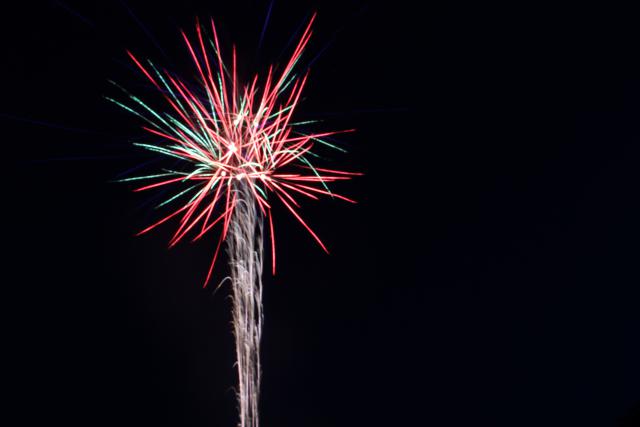
I'll share more later with some of the details (but after two days worth of holiday festivities and and morning hockey both days and then some emergency plumbing today, I'm just going to relax and watch some TV this evening).
- Bill
Black & White & Bronze
ktuli — Fri, 07/02/2010 - 21:30
I've been waiting to post this photo for some time now, and actually, I've had this reason for a while but have just had a couple sets of photos (Kanawha 1, 2, 3, 4, 5, 6, 7, 8, 9 and Cozumel 1, 2, 3, 4, 5, 6) that I wanted to post all in a row.
Over a month ago, the Photographic Section had their year end awards dinner. I actually didn't even attend (being a new member I don't know too many people in the club and wasn't sure of what the dealie was with the dinner)and had completely forgotten that I had two photos that had received honorable mention in the previous in-house competitions and qualified for the 2009-2010 Year End Compeition that is judged by external judges.
This photo received a bronze medal for the Monochrome Projected Digital Image portion of the competition...
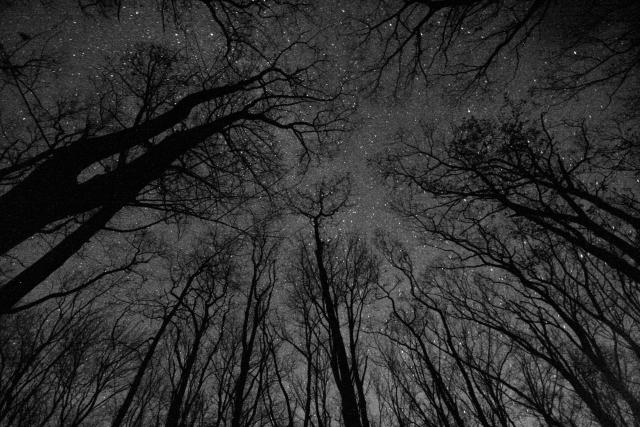
Technical Data: Canon EOS Digital Rebel XT, Sigma 10-20mm f/4-5.6 EX DC HSM AF at 10mm, Unknown manual exposure length as f/5.6, ISO 1600. Converted to B&W and slightly brightened in Photoshop Elements. Laurel Highlands Hiking Trail.
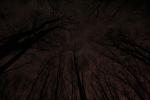
Why This Photo: I took this photo on a hiking trip along the LHHT with some friends. During the trip, I also tried my hand at some light painting, and this was also my first attempt at astrophotography. I really liked the idea of capturing the feeling of looking up at the stars through the trees.
What Works: I liked the shapes of the trees with the starry sky as the background. The curved edges provided by the lens zoomed to 10mm adds a nice additional feel to the size of the trees from that angle.
What Doesn't Work: The thicker tree on the left is a bit distracting, and I wish I could have found a slightly larger opening in the trees for more unbroken star field.
What do you think? The original image is linked to the right. You can see the purplish tinge the sky had from near-by light pollution that I removed in photoshop.
Leave me a comment and let me know if you think this is really a bronze medal winning photo or not.
- Bill
PS: This photo also received an additional honorable mention at the year-end competition, but has already been previously discussed when it got the honorable mention in the in-house judging, so if you're interested click on the photo and read that discussion as well.
Light Painting: First Attempt
ktuli — Tue, 05/04/2010 - 20:12
Ok - so the posting frequency doesn't seem to be getting much better. I promise to continue trying to get better about that. Heck - I haven't even had much chance to get out and use the camera much either - something I definitely need to remedy.
This is another photo I was hoping to save for use later, but I really need something to get me going.
In one of my photography magazines, I had read about a technique called light painting. There are two forms of light painting - using a light source outside of the scene to 'paint' a section of the scene to highlight it, and using a light source within the scene to 'paint' the air to have a type of graffiti appear in the image.
I decided to try the former. By using different colored lights to highlight your subject, you can change its color dramatically...
Back in November, I went on a hiking trip on a section of the Laurel Highlands Hiking Trail with some good friends.
While we spent the night at one of the adirondacks, I tried my hand at some nighttime long exposure photography and light painting. After taking a fair amount of good-natured kidding from my buddies about the extra weight I was lugging in camera gear for the hike, the photos I got really made it worth while.
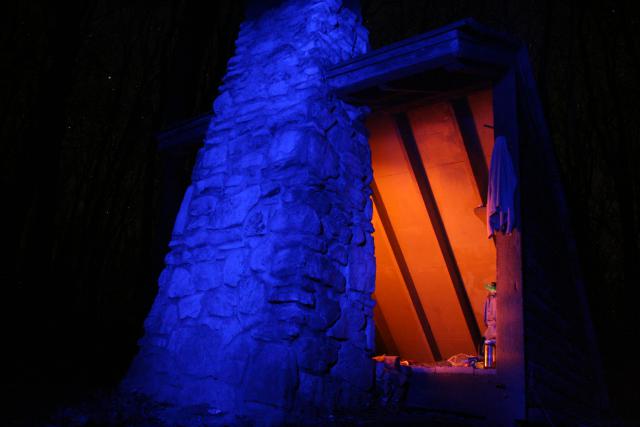
Technical Data: Canon EOS Digital Rebel XT, Canon EF-S 18-55mm f/3.5-5.6 II at 18mm, Unknown manual exposure length at f/5.6, ISO 1600. No post production. Laurel Highlands Hiking Trail.
Why This Photo: I really wanted to try my hand at light painting, after a few other attempts that were coming out very nicely, I thought the blue light on the outside of the shelter contrasted with the red glow from the fire inside the shelter would do a great job of illustrating the cold weather (though it was unseasonably warm for November) with the warmth of the shelter.
What Works: For being basically a first attempt, this turned out well. I like the contrast of the red and blue lighting. Additionally, you can just start to make out the stars in the background.
What Doesn't Work: The framing isn't perfect as I think this might work better if the shelter were more off-center. I also should have selected a much lower ISO for this long of an exposure to help reduce any digital noise.
Surprisingly, this was a lot easier than you would think. Remember your tripod, and a remote shutter release is helpful (or use your timer delay, but that won't work for manual exposure lengths). Try different combinations - I'll share a photo later where I used red and blue lights to paint something purple!
I thought for sure I would end up with a bunch of junk photos, but a couple of these are among my favorite photos. Unfortunately, I have never made a point of heading back out to make some more of these photos.
Maybe it is time to schedule another hiking trip.
- Bill

