wide-angle
Hocking Hills (part 2)
ktuli — Thu, 06/27/2013 - 20:40
Ever been out taking photos and there are just so many people around that you just can't seem to get a photo without some random person in the shot?
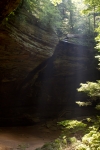
Well, that was definitely the case most of the time we were in Hocking Hills; however, I employed a little technique that would give me a clean result after a little Photoshop work...
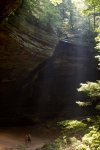 Image #1 |
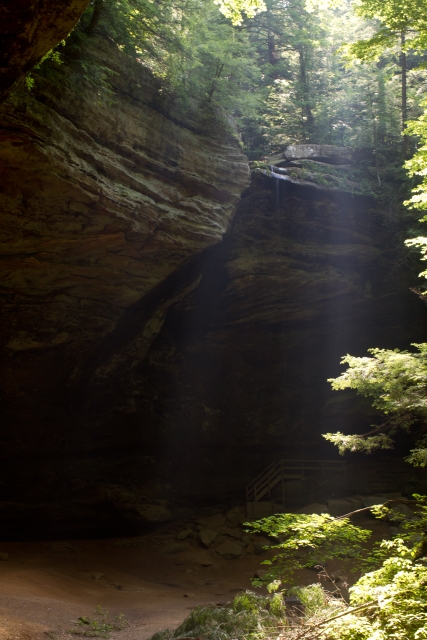 |
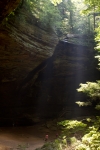 Image #1 |
|
 Final Image |
All you have to do is have your camera mounted on a tripod, take multiple images (sometimes - like here - you can get away with as few as two) making sure that as the people move around, you get enough photos where eventually any given area is free of people. Then, in Photoshop, simply bring all of the images into a new combined image, use the eraser tool to remove the people, leaving the image beneath it with no people in that spot showing through. This way, you can easily create a final image that doesn't have any random people left.
The best part? Even someone with rather limited Photoshop "skills" can do this technique because it doesn't have to be the most detailed and precise work, plus since you're not creating any content - only removing distracting elements to show a different version of the same image - it looks very natural.
- Bill
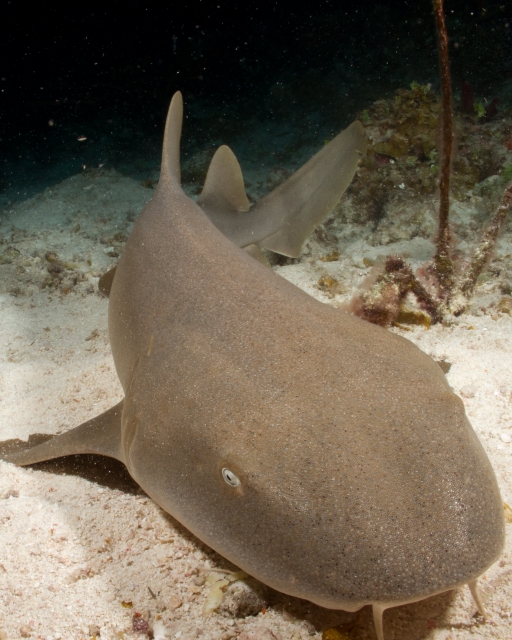
Nurse Shark in Black and White
ktuli — Sun, 04/07/2013 - 16:35
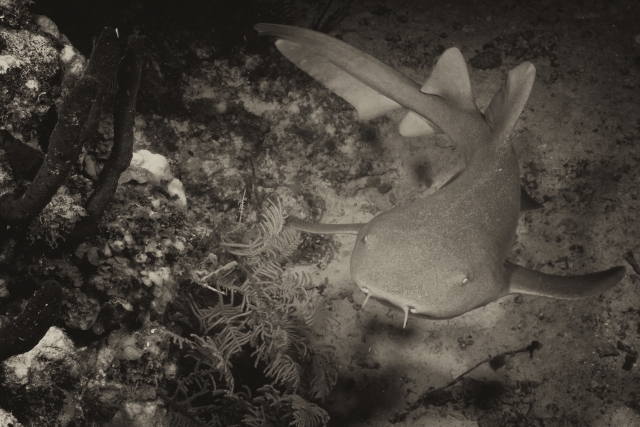
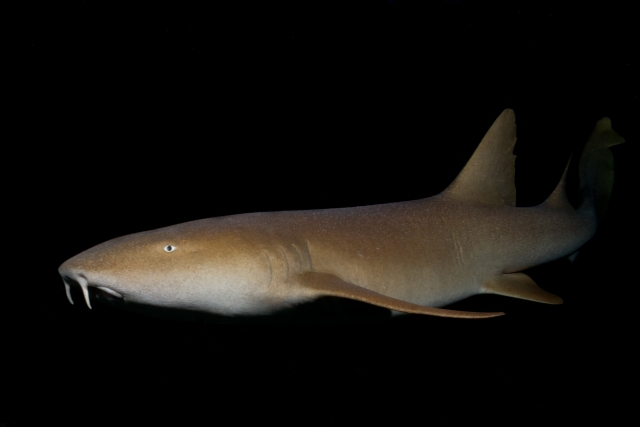
Well, I've been playing around more with the Nik Software Silver Efex, and processed this B&W (ok, technically sepia) of a nurse shark photo that I've shared previously.
Technical Data: Canon EOS 7D, Canon EF-S 18-55mm f/3.5-5.6 II at 18mm. 1/120 sec at f/11. ISO 640. Ikelite Housing and Port with dual Ikelite 161 Strobes in eTTL mode. Raw conversion and cropped in Adobe Camera Raw, B&W conversion in Nik Software Silver Efex.
I really like how this one turned out. You certainly wouldn't think of sepia when you think of underwater photography, but then again... maybe you should... sepia is produced from the ink of cuttlefish!
- Bill
Poll: Lone Tree
ktuli — Mon, 03/18/2013 - 15:56
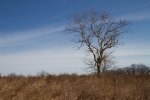
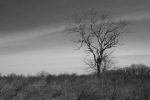
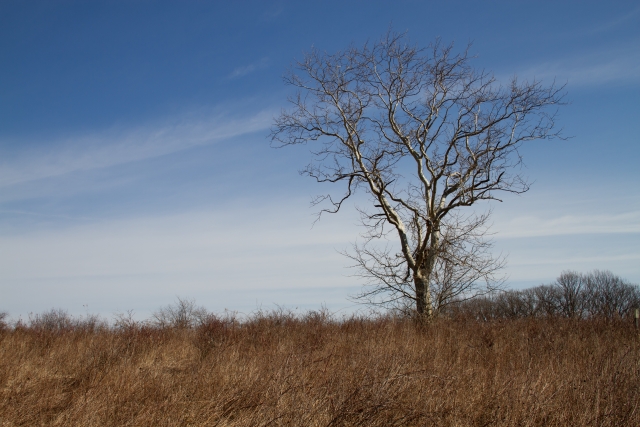
On our trip to Latodomi Nature Center, we saw this tree out in a field all by itself. I instantly knew it would make for some great photos. I intend to visit several times and try to capture the same scene repeatedly during different seasons. Here is the first...
 |
 |
 |
|
Technical Data: Canon EOS 7D, Canon EF-S 18-55mm f/3.5-5.6 II at 25mm, 1/400 sec at f/8. ISO 100. RAW processing in Adobe Camera Raw.
It has been a while since we've had a poll, so go ahead and cast your vote for which version you like better...
- Bill
Turks & Caicos: More Nurse Sharks
ktuli — Tue, 03/05/2013 - 19:44
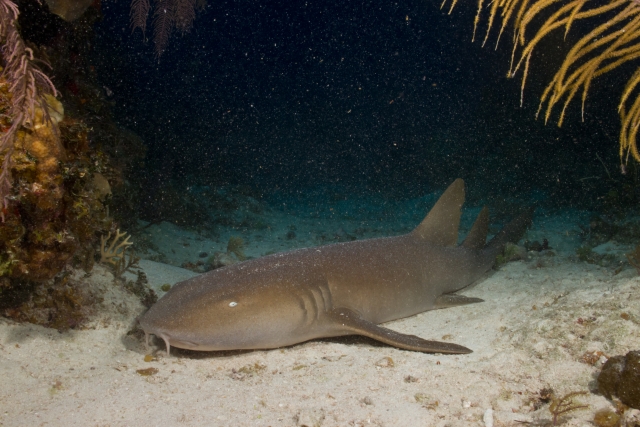
I want to go diving.
Technical Data: Canon EOS 7D, Canon EF-S 18-55mm f/3.5-5.6 II at 24mm. 1/120 sec at f/20. ISO 640. Ikelite Housing and Port with dual Ikelite 161 Strobes in eTTL mode. Raw conversion in Adobe Camera Raw.
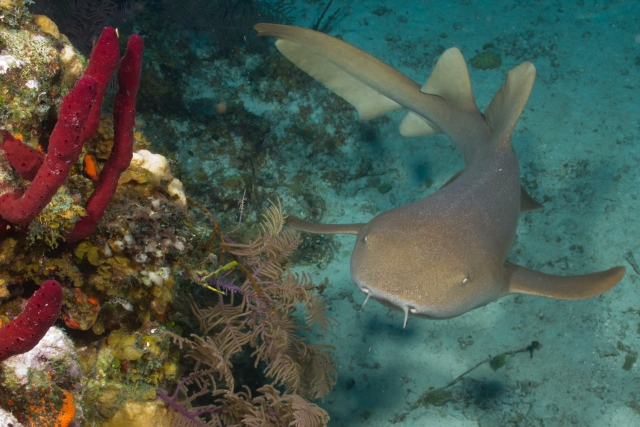
Technical Data: Canon EOS 7D, Canon EF-S 18-55mm f/3.5-5.6 II at 18mm. 1/120 sec at f/11. ISO 640. Ikelite Housing and Port with dual Ikelite 161 Strobes in eTTL mode. Raw conversion and cropped in Adobe Camera Raw.
- Bill
Turks and Caicos: Spanish Anchor
ktuli — Tue, 12/11/2012 - 18:45
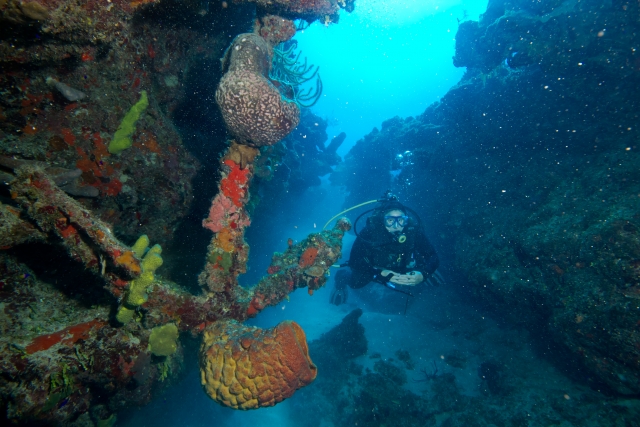
Wide angle photography underwater is much more difficult than on dry land. I learned this lesson the hard way for sure on this trip. I took plenty of shots that I just didn't like at all. This one isn't perfect, but I kept it just the same.
Technical Data: Canon EOS 7D, Sigma 10-20mm f/4-5.6 EX DC HSM AF at 11mm, 1/160 sec at f/11. ISO 640. Ikelite Housing and Port with dual Ikelite DS 161 Strobes in eTTL mode. Raw conversion Adobe Camera Raw.
The first problem that jumps out of me is the strobe placement - I should have had one pointed at Anya so that both she and the anchor were equally illuminated and therefore avoiding the bluish color cast.
Next, ideally we should have waited a bit longer to let the backscatter particles to settle down after the other divers had moved on to get a clearer shot.
However, the proximity to the anchor lets it be a nice large foreground feature and gets plenty of light from the strobes to reproduce the vibrant colors of the sponges and corals.
It is definitely a challenge... one I definitely need more practice at to improve upon.
- Bill
Turks and Caicos Explorer: New Wallpaper
ktuli — Tue, 11/06/2012 - 20:16
Ok just a quick post today to share what has become my new wallpaper on one of my work monitors...
Technical Data: Canon EOS 7D, Canon EF-S 18-55mm f/3.5-5.6 II at 18mm. 1/120 sec at f/22. ISO 320. Ikelite Housing and Port with dual Ikelite 161 Strobes in eTTL mode. Raw conversion and cropped in Adobe Camera Raw (mouseover for original).
Thanks for stopping by.
- Bill
PS: If you haven't voted on the other nurse shark photo or seen the videos, keep scrolling!
Poll: Turks and Caicos Explorer: Nurse Shark Cropping
ktuli — Mon, 11/05/2012 - 19:18
I absolutely love this photo - and the best part about it... it works in so many different ways.
Check out the different crops below and then vote on which one you like best.
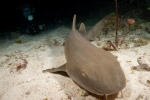 2x3 Horizontal Original |
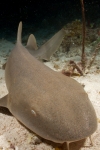 2x3 Vertical Crop |
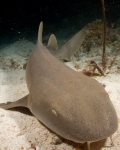 4x5 Vertical Crop |
 |
||
Technical Data: Technical Data: Canon EOS 7D, Canon EF-S 18-55mm f/3.5-5.6 II at 18mm. 1/120 sec at f/22. ISO 320. Ikelite Housing and Port with dual Ikelite 161 Strobes in eTTL mode. Raw conversion and cropped in Adobe Camera Raw.
In the original framing, I love how you can see one of our dive friends - Jim - in the background also taking photos of the sharks. In particular, I love how wide Jim's eyes look through his mask. With the 2x3 vertical crop, I felt that since the shark's face is so close to the front of the frame, I would crop in tight and let it almost fill the frame - the one downside to that is that its pectoral fin gets cropped out in the process. Which is why I changed ratios and went with the 4x5 crop.
In the end, I really love every version of this photo... Vote below and let me know which one you like best.
- Bill
California Trip: Yosemite National Park (part 4)
ktuli — Sat, 09/22/2012 - 20:54
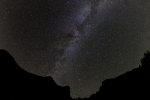
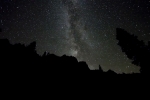
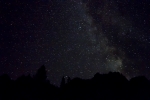
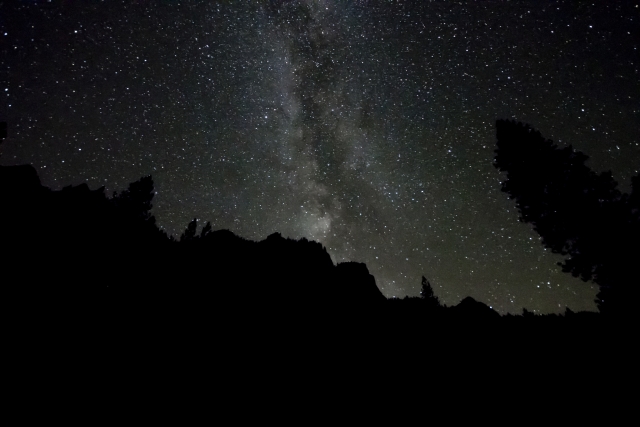
And to wrap up (at least for now, I might revisit some of the photos in the set in the future), here is a set of night photography in Yosemite.
 |
 |
 |
 |
||
If the one looks familiar, it is the same photo I used as a sneak peak, but I've gone ahead and fixed the yellow color cast that was showing up to light pollution.
- Bill
California Trip: Yosemite National Park (part 3)
ktuli — Thu, 09/20/2012 - 19:06
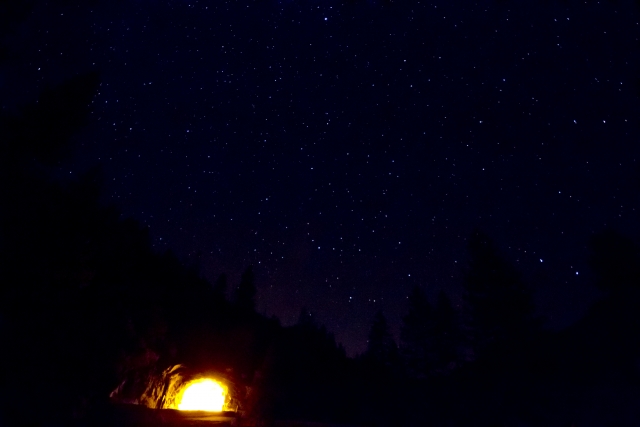
This photo is one that I am really pleased with how it turned out. Our last night in Yosemite, we stopped at Tunnel View (remember that from the other day?) and I took some last photos of the valley with the Milky Way above (more on those later).
As I turned around to head back to the car, I saw this scene and knew it would make for an interesting image. Well - to be honest, I didn't see it exactly like this - that would have been impossible. Instead, I was able to visualize how an extended exposure would make the tunnel look against the dark sky. I knew that the exposure time I would need to make the sky visible would cause the lights inside the tunnel to over-expose or "blow out".
The scene ended up looking almost exactly like I expected it to... and when I look at it, it has a very primordial feel to it - almost like that cave contains a burning fire like a volcano, ready to spew forth new life. Almost like Middle Earth existed in Yosemite...
Technical Data: Canon EOS 7D, Sigma 10-20mm f/4-5.6 EX DC HSM AF at 10mm, 7 sec at f/4. ISO 12800. Raw conversion Adobe Camera Raw with additional edits in Photoshop CS5.
I'm not normally one for titles on my photos, but something tells me that this one deserves one... I just don't know what would work. Any suggestions?
- Bill
California Trip: Yosemite National Park (part 2)
ktuli — Sun, 09/16/2012 - 20:38
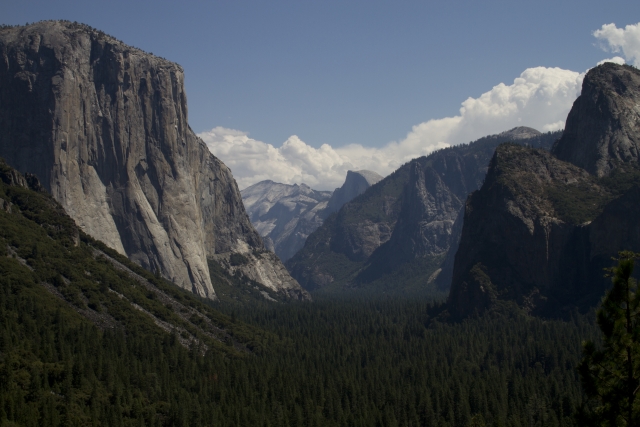
This is Tunnel View... as you enter Yosemite from the south entrance, you pass through a tunnel, when you come out the far side, this is the view you are greeted with. Stunning, no?
Technical Data: Canon EOS 7D, Canon EF-S 18-55mm f/3.5-5.6 II at 38mm, 1/120 sec at f/16. ISO 100. RAW processing in Adobe Camera Raw.
- BIll

