underwater
Wakatobi: Photoshopped Lionfish
ktuli — Mon, 02/14/2011 - 19:38
I spent the afternoon fixing up some photos to print so we can frame them and decorate one of our walls with photos from our trip. While I was doing so, I decided to attempt something a little more aggressive.
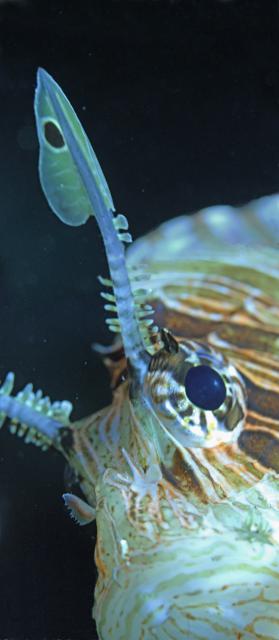
During one of our last few dives, I decided to work in close to one of the Common Lionfish (Pterois volitans). In Cozumel, seeing one of these guys is a very bad thing. They are incredibly invasive and the reef fish in the Caribbean simply aren't ready to compete with them. However, in Indonesia, they are native and thus are in balance.
As I was working with the lionfish, I managed a couple good shots, but afterwards realized that two of the shots had elements that worked individually but I had not managed a single shot with all of the elements combined.
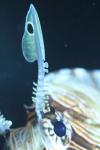
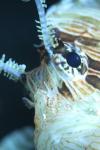
As you can see, the first shot does a great job of capturing that really cool modified "eye-brow" fin but cuts off too much of the face, whereas the second is a good close-up of the fish's face, but is missing the "eye-brow". So I got the idea to combine the two shots to get one single photo with everything. I also decided to stick with the extra long/narrow vertical format it produced.
Unfortunately, the two exposures were slightly different, so there was a lot of adjustments needed to get the colors to match. This required adjusting the colors and brightness and contrast several times - oddly to match the antenna took one batch of changes, while to match the rest of the face took another different batch.
Additionally, the scale of the two shots were also different, which luckily by overlapping some elements, I was able to match things up in that respect. The easiest technique I found for achieving this was to turn down the opacity of one layer and resize and move that layer until things matched up.
In the end, there is still one section that I am not exactly thrilled with how to came out. I'm not going to point out what it is, because I am wondering if I notice it because I sat working on it all afternoon. If you think you know which area still could use some work, drop a comment and let me know.
Technical Data: Canon EOS 7D, Canon EF 100mm f/2.8L Macro IS USM, 1/170th and 1/130th sec respectively at f/8. Image Stabilization on. ISO 1600 and 1000 respectively (Auto). Ikelite Housing and Port with Ikelite DS161 Strobe in TTL Mode.
This is by far the most complex amount of photoshopping I've attempted. Usually I prefer to only make minor subtle modifications, but this little project was fun - I just don't think I'll be doing anything like this too often.
- Bill
Wakatobi: Magnificent Chromodoris Nudibranch
ktuli — Sat, 02/12/2011 - 22:16
Today we'll start looking at one of my favorite subjects from the Wakatobi trip - nudibranchs and flatworms. I knew ahead of time that we would see some, but I was not prepared for how many. If my count is accurate, we saw around 35 different individuals (plus some more that we saw and weren't able to photograph) consisting of up to 15 different species of nudibranchs and 4 species of flatworms.
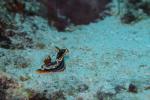
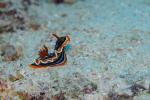
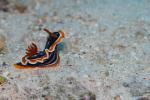
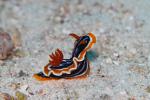
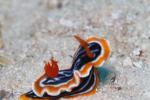
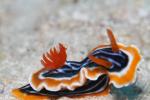
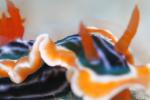
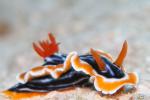
This little guy is a Magnificent Chromodoris (Chromodoris magnifica). C. magnifica can grow to about three and a half inches long, and are carnivores that feed on sponges. But really, they are just beautiful to look at.
At this point in the week, I had figured out some of my problems working with the strobe, and combined with the 8 frames per second burst rate on the 7D, I began to try a new technique for photographing subjects. I would make as slow and controlled of an approach as I possibly could, taking photos the entire way. Doing so would help to control my buoyancy (holding perfectly still in the water is still a bit difficult for me), and thus increase my number of keepers.
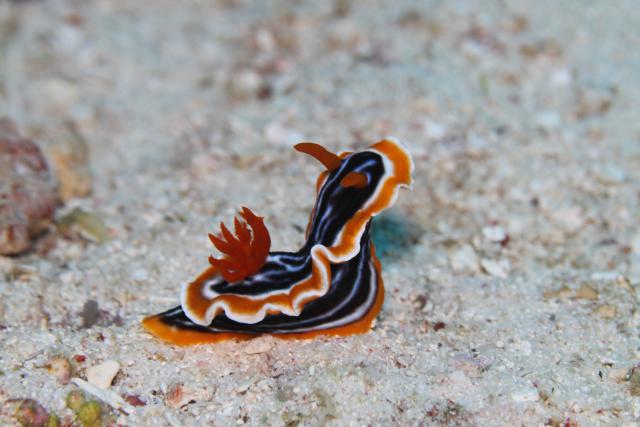
Technical Data: Canon EOS 7D, Canon EF 100mm f/2.8L Macro IS USM, 1/25th, 1/32nd, 1/40th, 1/32nd, 1/25th, 1/16th, 1/5th, 1/10th sec respectively at f/8. Image Stabilization on. ISO 400 (Auto). Ikelite Housing and Port with Ikelite DS161 Strobe in TTL Mode. No post production.
If you mouseover the thumbnails, the larger images will display; progressing through the set will show a bit more of the technique I was describing. There are a couple interesting things to note in the series...
First, you can notice that the earlier shots have a bluish cast to them (since they are unmodified). This is due to the amount of water the light has to travel to make the photo. Even with a strobe such as the Ikelite DS161, any increased distance from a subject will result in a bluish cast. The series makes it very apparent how that color cast goes away as you get closer to your subject and shorten the distance that the light has to travel.
Also, if you look at the second to last shot in the series (the closest one, second from right on bottom) you can see a slight amount of ghosting. The comes from the slow shutter speed of 1/6th of a second and the camera (and me along with it) moving during the exposure. I threw away the shots that were worse, but you can still see it slightly here. This may have been remedied had the camera selected a higher ISO, but that was not the case.
Finally, the last photo being further away from the subject is not a mistake in my ordering them here - that is actually how it was shot. I would also shoot as I backed away from a subject. To do so, I would either place a finger or two on the rock or substrate and push back (you never want to touch coral or most other living surfaces on a reef - both to prevent damage to the reef as well as to avoid injury, remember that most reef creatures have stinging cells called nematacyst) or simply inhale semi-deeply. The second technique is rather interesting and is very effective on slower approaches with no overhanging reef above me. While diving, even changing the volume of air within your lungs can change your buoyancy in the water (and since you're doing that constantly by breathing, it is apparent why it isn't exactly simple for everyone), and I have learned that if I take a slightly larger than normal breathe and hold it for a few seconds, I will slow rise in the water. As I rise, I then exhale to restore my buoyancy to the desired level (and to avoid pulmonary barotrauma).
I know that the majority of folks reading this probably won't benefit from the combination of photography and scuba technique suggestions, but if you ever do decide to try underwater photography, it is worth keeping in mind... ;)
I promise to share more nudibranch and flatworm shots as they were among my favorite subjects for the week. For now, thanks for stopping by, and I hope you enjoyed this magnificent little creature (yes, pun intended!)
- Bill
PS: If you haven't checked out the False Clownfish poll post from the the other day, please do so and cast your vote! If you did already check it out, swing on back as I updated with a photo of the cake the Wakatobi staff presented to me as a 'prize' for that photo!
Wakatobi: Wide Angle
ktuli — Fri, 02/11/2011 - 17:06
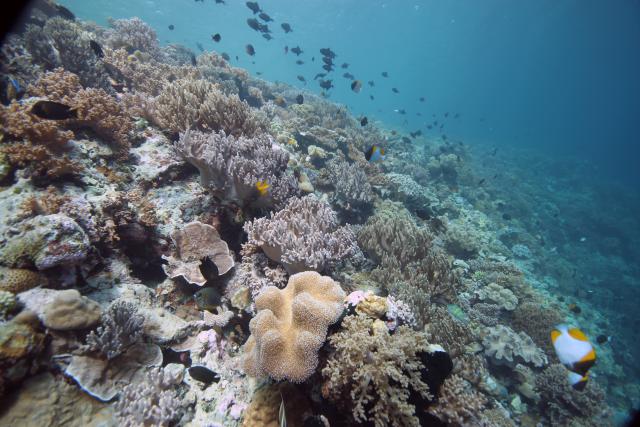
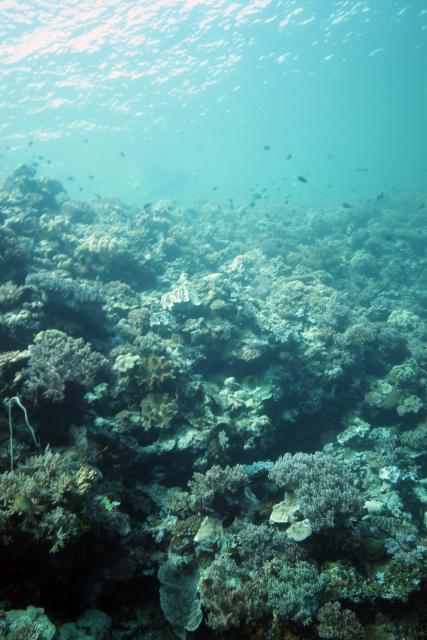
These will be the only wide angle underwater shots I'll be sharing from our Wakatobi trip. With all the macro-life on the reefs there, I simply couldn't bring myself to take the 100mm macro lens off my camera. I didn't feel I was getting great wide angle shots, and I was having too much fun with the macro stuff to try more.
Technical Data: Canon EOS 7D, Sigma 10-20mm f/4-5.6 EX DC HSM at 10mm, 1/100th sec at f/5. ISO 100 (Auto). Ikelite Housing and Port with Ikelite 161 Strobe at full power. Modified version auto-color-correction in Photoshop Elements 8.0.
Technical Data: Canon EOS 7D, Sigma 10-20mm f/4-5.6 EX DC HSM at 20mm, 1/32nd sec at f/5.7. ISO 100 (Auto). Ikelite Housing and Port with Ikelite 161 Strobe at full power. Modified version auto-color-correction in Photoshop Elements 8.0.
Mouseover the images for the originals. All in all, there isn't much to talk about with these shots - they're far from special - something I will have to try working on next time we go diving (unless there's enough macro life to work with again!).
One thing I will say about Wakatobi's reefs at this point is that before this trip I really didn't have an appreciation for the term coral garden. Almost every dive was what is called a wall dive, which is (as the name implies) a vertical wall where all the corals and life grow. At the end of most of those dives, we would surface up onto the level area above the wall (usually in about 10-15 feet of water), and there you would just see corals of every variety spreading out as far as you could see. It truly was beautiful, and I am a bit disappointed that I didn't do a better job of capturing a photo to show that to others.
I guess I just have to go back and try again....
- Bill
Poll: Wakatobi: False Clownfish
ktuli — Tue, 02/08/2011 - 21:22
First off, my apologies for the delay in getting to these posts. After getting home from the trip, I realized I had taken over 6600 exposures (mostly due to the camera being set to high speed burst mode). I spent time removing any photos that we're up to par or just duplicates due to the high speed bursts, and trimmed the set down to around 1750. I meant to go through posting photos from the trip in a chronological order, but I know some folks are waiting for this one, so we'll bounce around a little here to start.
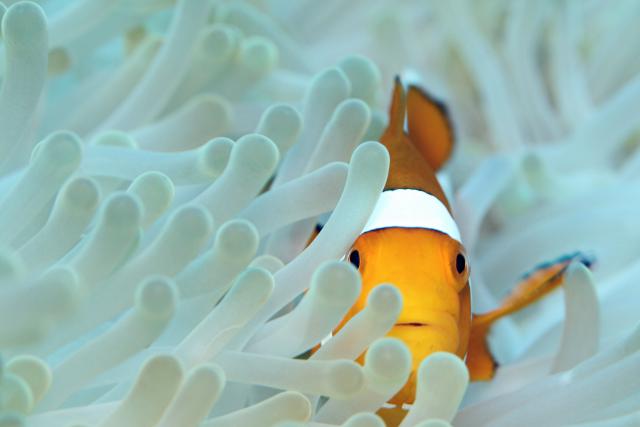
The photo was taken towards the end of the week at the Roma dive site. All week long, I'd been enjoying taking photos of the various anemonefish, and this particular set of False Clownfish (Amphiprion ocellaris) provided a nice opportunity for several great shots.
This one, however, was selected by our dive-masters as the "Photo of the Week" for our week. I was absolutely flabbergasted by that announcement. My underwater photography improved by leaps and bounds each dive during this trip, but I still consider that luck was a very (very) large factor in what I came back with. In the coming posts, we'll discuss some of the ways in which the underwater photography improved.
As I said, I was running the camera in high speed burst mode (providing up to 8 frames per second with my Canon EOS 7D) which helped with my luck in capturing the fleeting moments that occur with the constant movement of the subjects, but I distinctly remember seeing this shot develop in the viewfinder and knowing then that I had captured something nice.
When the shot was presented by our dive-masters at the dinner slideshow, it was slightly modified, so I attempted to duplicate those modifications as best I could here. Mouseover each thumbnail below to see the different versions, then place your vote below to let me know which version you prefer (leave a comment with details as to why you selected what you did if you like).
|
|
|
Technical Data: Canon EOS 7D, Canon EF 100mm f/2.8L Macro IS USM, 1/40th sec at f/8. Image Stabilization on. ISO 400 (Auto). Ikelite Housing and Port with Ikelite 161 Strobe in TTL Mode. Modified version cropped and auto-smartfix in Photoshop Elements 8.0
The modifications are very subtle (as I usually feel any post production modifications should be). Initially, the shot was cropped specifically to make the the fish rest right on the intersection of two of the thirds. Then I ran the shot through Photoshop Elements 8.0's Auto-Smart-Fix to adjust some colors (producing a bit more bluish tint to the anemone and darkening the orange of the False Clownfish).
I know I've mentioned before that I should start selling prints, but I haven't gotten setup to do that yet, even with some requests for this photo specifically. So for now, enjoy it for free if you'd like. Here are the links to the fullsize versions - Original and Modified - for use for printing or as a wallpaper (be sure to resize first, or use the smaller version above).
Thanks for stopping by today, and be sure to visit back frequently over the coming days/weeks as I will be continuing all the updates from the trip. And don't forget to place your vote below, and leave a comment as to why you voted as you did.
- Bill
PS: Alastair, enjoy the photo, perhaps we'll meet again underwater some day in the future. Best of luck getting certified!
 PPS: As a 'prize' for the 'Photo of the Week', the fantastic staff at Wakatobi presented me with a fabulous cake made up to be a coral reef. The cake was absolutely fantastic and I shared it with our entire group! The pink stuff on the right is some strawberry roll which was my favorite dessert of the week, and the staff were attentive enough to notice that and give me one of the leftover pieces as additional 'prize'! If anyone from Wakatobi is reading this, thanks again for a most memorable week!
Indonesia: Sneak Peek (part 2)
ktuli — Sat, 01/29/2011 - 03:05
Wow! Just wow!
So far, we have 12 dives in on this trip, and I've been getting more and more fantastic shots. I've been learning how to better use my gear, as well as how to just dive better (ie: better buoyancy control, better air comsumption, etc), but more on all of that later.
We've seen things we've never seen before, and stuff we've only ever seen in books. I have a very small selection to share today, including: some anemone fish, shrimp, crocodile fish, and sea stars. I've also got a good collection of nudibranch shots going, but I'm going to be stingy with those until I get home... ;)
Enjoy these for now:
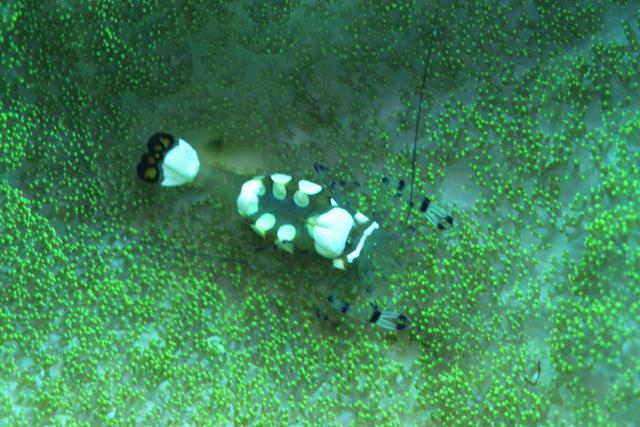
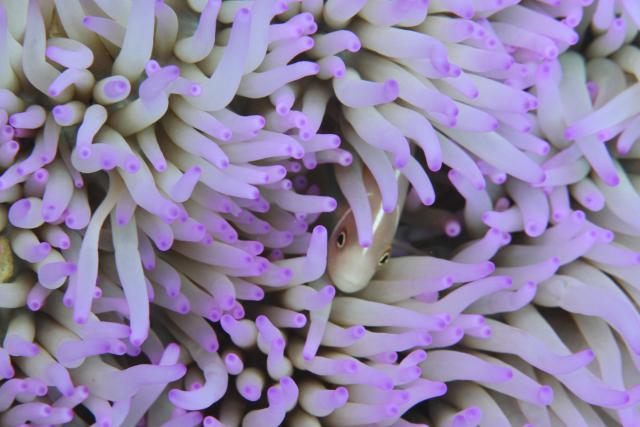
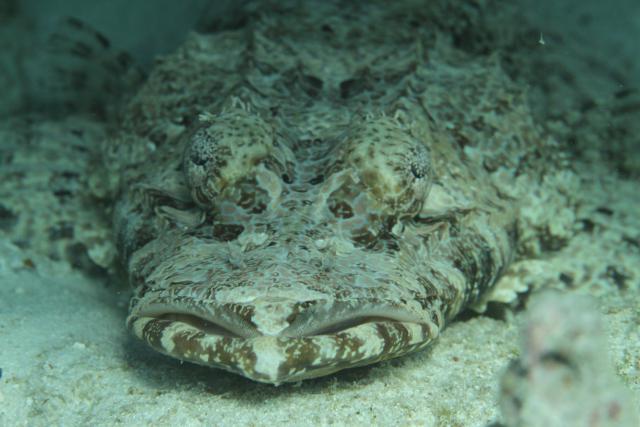
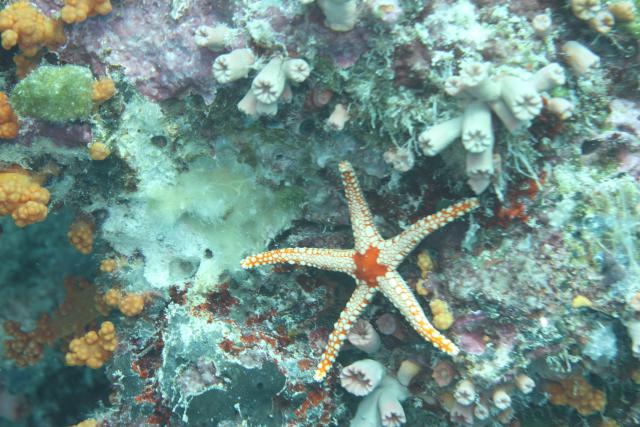
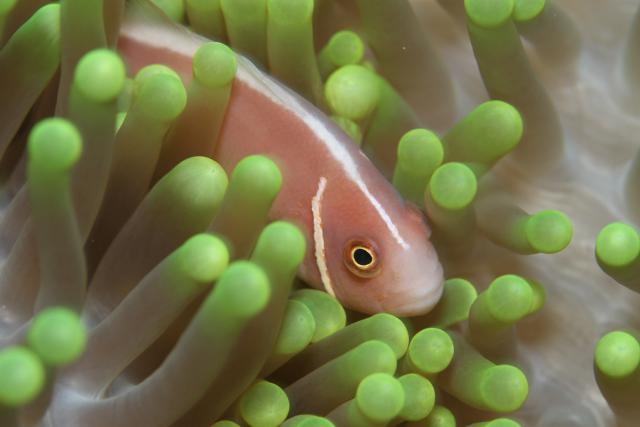
Our afternoon alarm just went off, so we now have to go head out for our second twilight dive!
- Bill
Poll: Black Sea Rod Cropping
ktuli — Thu, 01/13/2011 - 17:50
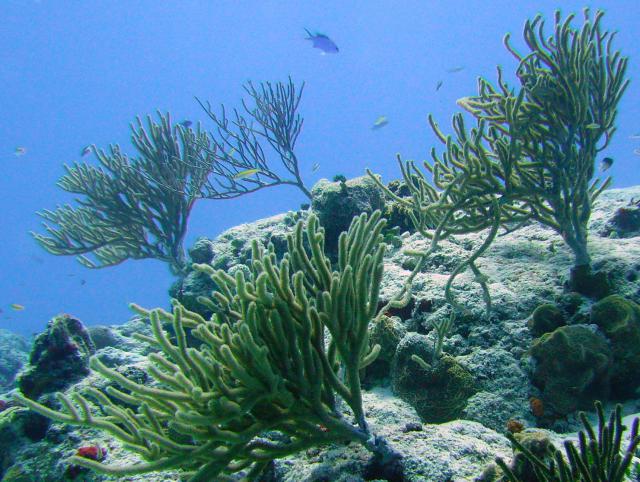
Ok - that last post reminded me that I promised to share different cropping options for the 'winner' of that poll. So here we go... Three fairly different crop options with the color corrected version of the photo. As usual, mouseover the thumbnails for the larger image to display.
|
|
|
|
|
|
||
Hopefully by now, you know how this works... choose your preferred version below, then leave a comment with why you chose what you chose.
Thanks for stopping by!
- Bill
PS: I do have to admit that I removed the small Blue Chromis from the upper edge of the second version as it was actually cut off by my preferred crop line, and rather than move the crop line, I used the spot heal tool to remove the half fish leftover.
Some More Underwater Photoshopping
ktuli — Tue, 01/11/2011 - 20:45
Sorry - these photos are not from the new Ikelite equipment or even from our new SeaLife DC1200 compact camera. They actually came from a rented SeaLife DC800 camera during our trip to Cozumel, Mexico last summer.
All the work preparing for the upcoming trip to Wakatobi in Indonesia and working with the new Ikelite gear for the 7D and reading up on dive photography has me thinking about these old photos. More specifically, it has me thinking about whether I can salvage anything from these old photos that didn't turn out so well (and perhaps to prepare for any adjustments I'll have to make to any new photos I come home with.
Surprisingly, all I did with these photos was to run them through the Auto Color Correction and Auto Smart Fix. Pretty easy, but the results are fairly impressive. The second photo was cropped slightly as well.
Mouseover each image for the original to compare...
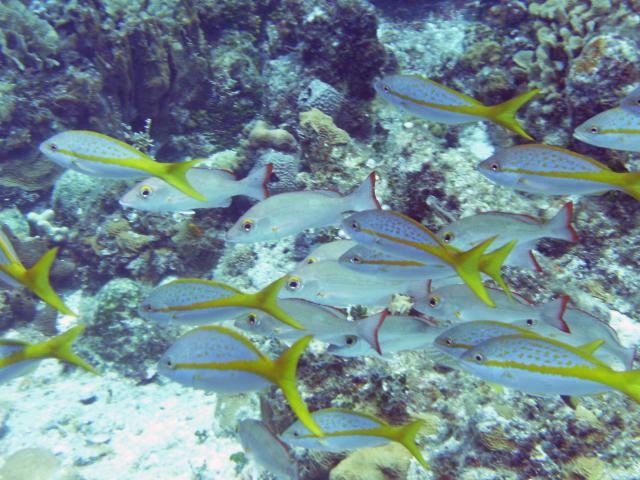
Technical Data: SeaLife DC800 at 13.8mm, 1/80th sec at f/4.7, ISO 64. No Flash. Auto Color Correction, Auto Smart Fix in Photoshop Elements 8.0. Colombia Shallows, Cozumel, Mexico.
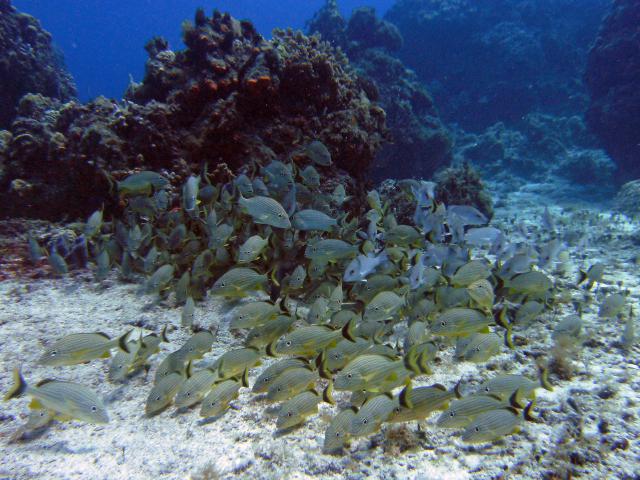
Technical Data: SeaLife DC800 at 4.6mm, 1/160th sec at f/5.3, ISO 64. No Flash. Cropped, Auto Color Correction, Auto Smart Fix in Photoshop Elements 8.0. Colombia Shallows, Cozumel, Mexico.
The top photo is of a group of Yellowtail Snapper (Ocyurus chrysurus) while the second shot is of a school of Blue-Striped Grunts (Haemulon sciurus - at least I think so.
Hopefully I don't have to do any post production work on the photos I bring back from this upcoming trip, but if I do, hopefully they are as easy as these!
- Bill
Ikelite Toys
ktuli — Mon, 01/10/2011 - 21:24
Ok - as promised, I'll finally get to a quick (probably not so much if history is any indication) discussion of the Ikelite equipment I recently purchases so that I can take my 7D diving with me.
In simple terms, the equipment includes a housing, a couple lens ports, a strobe and arm kits, and a waterproof hard-case to carry it all.
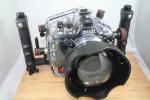
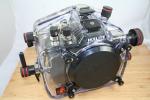
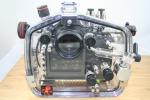
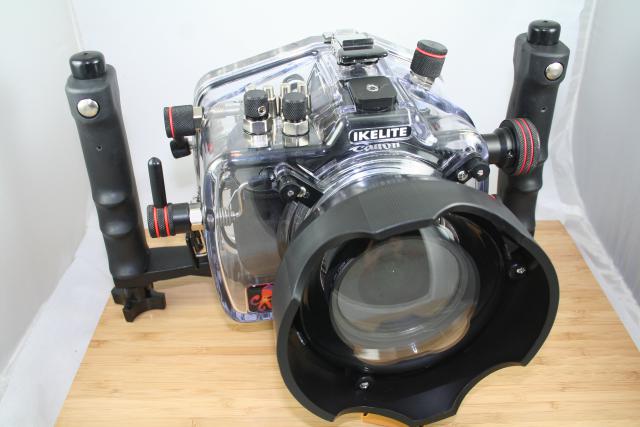
 Ikelite systems are clear acrylic housings that combine with modular lens ports that are able to be swapped out based on what lens you are planning on using for the dive. The nice feature that Ikelite provides is that full access is given to (almost) every button, switch, knob... In my case, the only buttons not accessible are a 'joystick' style selector button whose functionality can be produced with other buttons, and the pop-up flash button which is not available (nor would it be useful). Looking at the unit, it is rather impressive to see how they managed to maintain some of the button access, and since the housing is clear, you are able to see how the knobs and buttons actually work. (I really love that logo too!)
|
|
|
|
|
|
|
|
||||
First off, I'll apologize because some of those photos are less than stellar - I was just firing them off quickly, and kind of ignored some details.
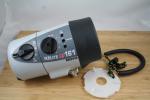
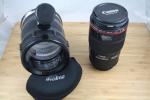
Anyway, you can see by the above shots the housing with the handle tray and my wide angle lens port attached, the housing with no ports attached, the back of the housing (showing a lot of the buttons), the strobe unit (without the flexible arm), and the 100mm macro lens and lens port.
Between the two ports I purchased, I am able to use my new Canon EF 100mm f/2.8L Macro IS USM in a flat port that is specifically designed for that lens. The port has a large knob on it which is used for manual focusing, and since the lens has full-time-manual focusing the knob is nice to have. Additionally, I've found that it also fits my Tokina AT-X M35 Pro DX AF 35mm f/2.8 Macro lens with my 2x tele-converter installed. The wide angle dome port fits a number of lenses including that same Tokina 35mm Macro, my Sigma 10-20mm f/4-5.6 EX DC HSM, Canon EF-S 18-55mm f/3.5-5.6 II, Canon EF 50mm f/1.8 II, and maybe some others, but those are the ones I'll be taking with me on the trip.
The strobe is both a flash and a movie light, so I will be able to (and definitely plan to) use it to make a video or two during a night dive. The flexible arm (which you can sort of see in the shot below) allows me to position the light right where I need it. It also comes with a diffuser to allow me to spread the light a little wider for wide angle shots, or soften light for the macro work.
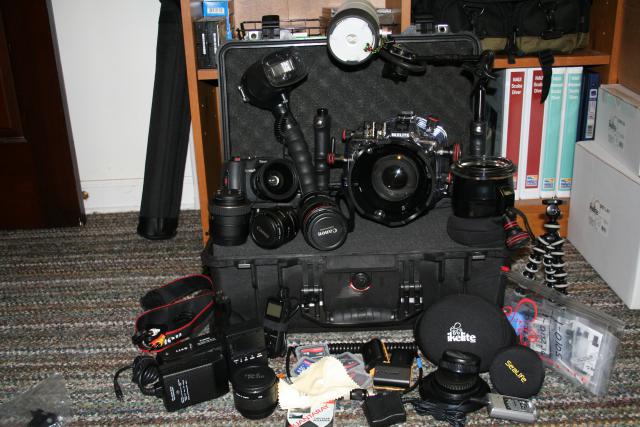
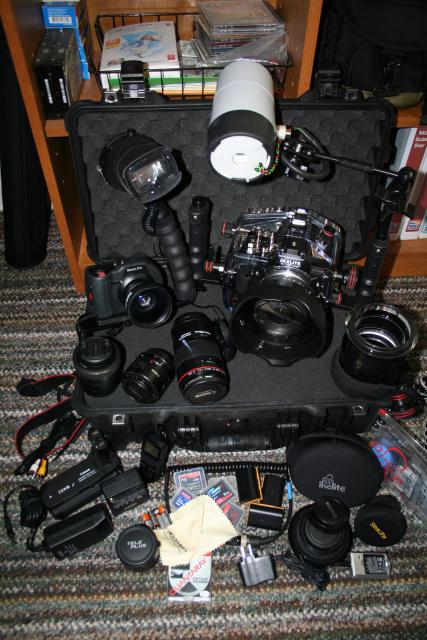
And here is another shot of the mound of stuff on top of the Pelican case. I think I have almost everything packed into the case except for a couple items I'll have to carry separately or in my checked-luggage.
Here's hoping the new equipment really does help me to bring back better images, but you'll have to wait a few more weeks to find out if that is true or not.
- Bill
Packing Dilemma
ktuli — Thu, 01/06/2011 - 21:56
What you see buried under this mountain of gear is a Pelican 1510 Hardcase. It is the largest possible size to be counted as a carry-on bag for flights. And somehow, I need to figure out how to get all that gear to fit inside that case....
I'll get into the details in the coming days, but right now I have a close 1-1 Pens and Canadians hockey game to finish watching.
- Bill
Some Not-So-Heavy Reading
ktuli — Wed, 01/05/2011 - 21:12
I have a confession to make... I usually don't read all of the books I buy - at least very rarely do I read them cover to cover. But I have one right now that I am pouring over every word, even the captions of every photo.
This is the fourth edition of Martin Edge's The Underwater Photographer.
So far, I've found the book to be very well written (with only a few iffy areas, but they could possibly be from the fact that it is written in British English). I am a slow reader, I always have been, so it is taking me a while to get through this book. However, this book is not a lightweight easy flip through book with a very flush 516 pages.
The book goes deeply into every aspect of underwater photography, starting out with the photography basics that I'm well acquainted with, through the equipment, and then into the specifics of lighting, composition, etc, etc, etc. One nice aspect is that Martin covers both SLR as well as compact shooting.
I think the book has given me plenty to think about while on my upcoming dive trip where I'll have two underwater cameras with me, and hopefully I'll come back with a couple great shots. I'm debating taking it with me as I feel it might be a nice reference for while I'm on the trip, and I'm sure there are some sections I want to reread at least once more before the trip.
There are also a few other books that I've been flipping through as well...
Hopefully something I come back with will be as nice as some of the shots in the book on the left, which is an absolutely beautiful coffee table photo book, and the two on the right is one of the books Anya got me for Christmas (and so was the Underwater Photographer book!), so I'll be using them to help identify what we do manage to get photos of.
I promise to do a post soon regarding the stack of new equipment I had to order to be able to take the 7D into the water, so stay tuned! But for now, I'm going back to watching this 7-0 Penguin game!
- Bill

