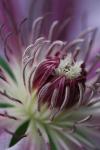
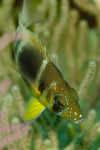
Jumping Spider: Square Crop
ktuli — Mon, 02/27/2012 - 17:37
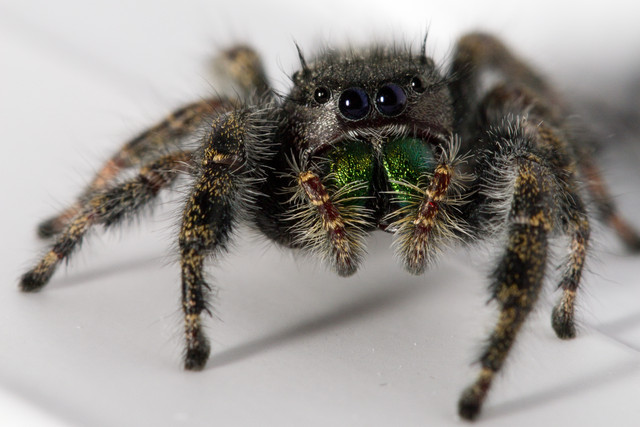
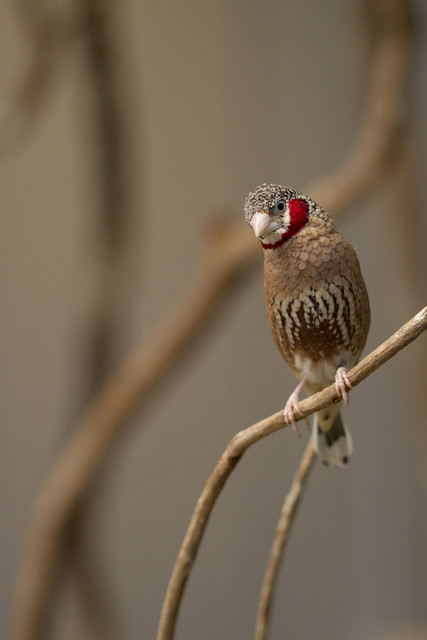
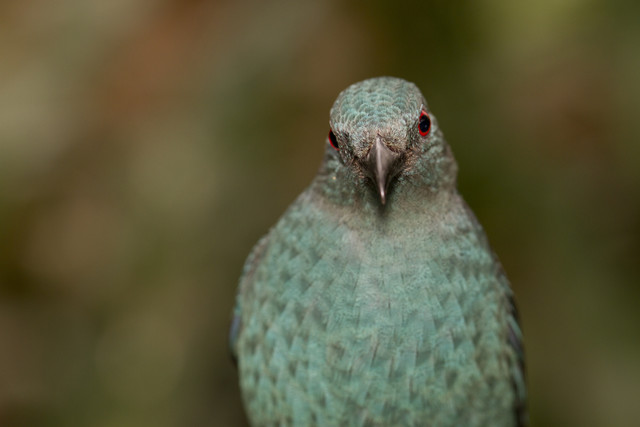
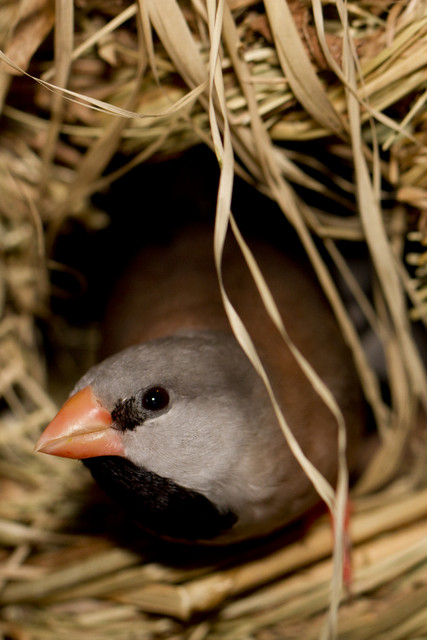
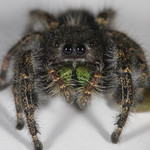
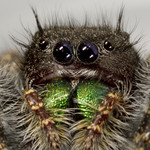
I tried some square crops on this recent batch of jumping spider shots... what do you think?
 |
 |
 |
|
Technical Data: Canon EOS 7D, Canon EF 100mm f/2.8L Macro IS USM, 1/200 sec at f/11. Canon Speedlight 580EX II flash in auto mode and wireless control. Image Stabilization on. ISO 100. RAW processing and cropped in Adobe Camera Raw. Canon EOS 7D, Canon MP-E 65mm f/2.8 1-5x Macro, 1/250 sec at f/16. Canon Macro Twin Lite MT-24EX in ETTL mode. ISO 100. RAW processing and cropped in Adobe Camera Raw.
- Bill
First Spider of 2012
ktuli — Sun, 02/26/2012 - 14:35
I generally don't mind winter, but there is certainly one thing I dislike about the colder months - the lack of spiders and insects to shoot. Luckily, Anya has no problem promoting my love of shoot bugs, and so when she saw a jumping spider crawling around her office at work, she found a container to bring it home so I could take some photos of it.
It is always a challenge to work with a spider when it isn't in its normal environment. They will either hide or run - neither behavior really lends itself to photography. Because it is so cold and I haven't been getting many opportunities to work with spiders, we decided to keep this guy around for a bit. We put him in one of the larger containers I have from when I kept lots of reptiles and such, found him some leaves and such from house plants to use as hiding spots, and finally bought him a bunch of crickets to fatten him up during these lean times as some sort of compensation for the stress I may be inducing. Anyway - here we go...
Technical Data: Canon EOS 7D, Canon EF 100mm f/2.8L Macro IS USM, 1/200 sec at f/11. Canon Speedlight 580EX II flash in auto mode and wireless control. Image Stabilization on. ISO 100. RAW processing and cropped in Adobe Camera Raw.
This shot originally was a vertical shot, but I liked this crop better and went with it - in particular, I like the lean the spider has to naturally set the balance of the shot. Also, the shot was taken on a white cardboard box, which I definitely like how that makes the shots look, and so will likely try that again in the future (though I think it adds to the way the spider doesn't like to sit still).
I'm just happy to have spiders to start working with again.
- Bill
Gone to the Birds (part 2)
ktuli — Thu, 02/16/2012 - 19:22
Today, we'll take a look at White Balance. In short, white balance is how to make something white in your photo actually appear as white when you view it. This isn't always how the camera records photos because - believe it or not - light actually has color to it.
Have you ever noticed how a photo taken in incandescent lighting sometimes looks yellow? Or how that shirt looks one color when you buy it in the store (fluorescent lighting) and looks completely different when you go outside (natural lighting)?
Not to bore you too much with the details, but that is the color temperature of the light. That color temperature is measured in degrees Kelvin - for example, sunlight is generally 6700K, fluorescent light is around 5000K, and moonlight (generally pretty blue) is around 4100K, etc.
In order to make white appear as white, you need to set your White Balance setting in your camera to match the color temperature of the light in which you are shooting. These days, cameras do a pretty decent job of figuring it out for you and setting your color temperature accordingly (this is your Auto white balance setting). An even better option is to shoot RAW, which allows you the option to adjust the color temperature after you take the photo, meaning with just one minor adjustment slider, you can ensure that the colors presented in your photos match what they were went you took the photo (if you want to adjust them further after that, that is up to you, but you at least start with accurate colors).
Ok - I guess I said I wasn't going to bore you, so let's get right on into the example that will show what I'm talking about. Below are a couple versions of the same exact photo. The only difference in them is the color temperature (and thus the white balance) - mouseover each thumbnail to see the larger image and get an idea of how color temperature in your lighting affects your photos.
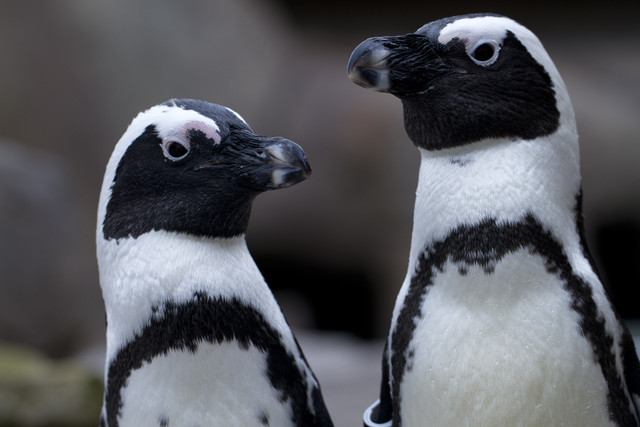 |
|||
 4400K |
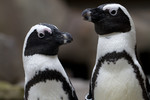 4950K |
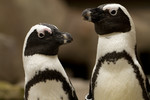 6700K |
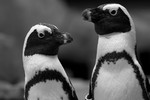 B&W |
Technical Data: Canon EOS 7D, Canon EF 100mm f/2.8L Macro IS USM, 1/640 sec at f/4. Image Stabilization on. ISO 400. RAW processing and cropped in Adobe Camera Raw. National Aviary, Pittsburgh, PA.
The original shot was recorded at 4950K - which is pretty accurate color temperature for outdoor lighting on a cold, overcast, winter's day. I normally bump photos to around the 6700K temperature range to most closely match sunlight, but as you can see in this case it just simply looks wrong, causing a yellow cast and making the photo far too warm for the subject. So I tried the slider in the opposite direction, trying a cooler light, eventually ending up on 4400K to give that slight bluish color to the photo, to cause it to look slightly colder - which I felt is perfectly fitting for the subject. And finally, I ran a quick black and white conversion just to eliminate the slight touches of color that were there and reduce the photo to its very basics.
What do you think? Does that help explain white balance and color temperature at all?
- Bill
Gone to the Birds (part 1)
ktuli — Tue, 02/14/2012 - 18:37
Last week, Anya and I took Friday off to celebrate my birthday. Since I wanted to go somewhere to take photos, and we had just recently visited Phipps, we ended up at the National Aviary. So I am just going to provide a teaser set of photos from that trip...
Technical Data: Canon EOS 7D, Canon EF 100mm f/2.8L Macro IS USM, 1/250 sec at f/2.8. Image Stabilization on. ISO 400. RAW processing and cropped in Adobe Camera Raw (mouseover for original). National Aviary, Pittsburgh, PA.
Technical Data: Canon EOS 7D, Canon EF 100mm f/2.8L Macro IS USM, 1/60 sec at f/4. Image Stabilization on. ISO 400. Canon Speedlight 580EX II flash in auto mode. RAW processing in Adobe Camera Raw. National Aviary, Pittsburgh, PA.
Technical Data: Canon EOS 7D, Canon EF 100mm f/2.8L Macro IS USM, 1/200 sec at f/5. Image Stabilization on. ISO 400. Canon Speedlight 580EX II flash in auto mode. RAW processing and cropped in Adobe Camera Raw (mouseover for original). National Aviary, Pittsburgh, PA.
We ended up buying a membership, so this will be the first of many trips to the Aviary, I'm sure.... especially since I made plenty of mistakes that I need to correct in subsequent trips.
- Bill
Snowflakes
ktuli — Sun, 02/12/2012 - 18:50
I had thought about heading out today to see about finding a place to try some winter wildlife photography - particularly looking for deer in the snow. However, it was just far too cold try do that, so I thought about what I could shoot around here.
I still headed out into the cold, but this time with the MP-E 65mm to see whether I could get any super macro shots of some snowflakes. I'd seen something somewhere (I can't remember where) of photos of individual snowflakes, so I figured I would see if I could do the same.
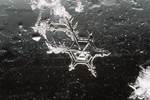 |
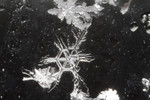 |
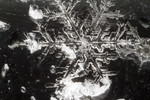 |
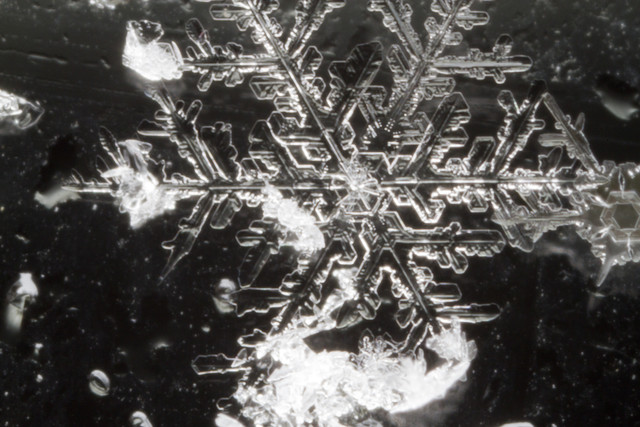 |
||
Technical Data: Canon EOS 7D, Canon MP-E 65mm f/2.8 1-5x Macro, 1, 10, 3.2 sec respectively at f/16. ISO 400. RAW processing in Adobe Camera Raw.
First - finding individual snowflakes is much more difficult than you would think. Any time I would try and look where there was any noticeable amount of snow, it was nearly impossible to distinguish individual flakes. I ended up figuring out that I could find some on the windows of Anya's truck. Even there, I only managed to find maybe half a dozen at a time. And if that wasn't enough of a challenge, I could literally watch the flakes melt in front of me once I did find them.
When I started, I was using my MT-24EX dual macro flash, but I found it was causing far too much in terms of reflections, so I turned it off and went to long exposure times. As you can see, the longest of which went all the way up to 10 seconds.
All of these shots were done at 5x magnification, so dealing with focus was extremely challenging. Anya bought me a macro focusing rail for my birthday, which greatly helped, but at 5x magnification, the slightest movement makes a huge difference in the focus.
This is definitely another subject I'll have to try again in the future - it is just so cool to see such an intricate and unique subject at such magnifications.
- Bill
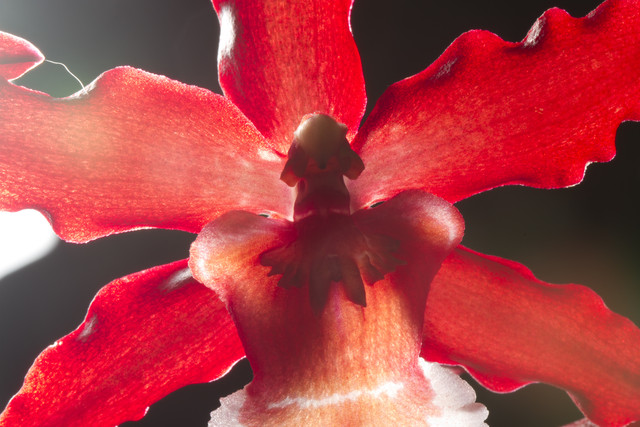
Backlit Orchid
ktuli — Thu, 02/09/2012 - 17:43
For this shot, I asked my lovely assistant to position my flash behind the orchid to produce a different view and get those nice highlights along the edges of the petals...
Technical Data: Canon EOS 7D, Canon EF 100mm f/2.8L Macro IS USM, 1/200 sec at f/22. Canon Speedlight 580EX II flash in auto mode and wireless control. Image Stabilization on. ISO 100. RAW processing in Adobe Camera Raw.
- Bill
Super Macro: Blue Jay Feather
ktuli — Tue, 02/07/2012 - 20:04
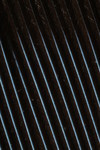
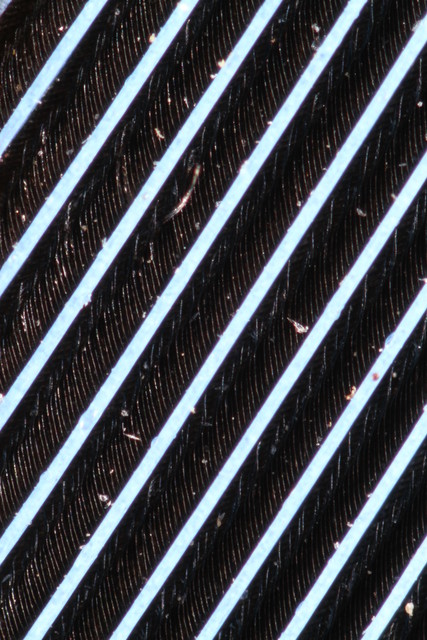
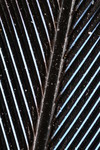
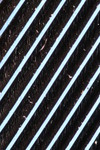
This year, I started a "Project 52" to keep myself motivated to take photos on a regular basis. I've already hit some rough times getting good ideas of things to shoot, but last week I came up with the idea to shoot a blue jay feather with my new super-macro lens - the Canon MP-E 65mm.
The results were not nearly as good as I wanted, and I almost dumped the whole lot of them. Instead, I kept them and I will use them in the future to refer back to in order to correct the mistakes I made.
 |
 |
 |
 |
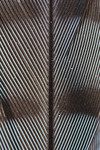 |
Technical Data: Canon EOS 7D, Canon MP-E 65mm f/2.8 1-5x Macro, bottom-left with Kenko Teleplus PRO 300 "DG" AF 2x Teleconverter, top-left with Canon Speedlite 580EX II, others with Canon Macro Twin Lite MT-24EX in ETTL mode. Assorted exposures. ISO 100.
The shot in the bottom-left is actually a 10x magnification as I had my 2x teleconverter combined with the MP-E 65 set to 5x magnification. The clarity on it isn't as good as I would have liked, so I'm sure I will be retrying that at some point as it certainly is an interesting shot.
- Bill
Caribbean Explorer: Fireworm Assortment
ktuli — Sun, 02/05/2012 - 13:15
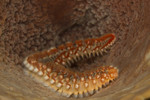
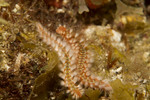
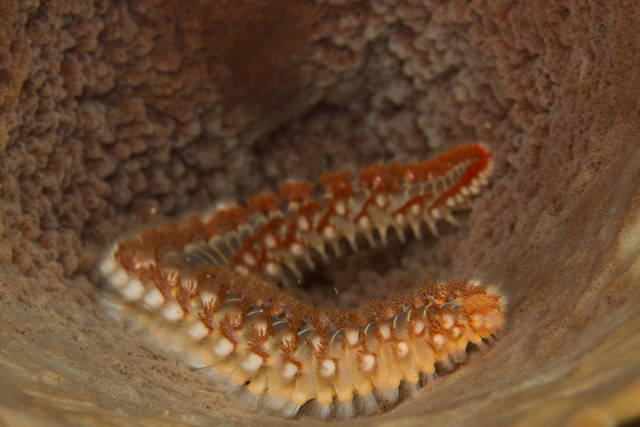
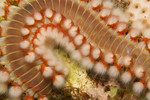
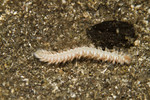
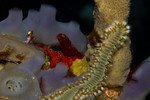
I'm getting anxious to get back in the water... I wouldn't even mind taking photos of more fireworms...
 |
 |
 |
|
||
 |
 |
 |
Technical Data: Canon EOS 7D, Canon EF 100mm f/2.8L Macro IS USM, 1/120th sec at f/16. Image Stabilization on. ISO 100. Ikelite Housing and Port with Ikelite 161 Strobe in TTL Mode. Raw conversion in Photoshop CS5.
There you can even see a little of the variety of colors with the white and green ones...
- Bill
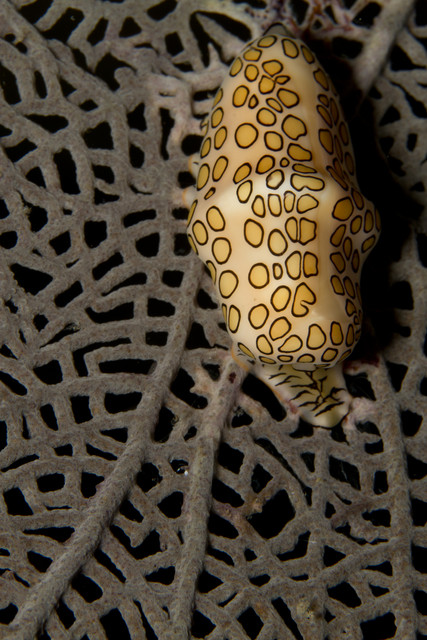
Caribbean Explorer: Flamingo Tongue
ktuli — Tue, 01/31/2012 - 20:11
Yes - this little snail is actually called a Flaming Tongue (Cyphoma gibbosum).
We saw plenty of these little snails on a lot of the dives on this trip, and while they certainly weren't moving much, they were difficult to photograph.
One challenge was because of their diet, which consists of the polyps of soft corals. The soft corals are often branching off in many directions (much like a small bush with no leaves) and thus getting a good angle to shoot through those branches was not always easy.
Exposure always seemed to be difficult too - here you can see I ended up with some weird shadows and a still somewhat darkened shot. I'm not sure if it was the soft corals or the mantles of the Flamingo Tongues that caused the problem, but I definitely struggled getting a good clean exposure.
Regardless, they certainly are interesting little critters. While they are snails, the colorful pattern you see is not the shell which is actually white (or off-white) with no pattern - it is actually the mantle of the snail wrapping up and over the top of the shell. It can be retracted back into the shell, and for whatever reason, Mike (our dive master) always seemed to find the retracted ones while we always found the regular ones.
Also visible in this shot is the damage these snails cause as they eat the polyps on the coral - leaving whitish scar tissue. The polyps do grow back, so the damage is not permanent.
Technical Data: Canon EOS 7D, Canon EF 100mm f/2.8L Macro IS USM, 1/120th sec at f/16. Image Stabilization on. ISO 200. Ikelite Housing and Port with Ikelite 161 Strobe in TTL Mode. Raw conversion in Photoshop CS5.
- Bill
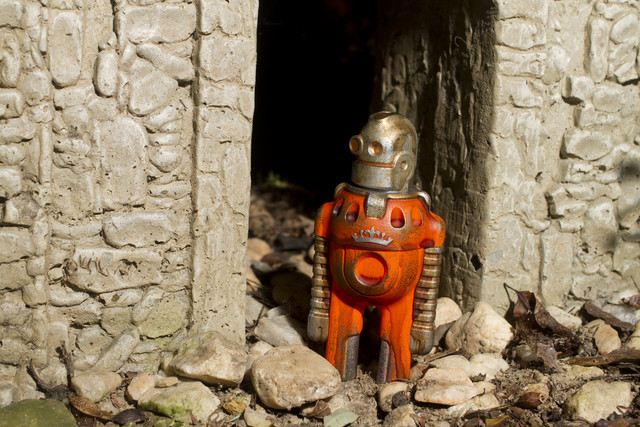
Cris Rose Ruckus Robots (part 3)
ktuli — Sun, 01/29/2012 - 09:00
Another visit back to that set of photos I took with my father-in-law's resin sculpture robots...
Like the first photo I shared of this set, I really like how the lighting and the perspective sets the scene. Again, the way the flash light fell on the scene, it produced that dark shadow inside the archway - which definitely adds a layer of depth and mystery to the scene. On top of that, the way 35mm macro lens provides magnification while keeping a wider view of the scene really produces a perspective that allows the viewer to get lost in the scene without feeling that it is miniaturized. Additionally, having the robot looking out of the scene to the left allows the viewer to explore the shot without getting stuck in only one spot (and adds to the feel of the scene in my opinion).
Technical Data: Canon EOS 7D, Tokina AT-X M35 Pro DX AF 35mm f/2.8 Macro 1:1, 1/100 sec respectively at f/8. Canon Speedlight 580EX II flash in auto mode and wireless control. ISO 100. RAW processing in Adobe Camera Raw.
I still need to get some more shots with this subject - perhaps in the snow would work....
- Bill

